It's been a busy one this year and its been great! I hope your year has been too. Unfortunately, less time spent model building, but hey, that's ok. Onto the ongoing, two-year build of this 'beastie'...

From where I left off with the last entry, I continued to work on the lighting. For the spot lights from the nacelles, I bored out the openings in the kit.

My plan is to take a succession of rods, glue them together...

...with an LED at one end of it.


I then inserted the rod through the nacelle opening.

I mounted each nacelle to the ship, temporarily using hot glue. The outer half of the nacelle has the locating pins that match the pins on the pylon. I used green tape to hold both halves together.

Once the hot glue set, I then removed the outer half so I could get to work on positioning the LED's.

I then aligned the rod, aiming it towards the section of hull it is supposed to be illuminating.

As you can see, the LED is position inside the nacelle, and the light centred down the brass tube.

Once I was satisfied, I used 'Special T' glue with 'Insta-Set' to set the CA (super glue) instantly.

Here's the effect in the dark on the starboard side of the ship.

A little footnote, I've been experimenting with the marking on the ship to make her look like she was from the 24th Century...

This is the one I will eventually use. Here is the nacelle above shows the light in position.

The starboard, inboard nacelle spotlight.

And the effect under normal lighting conditions.

I then moved onto the port nacelle and repeated the process.


After having seen the lighting effect, I decided to go with a brighter and larger LED. I was able to knock out the original lighting harness and build a new one. One of the properties of CA (super glue, Krazy Glue) is it will sheer perpendicular to it's surface. This glue also acts as a filler, so I was able to sand it smooth too.


Here is the 5mm warm white LED. A lot of model builders tend to use daylight LED's for the spots and warm white for the internal windows. I've done the reverse. I'm modelling the lighting, in full knowledge that the lighting was neon which was a cool white and the little lights were 'grain of wheat' light bulbs which are warm white. I know that often with film processing, lighting can be altered when processed. My goals with this model is to replicate the look with similar colour temperatures on the lighting. This is my interpretation of the studio model.

Here is the larger LED in place on the port nacelle.

Once I completed it, I used a heck of a lot of the thick Super T glue to reinforce the LED.

Once I did the same process to the starboard nacelle, I filled around the hole (red putty), using a tooth pick as a block for the hole.

Here's my first pass with grey primer.


Here is the remaining lighting for one nacelle.
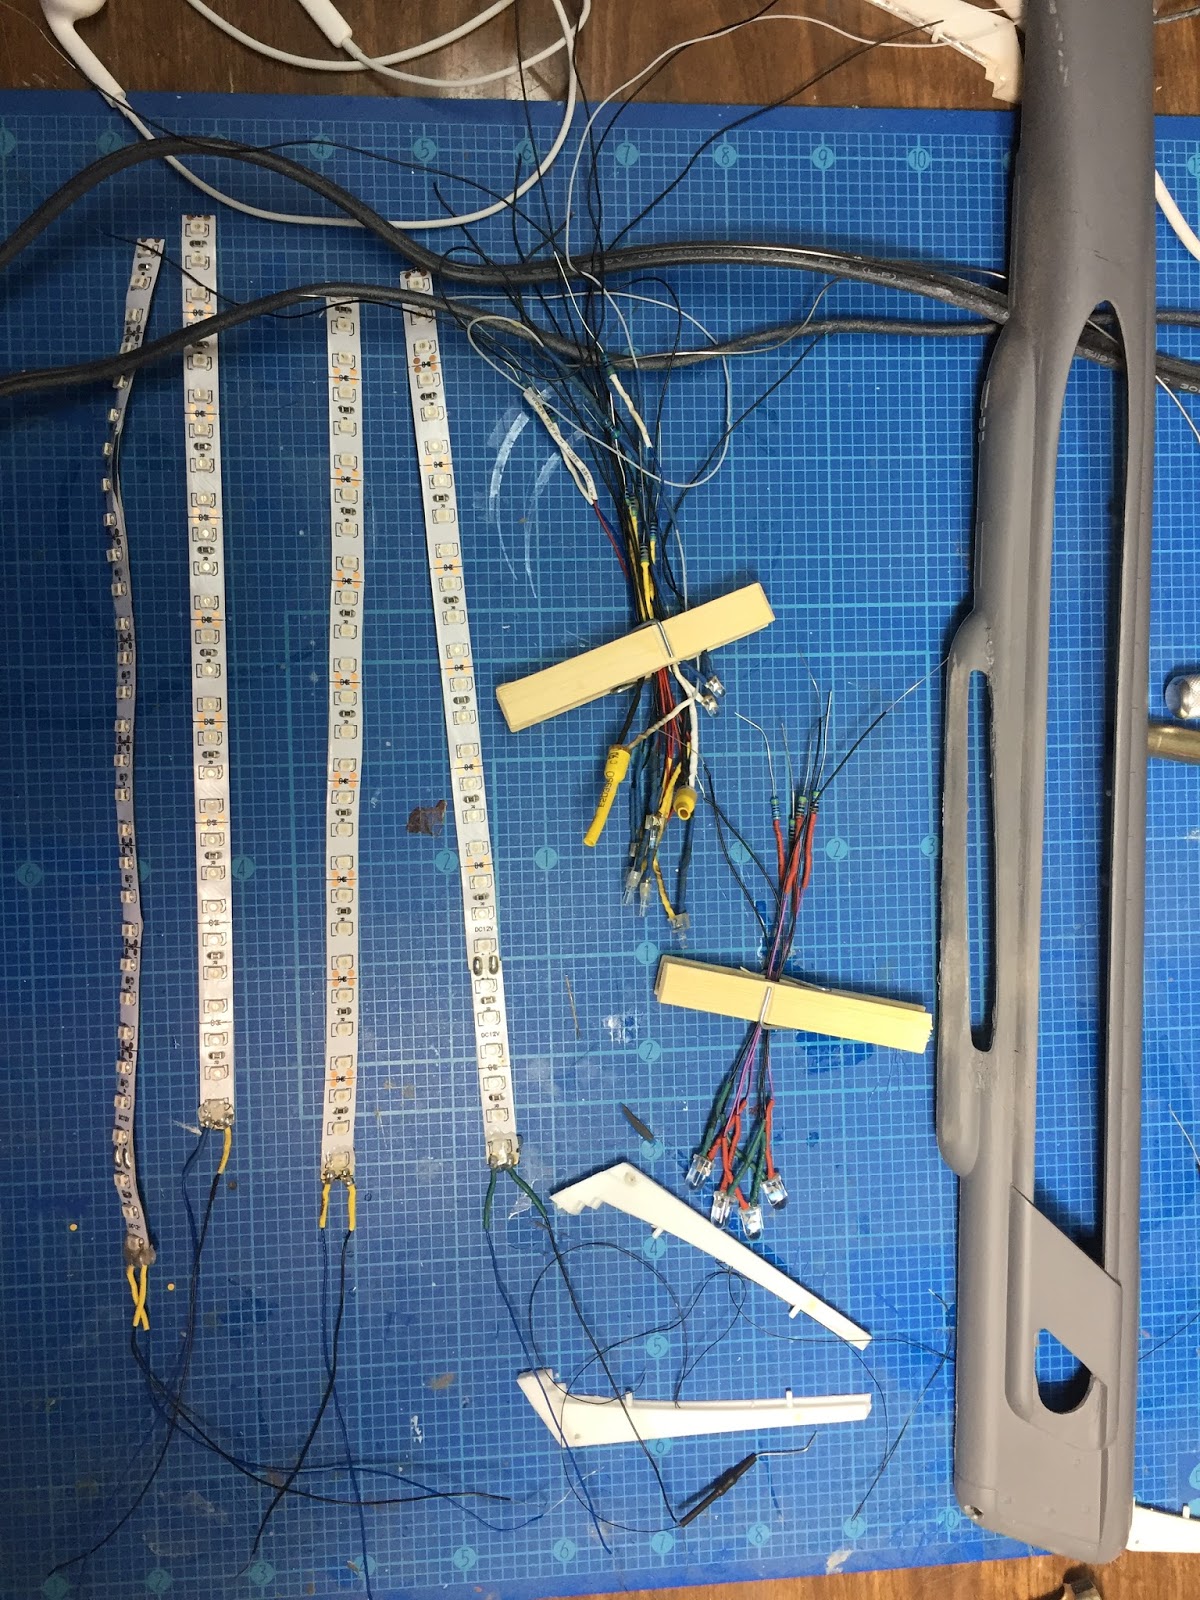
I'm using blue strip lights for the primary colour of the warp grills with red as a secondary colour to create a purple effect.

I then created the remaining LED's soldering the wires, and appropriate resistors.

Each LED takes about 5-10 minutes to build. There are several hours here of me building these LED's.

This will wrap up this entry and 2017!!
Happy Model Building!
Star Trek and all related marks, logos and characters are solely owned by CBS Studios Inc. This fan blog (production) is not endorsed by, sponsored by, nor affiliated with CBS, Paramount Pictures, or any other Star Trek franchise, and is a non-commercial fan-made blog intended for recreational use. No commercial exhibition or distribution is permitted. No alleged independent rights will be asserted against CBS or Paramount Pictures.