Ok, at this point I could say happy Spring 2018!
Life is busy and wonderful, so much so I don't always have the time to work on this model or modelling at all, but I'm now posting about a few sections I've been working on over time. Right now, its the Navigational Deflector dish. For those who are following this will note I sometimes jump around in the build updates and the reason for this is simple, I tend to paint the same custom colours at the same time, and will move forward with other sections while I'm waiting for sections to dry/cure/waiting time.
In the Star Trek Universe, most Federation starships have a forward-facing dish, called the navigational deflector dish. The primary purpose of it is to clear a path of asteroids, and other space debris at both sublight and faster-than-light speeds. In reality, space garbage is a very big issue and NASA tracks tens of thousands of objects from bolts, to rocks, and even the odd glove which poses issues for real life spacecraft in low Earth orbit.

On the various Federation starships, the navigational deflector is usually at the forward end of the secondary hull, with a few exceptions like USS Defiant (DS9), Enterprise NX-01 (ST: Enterprise), and USS Shenzhou (ST: Discovery).
 |
| A few examples |
ASSEMBLY
Below is the assembly section of the deflector dish. There are 5 clear parts, and 5 opaque parts. Part 28 gets mounted to the secondary hull as it holds all four sides of the secondary hull together.

Part 65 & 66 are options for 'Refit' vs. 'Ent-A'. I chose to go with part 66. When I first chose going with part 66, I was unsure if this was actually the case with this modification to the model as I remember seeing it in Star Trek VI with the old style of part. Then again, as a kid, I remember having a poster with this image from Star Trek IV.
 |
| promotional image from Star Trek IV: The Voyage Home |
Here is a closer look...
 |
| Image 1: promotional image, 2 & 3 from Star Trek IV: The Voyage Home |
 |
| Star Trek V: The Final Frontier |
 |
| Star Trek VI: The Undiscovered Country |
My conclusion, these are covers for this part of the unit which must not have been present during the filming of Star Trek IV, in which they made new ones. And here seems to be the proof:
 |
| from Star Trek The Motion Picture |
Behind the deflector dish is one of the mounting points on the studio filming miniature. You can see on the old box art for the AMT/Ertl (Star Trek I - III) for the 1/537 Refit Enterprise the deflector dish from the filming miniature as a separate element and the filming miniature without it.

 |
| (I never understood the rainbow engine grills in the box art...not exactly canon. The original kit came with 'disco stickers' to go on the nacelle grills, the impulse engine and the photon torpedo tubes in the old 'smoothie kit'.) |
THE PAINTING
For this portion of this blog, I'm going back to the beginning as this is where I started working on the deflector dish. The following picture was my initial mock-up in...November 2015. (insert shocked emoji)

When I started with the painting of the secondary hull, I assembled it, with the neck in place and the deflector dish housing (parts 28 & 30). Most of this was friction fit with a few points of hot glue to hold it in place. This is what I think helps to make a good kit. The reason I do this is so I can prime the whole thing without having to mask off the seams. Styrene plastic tends to stick best to styrene plastic when using styrene glue and its easier to prime it when it's together than scraping off overspray on the seams.

Next, I went to work on the three side areas on the housing. Not sure the tech name but in practicality, bolt covers. I decided to go totally custom and un-canon with my paint choices and just make it interesting. I tend to use floral foam to mount parts for painting on.

Here are the RCS (reaction control system) thrusters masked off, ready to be primed and light blocked.

I have moved on, primed the whole unit (RCS in place) with white and put a base coat of antique white. I'm going to be applying decals to the ship, rather than painted on Azteks.

For the trenches where the 'bolt covers' go, I decided to do a painted on detail with different shades of silver/aluminum and different sealants. I want to make this look like it is intricate in it's details.

Here is the housing unit complete with the bolt covers in place. I was contemplating adding additional lights to them, again, not canon but realized it might complicate what is already the most complicated build I've done to date.

Then moving onto the RCS thrusters. I painted this at the same time I painted the RCS thrusters on the secondary/engineering hull and touch-ups to the primary hull as this is a custom colour mix.

Once I finished the painting on this section, I moved onto the dish. The most prominent painting portion of this dish are the radial ribs on the dish. These ribs appear white when the deflector dish is not lit and the are light blocked, appearing dark when they are lit. So here we go, the masking process.

And the dismal results (insert angry and sad emoji). I first light blocked it with my standard grey primer and followed up with white primer. And despite burnishing the Tamiya Tape in, the paint leaked out horribly. This where I decided to move on to the rest of the model, and this was about 2 years ago. Good news, I'm working on it again.

Going back to the original assembly, the biggest reason to not build as according to the instructions, is for the logic of the wiring when lighting such a large kit. In fact, both the original USS Enterprise released by AMT in the 1960s had lighting in it and this was the access point for the battery pack. I built a re-pop and completed it in 2014. http://fordosmodels.blogspot.ca/2014/10/amtround-2-uss-defiant-as-seen-in.html.
The AMT/Ertl kit I built and completed when I was a teenager in the mid 90s (I built many of them) was a 1979/80 Star Trek The Motion Picture 'smoothie' version which came with a simple lighting kit, and the deflector dish again was the last thing you added to it to gain entry to the model and was never glued in place which is why the part twists on.
 |
| (from 1992, excuse the poor film quality) |
 |
| old kit part from the above mentioned kit |
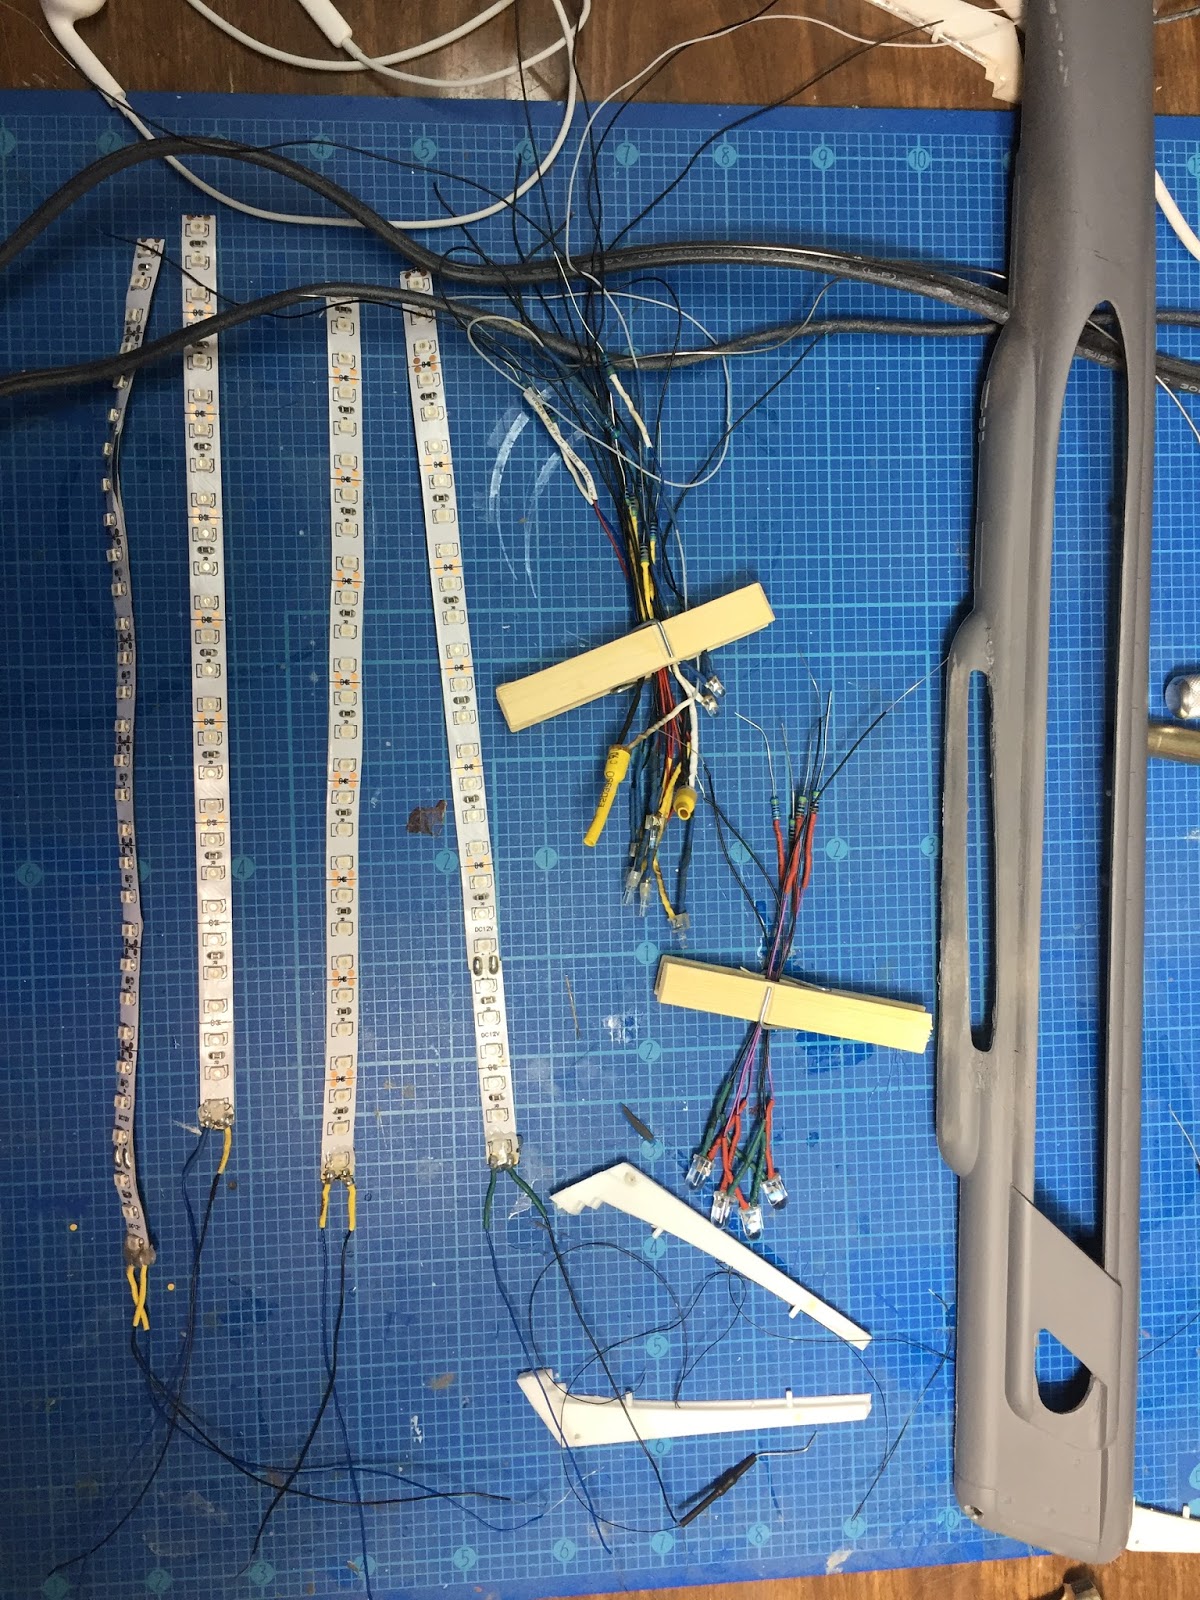
Fast forward to the summer of 2017, this is where all the wires exit the ship to be tamed, soldered and fitted through a 3/8 inch rod down the road.

 |
| This part of this ship has not changed since when I originally posted this picture last summer. |
That wraps up this portion of the ship. Generally speaking, there has been minimal work on this model since last summer. The main reason is life is busy. At the same time, it hasn't stopped me buying new kits/future projects. A few friends have pointed out that there is a possibly I might never build every kit I have in my natural lifetime. I look at differently, I see many possibilities. Some kits will be static models - I just recently acquired a 1/144 35 year old 'master kit' of a Saturn V rocket. I built two of them as a kid and have always wanted that exact kit again and I have it. Not 100% accurate, but I don't care, I'd build it without modifying it. I have 2 1/350's TOS Enterprises and contemplating my next model being a 2nd pilot USS Enterprise, screen accurate but with lighting options. Could be an easy build or something that could takes a long time. Not to mention, I'd like to build some Star Wars kits.
I still have many kits to finish and here's a breakdown: USS Eagle 1/1000 static model, USS Enterprise-A & USS Brattain 1/1000 dual build, 1/1000 Deep Space K7 (based on screen evidence, I believe it's 1/1000 not 1/4700 scale) and a 1st season pilot version of USS Constitution NX-1700 1/650 scale I kit bashed out of a 1/650 scale kit 6 years ago. The last two haven't been posted about, but will when I get around to finishing them.
Part Two of the deflector will be followed up next. I still have to finish the Warp Nacelles and of course the base which is involved too.
Happy Model Building!
Star Trek and all related marks, logos and characters are solely owned by CBS Studios Inc. This fan blog (production) is not endorsed by, sponsored by, nor affiliated with CBS, Paramount Pictures, or any other Star Trek franchise, and is a non-commercial fan-made blog intended for recreational use. No commercial exhibition or distribution is permitted. No alleged independent rights will be asserted against CBS or Paramount Pictures.