Thursday, 20 February 2014

Hobbycraft's 1:72 scale Avro Arrow: Update #10

All good things must come to an end...The Avro is finally done!!  And how appropriate as it was 55 years ago today in 1955, then Canadian Prime Minister John Diefenbaker cut funding from the Avro project and order the dismantling of all the airframes. This also meant 30,000 people lost their jobs that day too, called 'Black Friday'.

http://en.wikipedia.org/wiki/Avro_Canada_CF-105_Arrow#Cancellation

So I finally got this model finished.  I would have got this done sooner but I've had a shoulder injury and staying seated has been challenging.  I'm on the mend.  Unfortunately I didn't take enough pictures of the decal process but needless to say, there all there.

I decided to use some subtle weathering to get rid of the 'toy look' and a clear matte top coat to seal the decals and weathering.  I find that even with a matte coat, there is still a satin-like finish which is what I've been going for.

FINAL ASSEMBLY

The last thing to be addressed with the model is the base.  The switch is a simple toggle switch with a 9V clip-on battery (+) soldered on to it.


For the top of the base I had a few touch ups on my custom decals.  Some of the edges rippled causing the the black ink to chip off so I touched it up using 'Tulip', a fabric paint which is also a great paint for 'light blocking' when building an illuminated model.  Also really good for creating bumps like rivets.  I then used 5 coats of Rust-o-leum clear matte finish, and 0000 steel wool to remove any bumps or crumbs that are airborne.


To connect the model to the base, I used very light weight wire nuts so the model can be detached, if necessary from the base in the future.  The 9V batt is attached by a velcro strap which is hot-glued in place. 

FINISHED MODEL


In these pictures you can see the cockpit lighting - too bad the canopy is 1/16" in thickness.


Here are the Iroquois Engines lit up and you can barely see a white dot on the top of the tail section.  That blinks via fiber optics cable along with red & green for port & starboard navigation lights.


I you enjoyed this build up, even if it took a heck of a lot longer than I thought it would (difficult to pursue a hobby like this when you're freelance).

I leave you with a final image as I close this chapter and move on to finishing two different scaled Star Trek TOS USS Enterprise models in different scales (1/1000 & 1/1600).


Happy modelling!!


Friday, 7 February 2014

Hobbycraft's 1:72 scale Avro Arrow: Update #9

Greetings, it's been a while...

Life has been really busy and well, I ended up ordering replacement decals for this project.  I really wasn't pleased with their appearance from the original kit and I was less pleased when I tried to remove them.  My custom decals came off easily with Micro Sol.  The kit decals nearly ruined the paint job.  It not only dissolved the decal but the ink in the decal ran all down the model.  I gave it some serious thought about repainting them I took high tack tape to it and it came off easily.  I ended up having to touch up the heirloom white and re-clear coat it with gloss to make it work.
 
The decals I ordered are from Canuck Models.  They are made in Ontario and reasonably priced.  For quality and accuracy, I'm really impressed. 


The instruction sheet folds open with more of the model's panel lines marked off, something I wish I would have known of when I started this project.  The most difficult decals to apply are the 'walk lines', the black striping along the wings which denote safe areas to walk on the aircraft.

I replaced all of the decals with Canucks.  Unfortunately I had one tear on the 'flash' markings.  I can repair that with another decal.


This is where I am with the model.


I'm really impressed with all the minute markings, it adds to scale and realism.

I have finished the port side of the aircraft and still have to put the remaining decals on the starboard side as well as wire the model in it's base.


I should have a completed model by the end of the weekend...stay tuned and happy model building.


Wednesday, 8 January 2014

HAPPY NEW YEAR!!! A few updates and: Hobbycraft's 1:72 scale Avro Arrow: Update #8

First off, I want to wish you all a Happy New Year and I hope everyone has had a safe and happy holiday.  Mine were wonderful and very busy, which is one of the reasons I haven't posted since Christmas Eve.

The 1/1000 USS Enterprise Space Seed Edition was planned as a gift (and still is) but due to schedules and a busy work load, I will be seeing this person later in the month and will finish it after the Arrow Project is done.


(the little saucer is the 1/1000 saucer sitting atop the 1/350 saucer.  I can't wait to get started on that project :) )

THE AVRO ARROW

I had a number of setbacks with the painting (as previously posted in update #7) so I was decalling the model on Christmas Eve. 

First thing I always do is spray the entire model with a clear gloss coat.  This allows the decal to sit flat on the model and stops air pockets from forming which is known as 'silvering'.

The kit's decals are not terrible accurate, in fact they are really off.  I researched the font and made my own set of markings.

The black background decals are custom and to go on the base.  I downloaded a real 'Red Ensign' - pre-Maple Leaf Canadian Flag and reprinted markings which are supposed to be on white which are 2-part decals originally as a 1 part decal.

Here are my tools for doing decals:

  • Bowl of warm, clean water to soak the decals
  • white craft glue - I use a couple of drops in the water.  I find it helps decal adhesion.
  • Sharp scissors and hobby knife with a sharp blade to cut out the decals.
  • tweezers to hold the decals in the water
  • tooth pics to use as a 'picker' to manipulate the decal
  • Microscale Industries MicrosSet and MicroSol.  I apply MicroSol to the model with a Q-Tip, then put the decal down.  Use the paper towel to wipe up excess moisture.  Then I smooth out the decal with a dry Q-Tip.  After it sets up for a bit, I then use the MicroSol to help 'take down' or dissolve the decal film to give it a 'painted on' look.
 
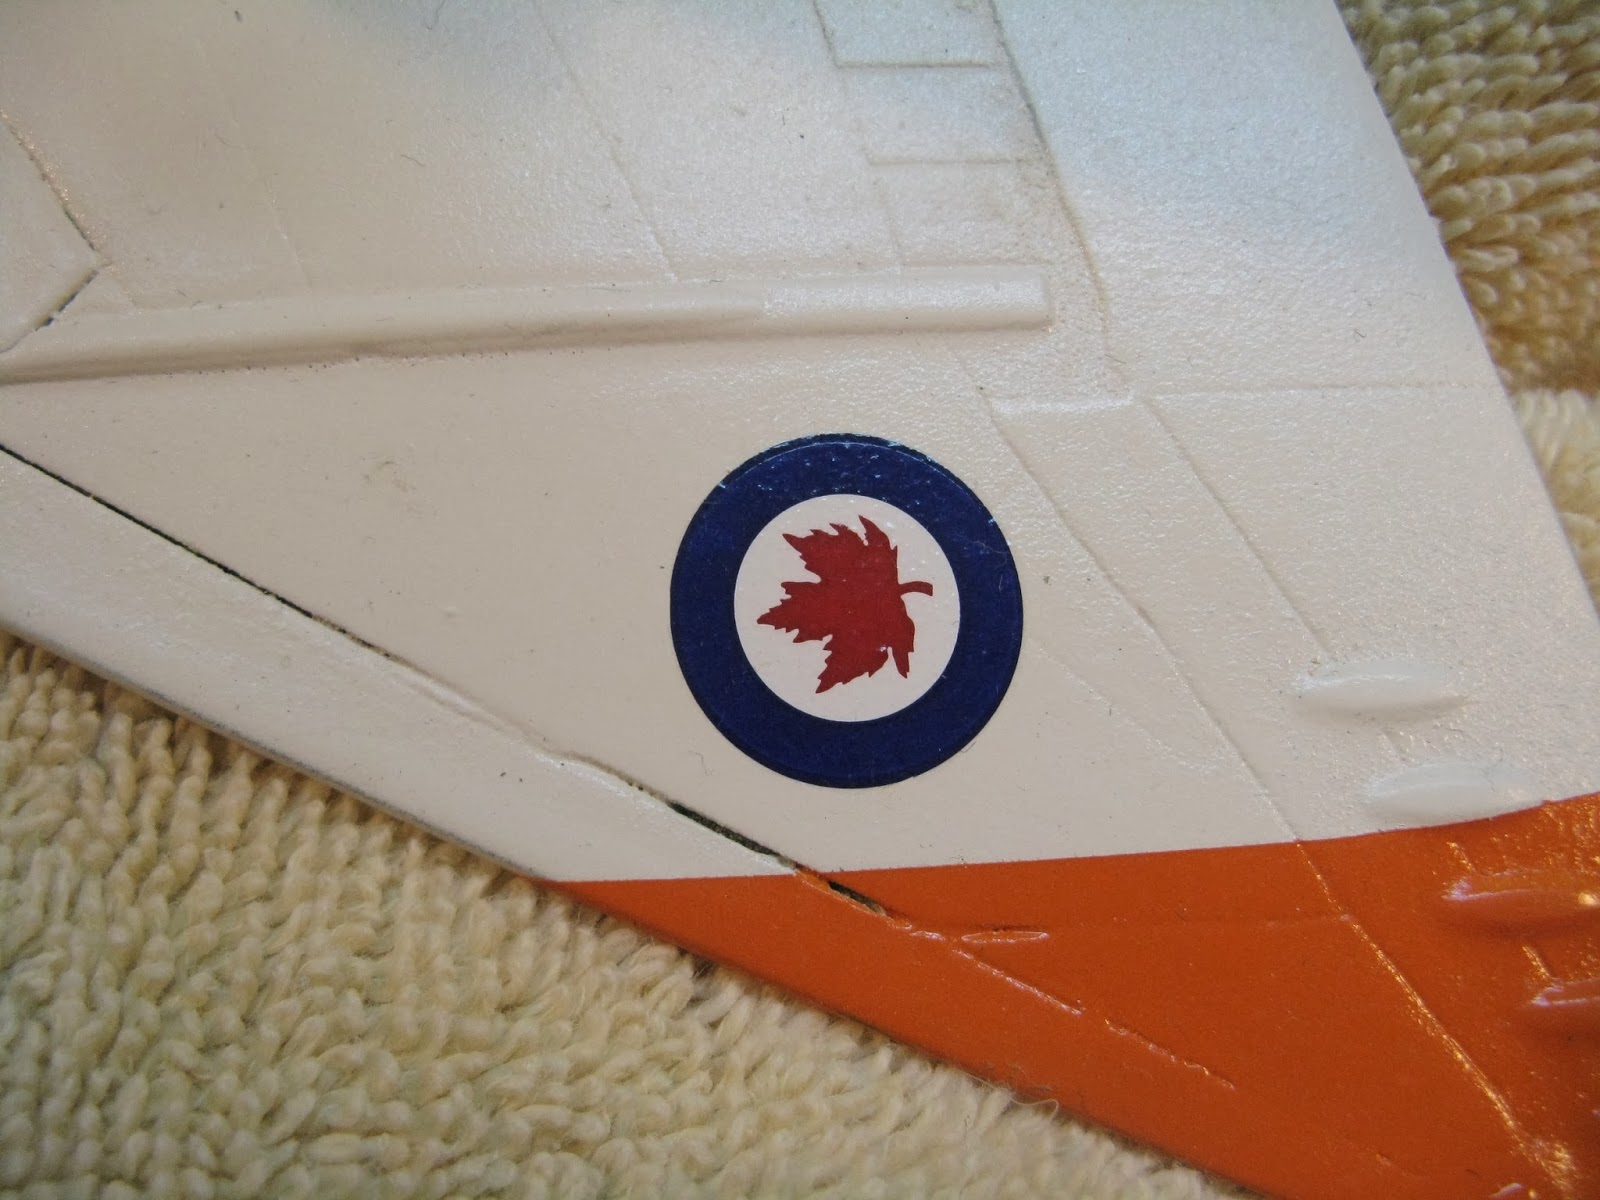
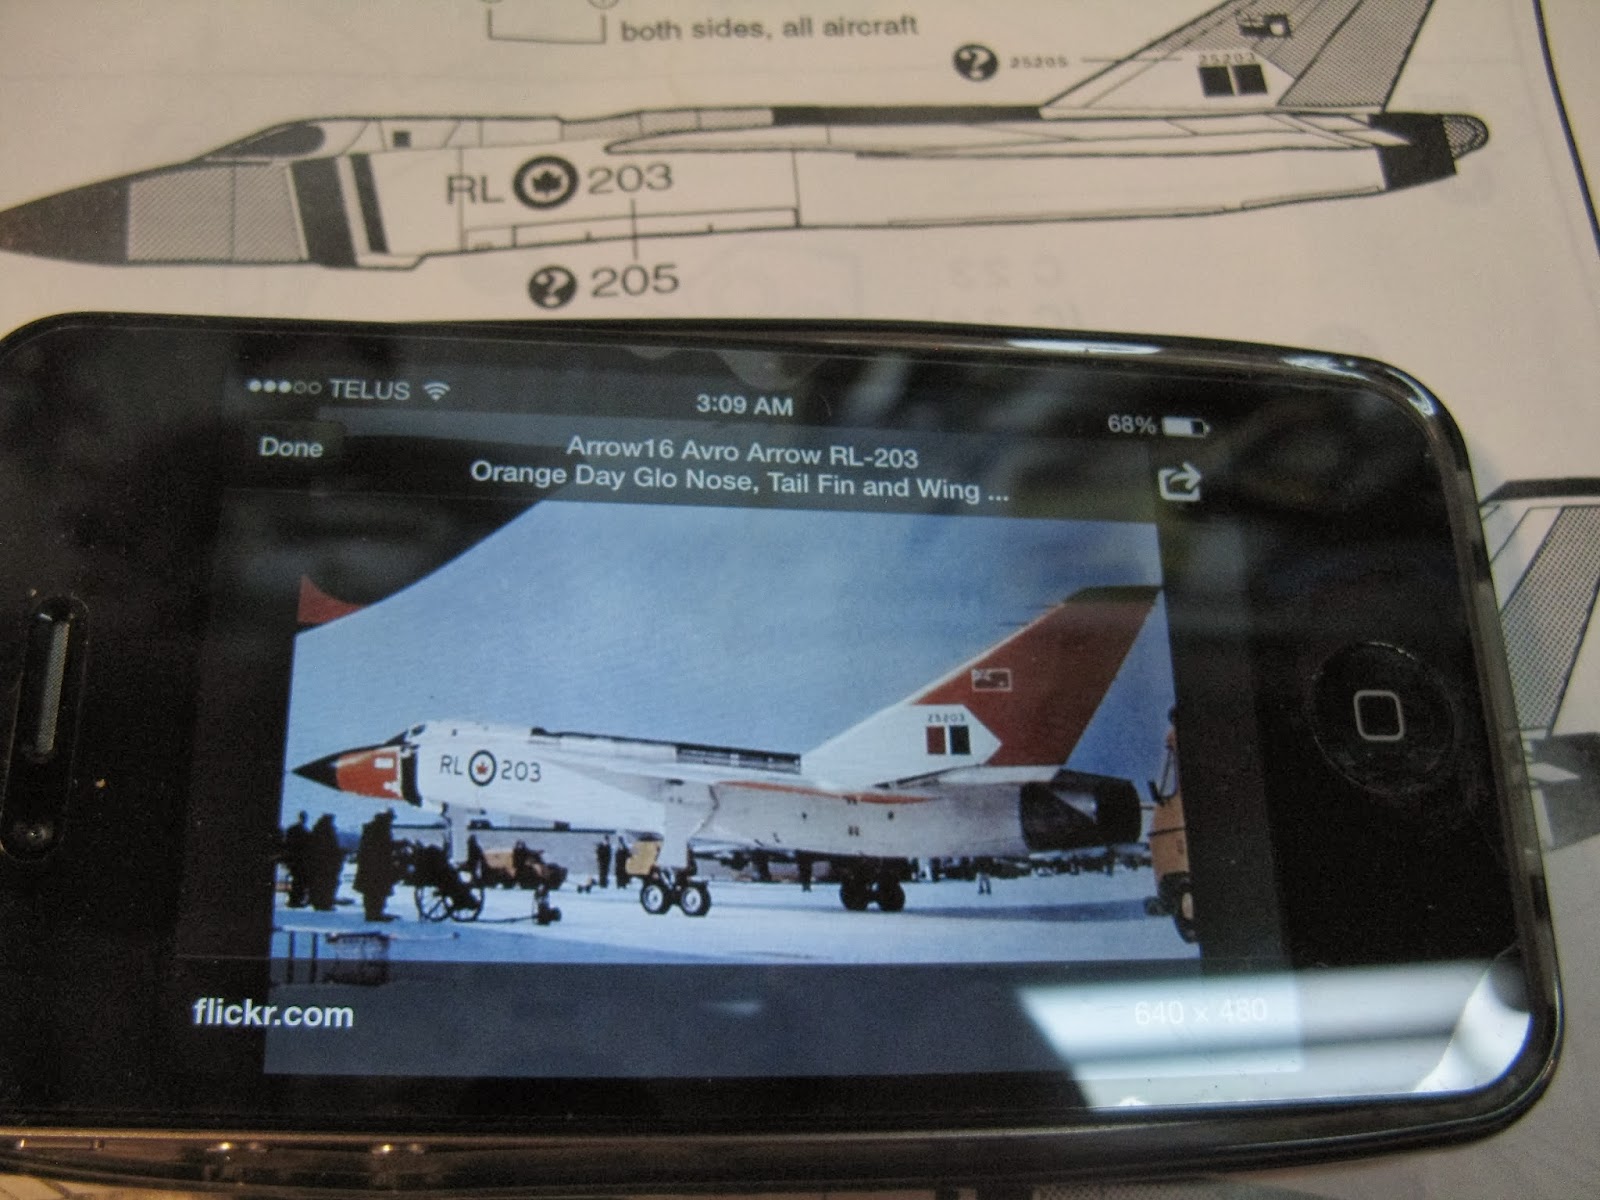
So after applying the first few decals I noticed the circular markings are not circular at all but egg shaped.  I continued on but first pulled down a reference picture from online (took me a long time to find reference shots of the real plane vs. the replica).

The original decals are out of scale with the model!  I put on what I could and this is how I gifted the model.

Now I found the model to be shaky on it's stand so i looked into it.  The socket in the base the rod fits into cracked.  So I've taken back the model (the person I've given too was surprised and is happy I want to perfect it), ordered accurate decal from garage kit company and worked on the base.

I added ribs on the socket.  I weakened the socket by enlarging the hole to accept a hollow tube vs the original solid metal rod.


On the top of the base I added evercoat to the growing crack, sanded it and primed it.


Here's a comparison between the Arrow base (left) and the unpainted USS Enterprise base (right).

Here it is decalled awaiting a finished model.  (I still need to put a dull coat or satin clear coat on it.)
UPCOMING PROJECTS:

I started this 1/1600 scale Original Series, Constitution Class model a long time ago and have just the decals to put on it (custom made).  Hard to believe it's barely 6" long!


I also have to make a deflector dish for it as I lost the original part (which was inaccurate anyways).

BROKEN MODELS

I built this 1/1000 Enterprise Refit model as variant as how it appeared in early promotional photos for Star Trek The Motion Picture and also gave it a different name:  USS Excelsior NCC-1718.  The name and registry comes from a Star Trek reference book from the 1970s and I've always liked the name. 


Sadly this model had a break on it's port nacelle pylon (long story) and as a 'snap together' model, it often 'snaps apart'.


My plan is to put this in a diorama of with another model I recently found, but never finished a 1/1000 scale Klingon D-7 Battle Cruiser.  I got this as a gift over a decade ago and never finished it (lost some parts was the main reason).


I have a 1/650 scale D-7 model and I will scan the the missing parts in and print off templates to build new ones.  This should be a fun build.

After Boxing Day I went to my local hobby shop looking for a replacement for my broken 1/1000 refit model and found this on sale so I grabbed it!


What I like about how Round 2 re-released this model is the new wing positions which are correct to the way the model was filmed and the addition of the landing gear (this is how I will build this model when I get around to it.).  I do have an old Klingon Bird of Prey I built in 1995 and it's falling apart.

I'm reasonably happy with it's weathered appearance and it was lit at one point with traditional light bulbs.  I have the other wing but it's missing the shoulder section.  I'm going to replace both shoulders, build it in the 'cruise position' and add LED lights to it.  Simple 'refit' of an old model collecting dust.

Lots of stuff going on and will be posting (or try to post) at least once a week.  Stay tuned and happy model building!!


Wednesday, 25 December 2013

Merry Christmas!!

Wishing all my friends and followers a safe, and happy holiday this year.  

"Merry Christmas to all and to all a good night!!"

See you in a few days with an update...Cheers!!

Monday, 23 December 2013

Hobbycraft's 1:72 scale Avro Arrow: Update #7 - Almost there...

Greetings!  So I've been pretty busy with work these days but I have taken some time to push forward with this build.  It's going to be a Christmas present for a family member and now I see the finish line in sight.  Back to the progress.

When I last left off, I had a splotchiness from taking the model outside and spraying it with a rattle can.   I sanded down the model with 200, 320 and 400 grit sandpaper an voila!  Back to a smooth finish.
This is after 3 thin coats of Heirloom White by Rustoleum.  So I let this dry thoroughly for 48 hours.  The last thing I want to do is to have paint lift off by masking. 

Masking

Up until now, I've always used painters tape for masking, specifically 'Frog Tape'.  This time I tried Tamiya Masking Tape.

It is sooo easy to use.  I thought it might have just been a gimmick but for laying out edges and bending around curves, this works really well.


I'm masking for the orange colour (pumpkin orange Rustoleum) and the flight aluminium (gloss aluminium Rustoleum) down the spine of the model.  I then used 2" painter's tape to cover the rest of the model.

So given the problems I've been having with paints splotching up, I held my breathe and behold:

Perfect finish!  Now the silver strip.  A convenient plastic bag taped to aft end of the bird is an easy mask.

Now the paint...holding my breath again...
The paint goes on lumpy and thick but it levels itself out.  As I let this dry, I use a small to circulate the air around the model, kinda like cooking chicken on the BBQ not under the direct heat.

Now the reveal...


So I've noticed a few spots that need touching up, no biggie.  I will save that for the end.  Also some over spray where the green painters tape wasn't stuck down to itself. 

This was going to be the conclusion had I posted by Friday but working on TV Commercial and a going a Christmas party delayed that.

Saturday


So the next major colour is black, followed by silver on the spike, near the domes and a different type of silver near the intakes.  Spike...yes, that is the last part to go on the model.  Where's the spike??  I looked around and couldn't find it anywhere.  I looked at my stock of brass and realized I'd have to grind down the point and then came across one of my unsung tools of model building: tooth picks,  The old-fashioned wooden ones with a cylindrical shaft and a point on both ends.  So used some hot glue to attach it and used some Evercoat to blend the edge of the nose cone to the spike.

It fits the bill perfectly!!  Sorry about the fuzzy picture, it came from my iPhone.  Now for masking part 2...
The areas to be painted black I used grey primer as a base coat.  Now for the black (flat black Tremclad).  I see a problem...

 Look closer...


%^&*(^%!!!  The black paint splattered!!!  When I went to paint the first stroke it did this and got on the model.  So I shook it up really well and it continued to splatter, then I turn the can upside down and it cleared whatever was causing the splatter. 


Since it was only this side of the model and only in this area, I pressed on and finished painting. 


I didn't photograph it, but between coats I continued to sand the roughness the black paint left on the starboard side of the aircraft.  It looks perfectly fine now.  So now for the unmasking...


 Upon seeing this side, I realized I goofed, the black under the cockpit should end where the orange ends.  That will need to be fixed.


On this side of the model I notice more over-spray.  Also where I sanded left an uneven edge around the intake panel.  A little bit of touch up will fix that.


So this is where I ended this last night (this morning) and I was going to post this at that point in time but the need for sleep took over.

Today

I needed to address where the black doesn't continue along the cockpit.  I also needed to mask for more silver sections.


(The shot above with the piece of Tamiya tape on the tip of the needle reminds me of the caution tape you see on a real aircraft.)

I was able to touch up some marks using Varsol and a Q-tip.  I didn't photograph it but I had masked off multiple areas as I was using 3 paints:  flat black (Tremclad), gloss aluminium (Rustoleum), and metalic gray (Testors).  So here are the results:


So I still have a number of touch ups and then seal the paint with a gloss coat so I can decal it.  Speaking of decals, they are very old.  I used Testors Decal Bonder on them to ensure they don't break.

The typeface though is absolutely wrong and the Canadian Flag (red ensign) is in 2 pieces and looks horrible!!  I'm doing some custom decal work via Photoshop and printing some new decals.  I will apply the originals first just in case I need to reprint anything else off this sheet.

That's it for me tonight.  Happy modelling!!