Friday, 6 June 2014

Polar Lights/Round 2 USS Enterprise - Space Seed Edition - Update #6

Greetings!

I'm back to working (well I have been working on this, just has been enough to post) on the USS Enterprise/SS Botany Bay models.

SS BOTANY BAY

I'm going to start this report with the little model.  After letting the paint cure, I started the weathering process and then sealed it with a clear matte finish.


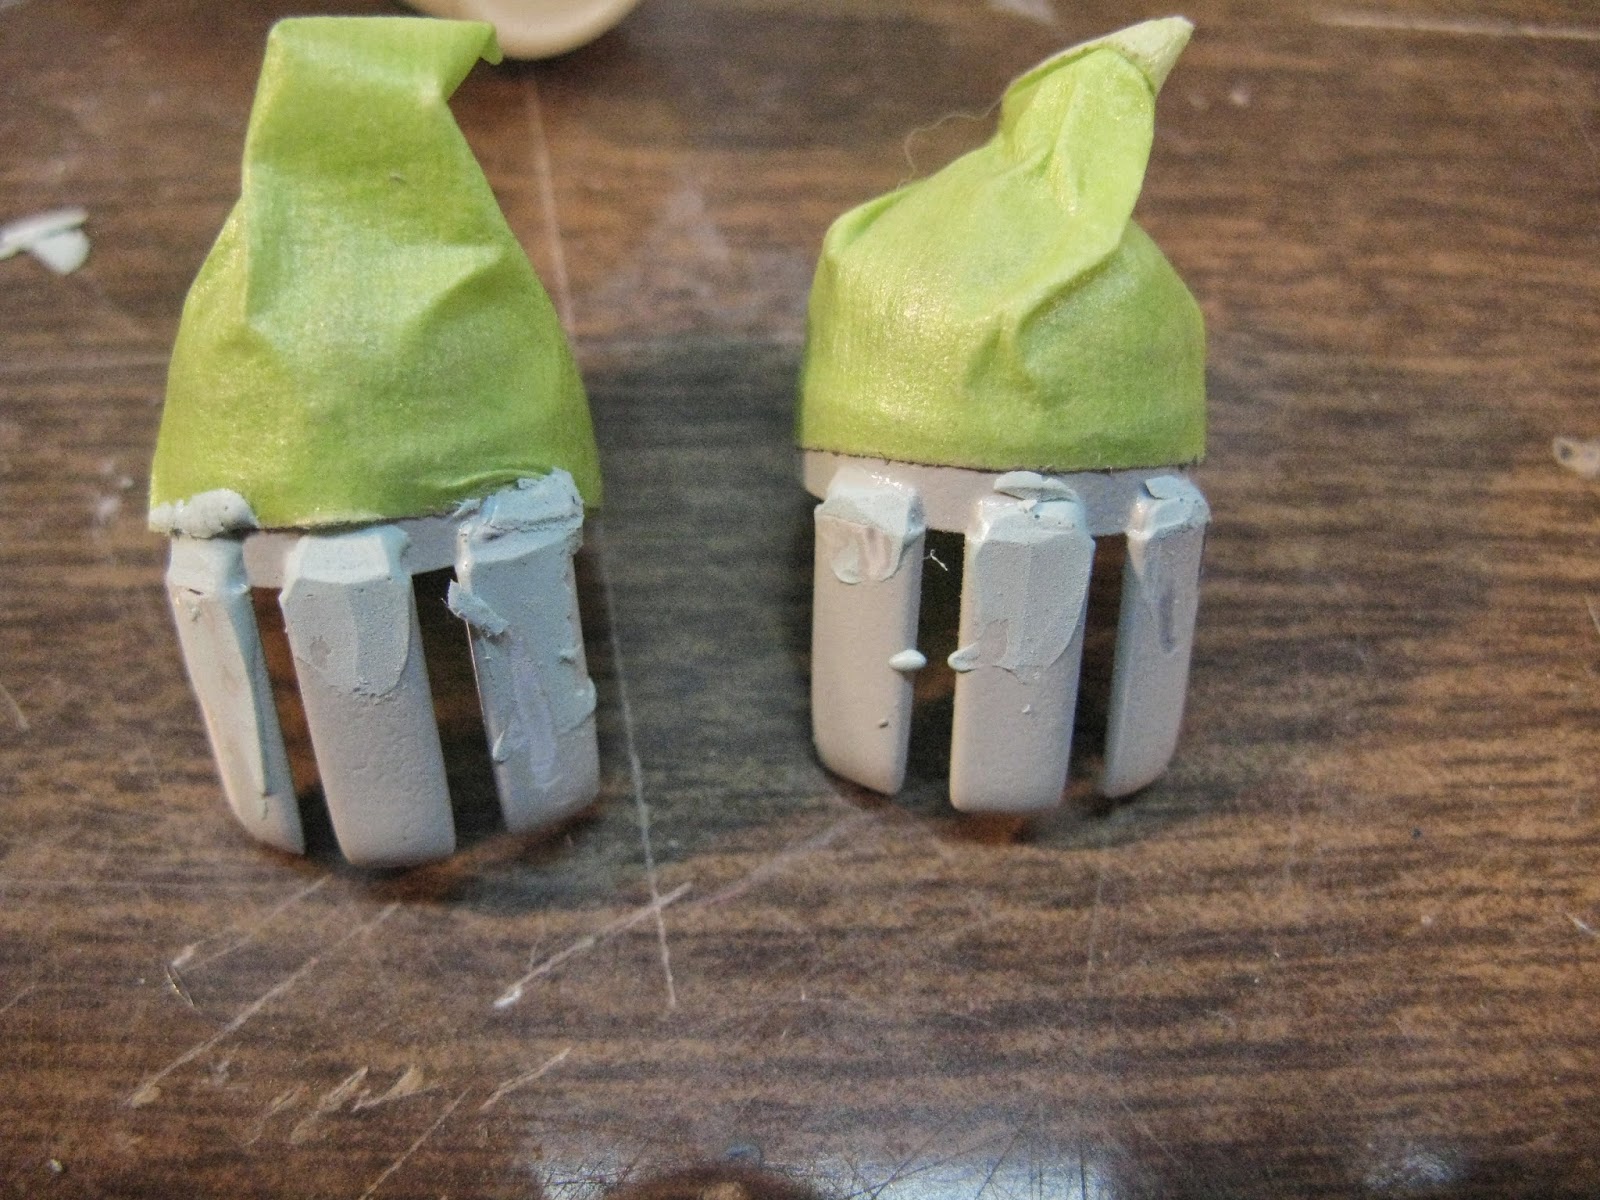
Last piece to work on are the 'solar panels' for lack of a better term.  On the studio model they were made of a perforated material, painted the same as the ship.  Here are mine:


Interpreting them as solar panels, I painted them an indigo colour.  Apparently this is the colour of the inner grills on the the refit Enterprise (which is why I bought this paint...in 2005, that's another story).

Here's the completed model:


I still need to weather these 'solar panels' to match the rest of the ship, otherwise, done!

SAUCER SECTION

I cleaned up the dorsal and ventral domes as well as the navigation lights using my magnifying visor.  Then I clear coated the model for decals...these decals.

It's an after market grid line decal sheet, which includes the 'rust ring', made by Acreation Models.  I've got to say, I'm impressed with the quality of the decal and the artistry to make it.  When I ordered it, I was fearful that the lines maybe too dark or heavy at this scale, but on the contrary, the grid lines are so fine, it made applying them quite difficult.  Normally on after market parts I will seal them with decal bonder just to be safe.  In this case it certainly wasn't necessary.


I also added a few other details to the B/C deck and the 2 pin strips leading towards the impulse engine.  It has been sealed with glossy clear to seal the decals so I can apply decals.

ENGINEERING SECTION

Once the glue setup, I started to work on all of the seams.  There are many.


I ended up re-priming the secondary hull and neck.  Oh well, the finish coat showed me the flaws very well.


One goof I made with this is I should have from the start use Evercoat Metal Glaze instead of 'red putty' for the connection point of the warp nacelles and the secondary hull.  I also should have glued that together rather than trapping the part when I glued the halves together.


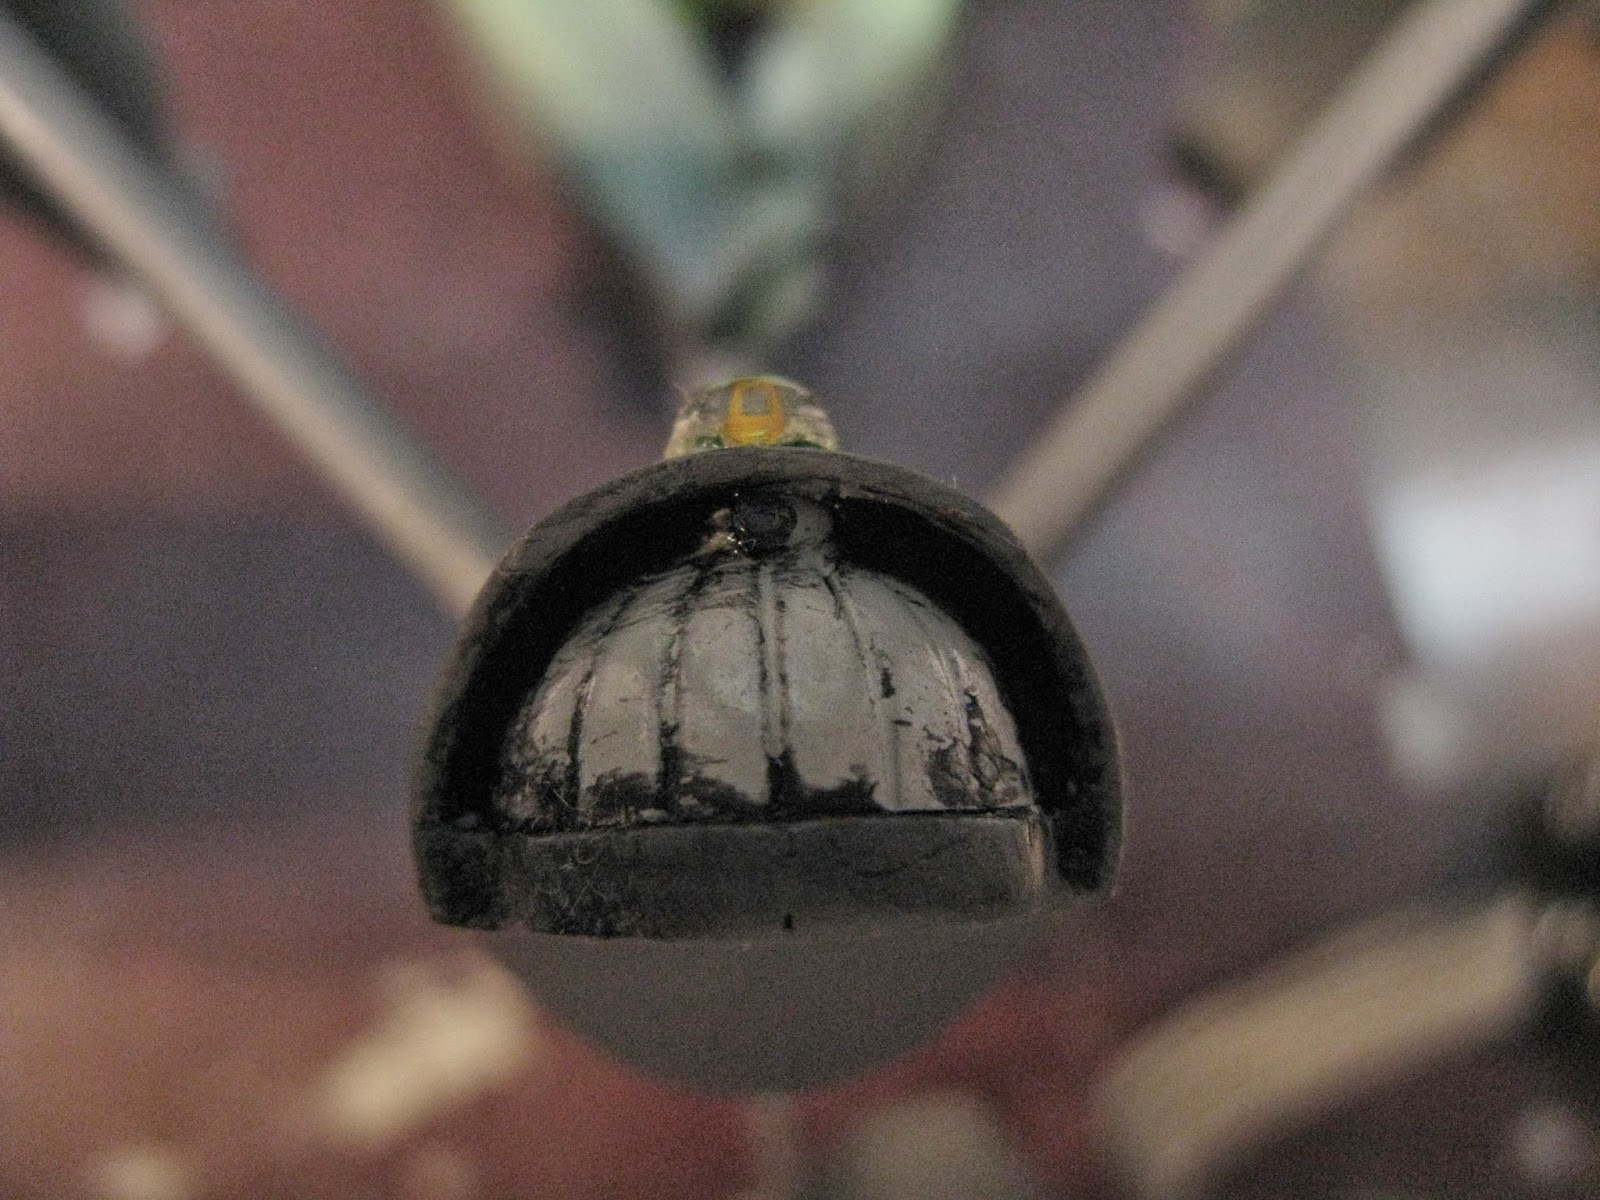
Once I got that fixed up, time to add the shuttlebay doors and the dome on top.  On the real model the dome is hollow with two yellow cylinders, 1 red cylinder and a green floor, all of which is translucent.  Here's my attempt to replicate it on this scale.

Once I did a light test, I used 'Tulip' Black Fabric paint to light block around the doors.


After a couple of coats of the base colour, I added the 'intercooler loops' to the end of the nacelles - finally starting to look like something other than a grey cylinder.


After everything has cured, time to remove the tape and reveal the paint below.


Next up is to add the other complimentary colours, but that's another day.


MISCELLANEOUS PARTS

The Bussard Collectors

I'm 'borrowing' the Bussard Collectors from my 'Intrepid' build as they are already primed and painted.  First thing I had to do was clean up the original masking job (done with painter's tape) and frost the domes with steel wool.


Next, fix a 'step' in the three rectangular sections of the Bussard assembly which extends aft.


After sanding down the Evercoat, these parts were painted, re-masked and are ready to be assembled.

Domes on the End Caps

I don't know what these parts are called.  What I do know is they are hull colour, as a kid I used to think they were illuminated watching episodes of Star Trek, too bad they were not!  (they will be in my 1/350 build!)


Things I didn't take pictures of

I am 'borrowing' additional reactor loops from the Intrepid build.  They are in a plastic bag for safe keeping.  I primed and painted the Deflector Dish mount/antenna with a gray primer, then metallic copper.

Stay tuned for more on this build.  The end is near, thankfully.

Cheers and happy model building!

Wednesday, 4 June 2014

RETRO BUILD: AMT/ERTL Galaxy Class Tesla (Enterprise-D) Part 3

Greetings,

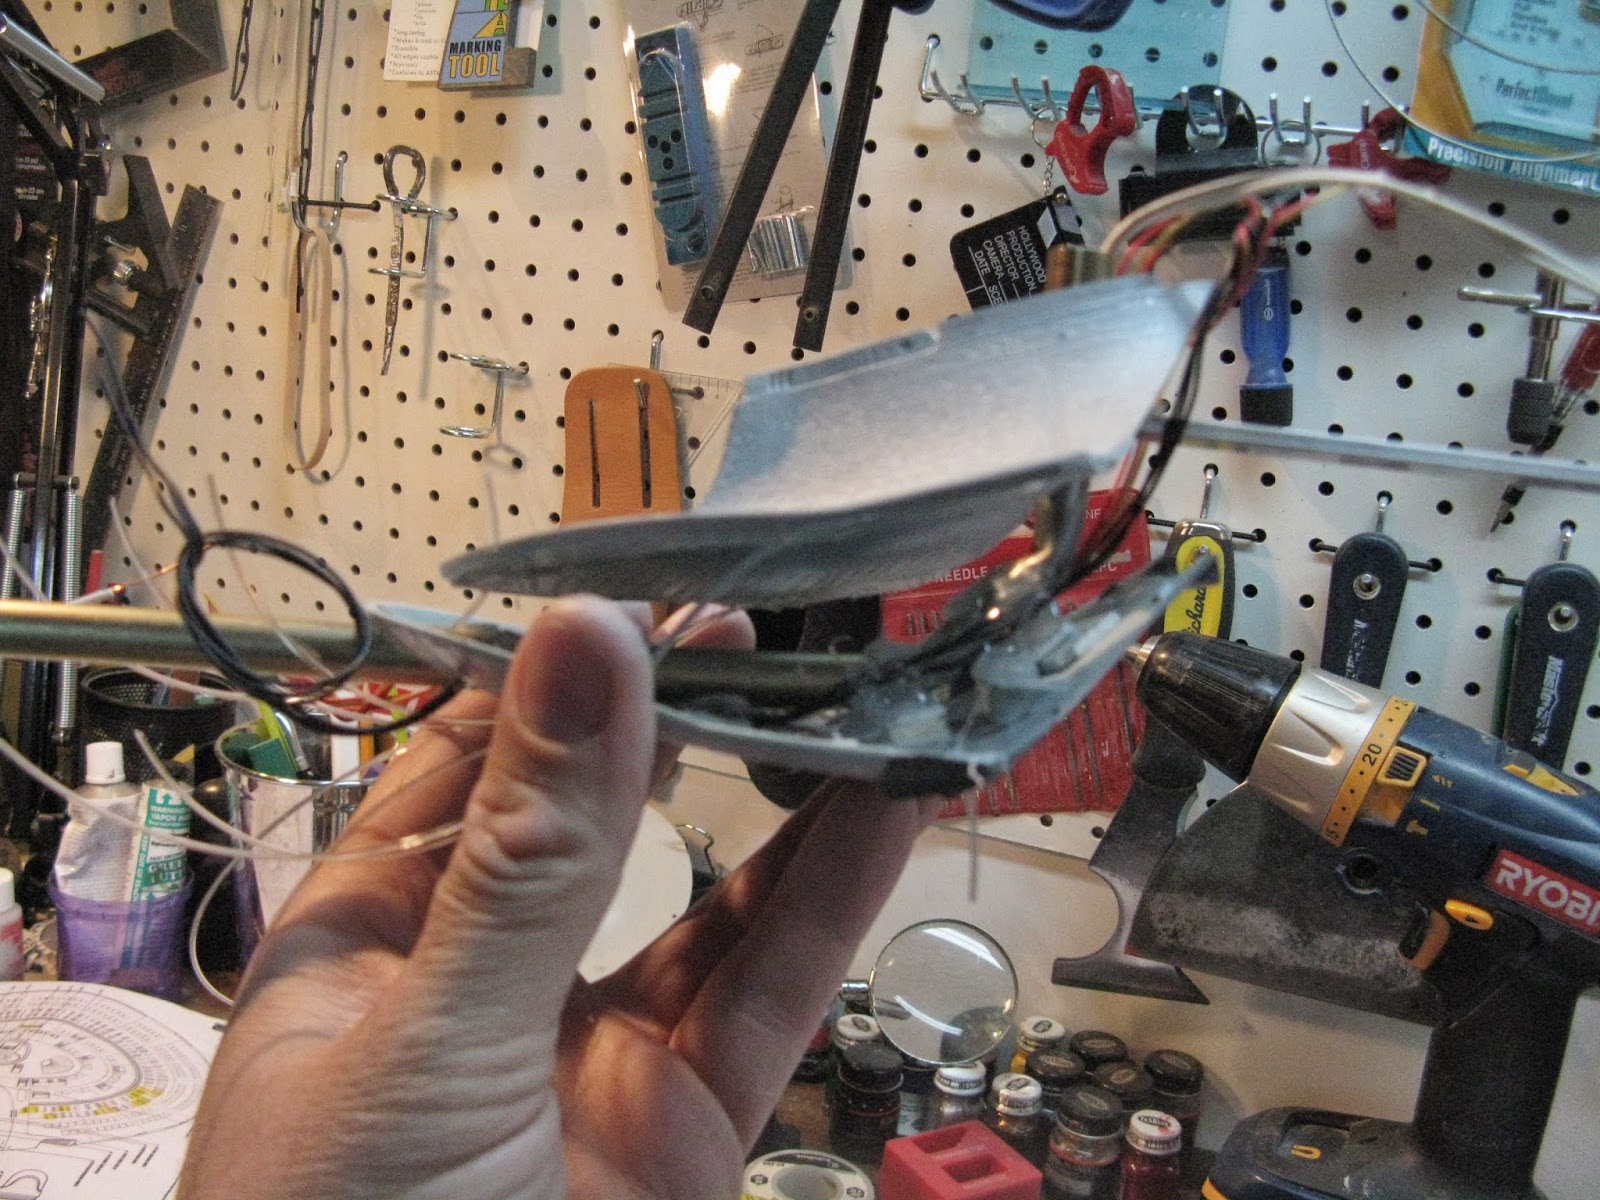
Starting where I left off with the armature, time to attach it to the model.  This I knew was going to be tricky.  What I did was mock-up the 'battle head', lower saucer and engineering hull together to see exactly where it would be inside the model.  I then filled and gaps with scrap styrene and used hot glue to attach the rod to the spine of the ship.


WARP NACELLE ASSEMBLY

After I cut off the rear section of the model, I had been studying the thickness of this section and felt it needed to be thicker to match the curve of the 6' ILM model.  This also made it easier to create a wire trench.  Since I sanded everything down smooth, I traced the phaser banks and transporter emitters so I could reproduce them later.


This also allowed for more space to add navigation lights in the rear via fiber optics.


Wiring up the nacelles were relatively simple but now I would use magnetic wire as this 24 gauge solid core wire was cumbersome at times.  All of the wire I tacked down with hot glue, something I still do today.  For diffusion on the warp grills I sanded the inside with 600 grit sandpaper.  It should also be noted there are 2 fiber optic strands running to each nacelle for the running lights...something that would haunt me down the road. The exterior of the warp grills were sprayed lightly a metallic copper to simulate what the warp nacelles look like when powered down.  The beauty of the paint is it allows the blue to beautifully shine through.  In the past I dry-brushed copper paint but that technique isn't always consistent.


Moving on to the Battlehead/Neck...

First off I decided since I'm not lighting this, and the placement of the windows are off, I filled them in and like before had to trace out the phaser banks and replace them.  On this model, the phaser banks are rounded off strips of styrene which was how the Enterprise looked in the first 3 seasons until a newer 4' model of the Enterprise was built for TNG and the phaser banks then forever that a grill pattern on them, something every 24th Century Federation ship had afterwards...back to my build.


At the time I was experimenting with using silver paint on sections of the model to simulate 'lit' windows.  I decided in the end to make the windows 'powered down'.


The battlehead where the Battle Bridge is required to have additional openings to pass both wires and fiber optics through.  This section of the ship has a lot of nav lights as the Enterprise is actually 2 ships in one: a saucer section with families, and a maneuverable fighting ship with Warp Drive.  It also has a separation light on either side of the separation line which each glows yellow.


I reinforced the two halves of the neck with hot glue.


The fiber optics (nav lights/separation lights) are visible in these shots.


Better view of the assembled warp nacelle assembly clamped to the battle head/neck assembly in relation to each other.


SAUCER SECTION

First thing, I needed to add more styrene to the socket section of the saucer and drill out holes to allow the fiber optics and wires to pass through. I also filled in the cargo bay doors as they are not symmetrical as well as made a 'mold' of where the Captain's Yacht docks with the saucer.


Having looked at the plans for the Enterprise and looking at the model, the most of the lifeboats seemed to intersect grid lines and on the studio model, the life boat hatches trump the grid.  Also, there is a missing 'notched' window right in front of the 'Captain's Yacht'.  My decision was to sand down all of the life boat hatches in favour of making them decals. 


For both the upper and lower saucer halves the egg shaped oval is actually one piece with scribe lines vs. the misshaped 'ticks' on the model, so that had to be fabricated.  I also decided to add a registry light.  That was trick as there's no way to hide it and since this isn't a 'canon' ship, I could justify it.


Finally the paint...this the colour of the life boat hatches.


That's it for now, happy modelling and look for my next update on the Polar Lights/R2 USS Enterprise Space Seed Edition.

Cheers!