Monday, 1 January 2018

Constitution Class Refit USS OLYMPIA Polar Lights 1/350 scale UPDATE #25 - Nacelles part two

Greetings and Happy New Years!!

It's been a busy one this year and its been great!  I hope your year has been too.  Unfortunately, less time spent model building, but hey, that's ok.  Onto the ongoing, two-year build of this 'beastie'...


From where I left off with the last entry, I continued to work on the lighting.  For the spot lights from the nacelles, I bored out the openings in the kit.


My plan is to take a succession of rods, glue them together...


...with an LED at one end of it.


I then inserted the rod through the nacelle opening.


I mounted each nacelle to the ship, temporarily using hot glue.  The outer half of the nacelle has the locating pins that match the pins on the pylon.  I used green tape to hold both halves together.


Once the hot glue set, I then removed the outer half so I could get to work on positioning the LED's.


I then aligned the rod, aiming it towards the section of hull it is supposed to be illuminating.


As you can see, the LED is position inside the nacelle, and the light centred down the brass tube.


Once I was satisfied, I used 'Special T' glue with 'Insta-Set' to set the CA (super glue) instantly.


Here's the effect in the dark on the starboard side of the ship.


A little footnote, I've been experimenting with the marking on the ship to make her look like she was from the 24th Century...


This is the one I will eventually use.  Here is the nacelle above shows the light in position.


The starboard, inboard nacelle spotlight.


And the effect under normal lighting conditions.


I then moved onto the port nacelle and repeated the process.


After having seen the lighting effect, I decided to go with a brighter and larger LED.  I was able to knock out the original lighting harness and build a new one.  One of the properties of CA (super glue, Krazy Glue) is it will sheer perpendicular to it's surface.  This glue also acts as a filler, so I was able to sand it smooth too.


Here is the 5mm warm white LED.  A lot of model builders tend to use daylight LED's for the spots and warm white for the internal windows.  I've done the reverse.  I'm modelling the lighting, in full knowledge that the lighting was neon which was a cool white and the little lights were 'grain of wheat' light bulbs which are warm white.  I know that often with film processing, lighting can be altered when processed.  My goals with this model is to replicate the look with similar colour temperatures on the lighting.  This is my interpretation of the studio model.


Here is the larger LED in place on the port nacelle.


Once I completed it, I used a heck of a lot of the thick Super T glue to reinforce the LED.


Once I did the same process to the starboard nacelle, I filled around the hole (red putty), using a tooth pick as a block for the hole.


Here's my first pass with grey primer.


Here is the remaining lighting for one nacelle.
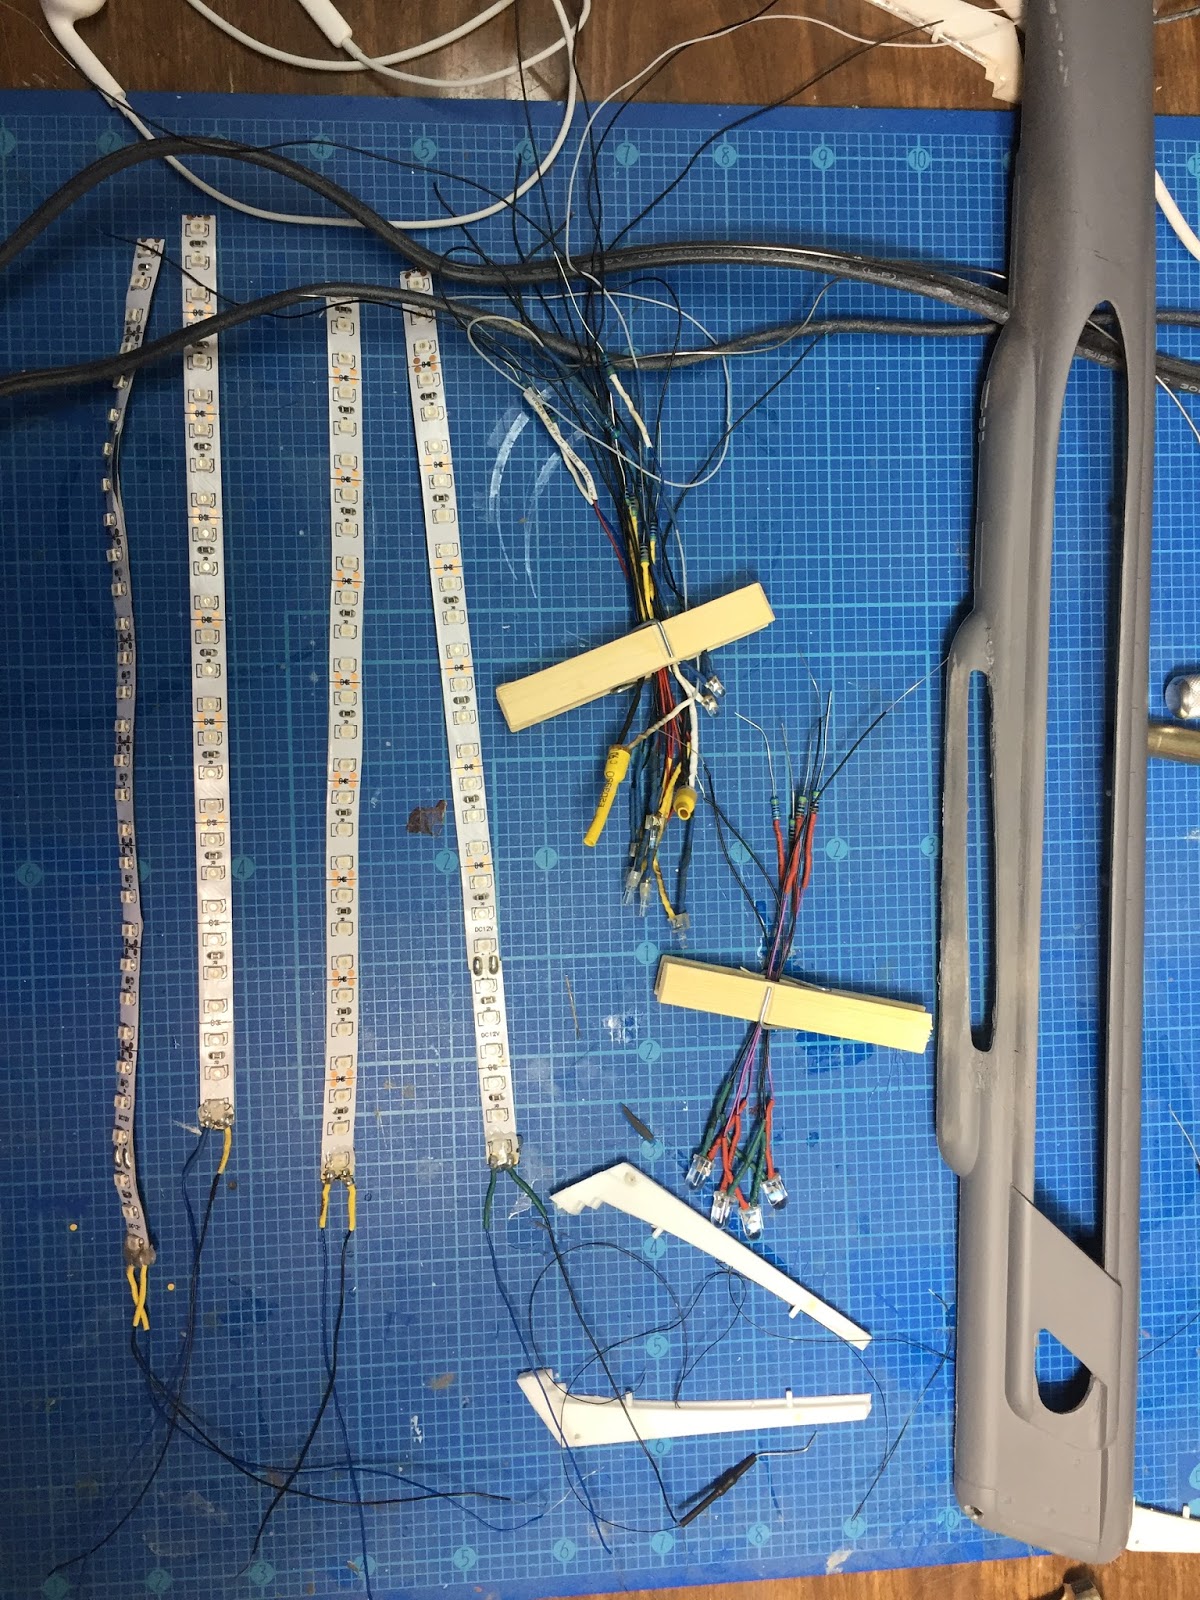

I'm using blue strip lights for the primary colour of the warp grills with red as a secondary colour to create a purple effect.


I then created the remaining LED's soldering the wires, and appropriate resistors.


Each LED takes about 5-10 minutes to build. There are several hours here of me building these LED's.


Next step is to mount the LED's finish painting the inner warp grills and final assembly of the nacelles.  All for another entry.

This will wrap up this entry and 2017!!

Happy Model Building!

Star Trek and all related marks, logos and characters are solely owned by CBS Studios Inc. This fan blog (production) is not endorsed by, sponsored by, nor affiliated with CBS, Paramount Pictures, or any other Star Trek franchise, and is a non-commercial fan-made blog intended for recreational use.  No commercial exhibition or distribution is permitted. No alleged independent rights will be asserted against CBS or Paramount Pictures.

Saturday, 4 November 2017

Constitution Class Refit USS OLYMPIA Polar Lights 1/350 scale UPDATE #24 - Nacelles part

Greetings!

It has been a while, but this entry will show the start of the work on the nacelles.

NACELLE, what is a nacelle?  In short, it a a housing, separate from the fuselage of an aircraft that contains an engine or other such equipment.  A Boeng 747 has 4 nacelle outboard jet engines as example.  It also is the term for the motor housing of a wind turbine.  And lastly, it is a French word meaning 'little boat'.

In the world of Star Trek, the nacelle contains the warp engine.  It has been referred to as the warp nacelles, anti-matter nacelles, warp drive pods and space/warp propulsion units.  What these twin power units (the original description on the original Enterprise model kit) do is create a bubble around the ship to fold space to go faster-than-lightspeed travel.  In the Trek universe Warp 1 is the speed of light and anything faster than that is defined as a warp factor.  These are on a logarithmic scale.  Warp 10 is at the top of the scale and is like the concept of infinity.

Design - according to Gene Rodennberry's rules for 'starship design', the nacelles are always in pairs (twins and quads like USS Stargazer or other multiples of 2), never odd numbers (example, USS Kelvin from JJ Abrams Star Trek, Enterprise - D from the season finale of Star Trek The Next Generation and several kitbashes featured in the Borg episode of TNG, 'Best of Both Worlds' which has both single and 3 nacelle starships.  The nacelle needs be able to be visible from the front of the ship (in other words, the nacelle can't be blocked by the saucer of a starship) and lastly the nacelle needs to have a sightline to each other of at least 50%.  This is why Voyager's nacelles rotate upwards when going to warp (and its also visually interesting and the first time a Federation starship had external moving parts like this).  Rodennberry's final rule is the bridge must be on the top of the saucer structure.  Nothing to do with nacelles but those were his rules for starship design.  Klingon ships and Romulan ships follow this design to a tee! only exception would be the Klingon Bird of Prey.

The two major components to the warp nacelle are the warp coils and the Bussard collectors.  The warp coils glow a bright blue during operation.  The original Enterprise didn't feature this originally but there were plans to do this if it ever got into a 4th season.  The Bussard collectors at the front of the nacelles and collect energy through space and are typically a reddish-amber colour.  Exceptions include all of the ships from the original Star Trek movies (1 - 6) as the fronts to the nacelles were almost black and USS Excelsior whose warp coil wrapped around the entire nacelle.   The Enterprise-B had blue Bussard collectors as an exception as well, not to mention in the reboot in both JJ Abrams Star Trek series of movies and Star Trek: Discovery, the Bussard collectors are blue.  So there's the background on the subject, let's get onto the model!!


Starboard nacelle with parts laid out.

Early on, I painted up two sets of 'skegs' on this model as the colour is supposed to be the same colour as the skeg underneath the saucer, and follow a similar function during a saucer separation.


When I painted these, I painted two sets of them.  I did this for two reasons: 1), I could use the other set for the other refit I have, 2) I have the option to use the nicest ones.  There is a seam line from the moulding process which required sanding.


Finally, after priming, sanding and repeat, I airbrushed the custom colour to match the keg on the neck back in Update #10.


Saucer skeg and nacelle skegs shown here.


Next major thing I did early on was come up with a colour of the inboard warp grills.  In the films they appear black.  The photos from Christies Auction show them as a dark violet or indigo.  From a blog site I remember reading earlier this year, in discussion with one of the designers of the ship, the inboard grills were actually made of metal and tinted with an dark blue ink, the same ink used on the original Star Wars for the blue sections of R2-D2.  My colour is made up of Tamiya clear red and blue.


I'm applying this colour to two sets of inboard warp grills, my 1/350 here and a set of 1/1000 for my USS Eagle build.


The masking set I have has strips of tape to mask the internal stripes.  For the smaller Eagle grills, it's a static model so I just scraped out the primer to allow the silver show through.  In theory, the clear indigo should reflect some light back.


My next process was dealing with the dome shaped objects fore of the warp grills.  I don't know the in-universe name for it currently.  I bought a replacement pack from Don's Light and Magic for this, the shuttlebay doors and the impulse engine (which I didn't use).  I took a casting of the parts so I had an option to do them as clear parts.


The next step is to remove the section on the nacelles by drilling (by hand) the section per the instructions.


I also removed the centre post within the nacelle


A light test of the new part.


I made additional clear casts to get the best part.


The intake (Bussard Collectors - although I think they are referred to something else on this type of ship) I primed as part of the prep.


Using another completed model as a guide (small nacelle) I put on a decal I'm not going to be using, the markings for NCC-1701-A.  This decal is temporary and just for placement of the SMD to be mounted on the fin.


I used CA (superglue) to adhere the SMD to the plastic part.


This will wrap up this entry.

Happy Model Building!

Star Trek and all related marks, logos and characters are solely owned by CBS Studios Inc. This fan blog (production) is not endorsed by, sponsored by, nor affiliated with CBS, Paramount Pictures, or any other Star Trek franchise, and is a non-commercial fan-made blog intended for recreational use.  No commercial exhibition or distribution is permitted. No alleged independent rights will be asserted against CBS or Paramount Pictures.