Showing posts with label resin. Show all posts

Tuesday, 28 February 2017

Constitution Class Refit USS OLYMPIA Polar Lights 1/350 scale UPDATE #20 - Secondary Hull Final Repairs

Greetings!

I've been spending a lot of my time detail the saucer section.  It's been easier handling a 16" saucer rather than a 36" assembled model for detailing.  The fuselage or secondary hull (engineering section) likewise is easier to handle as seperate entity, especially as I need to repair some damage done to it.

Last time I worked on the engineering hull, I was still fixing the broken pylon tip.  Update #16 November 30, 2016.

STARBOARD NACELLE PYLON


This tip, as I had previously mentioned completely broke off in the middle of the the pattern.  I used epoxy to 'weld' a piece of steel rod in the hollow pylon to give it rigidity and casted a new piece onto the old one using resin.  It's good but not perfect.

I have decided this is not going to be a 'new' starship, like the USS Enterprise Refit as seen in Star Trek The Motion Picture, but will have some weathering (subtle) and I will draw some attention to this area, by weathering it.  Or I should say, I hope it doesn't draw too much attention.


It's still somewhat blotchy on the ventral side, this is where I will have to weather it.


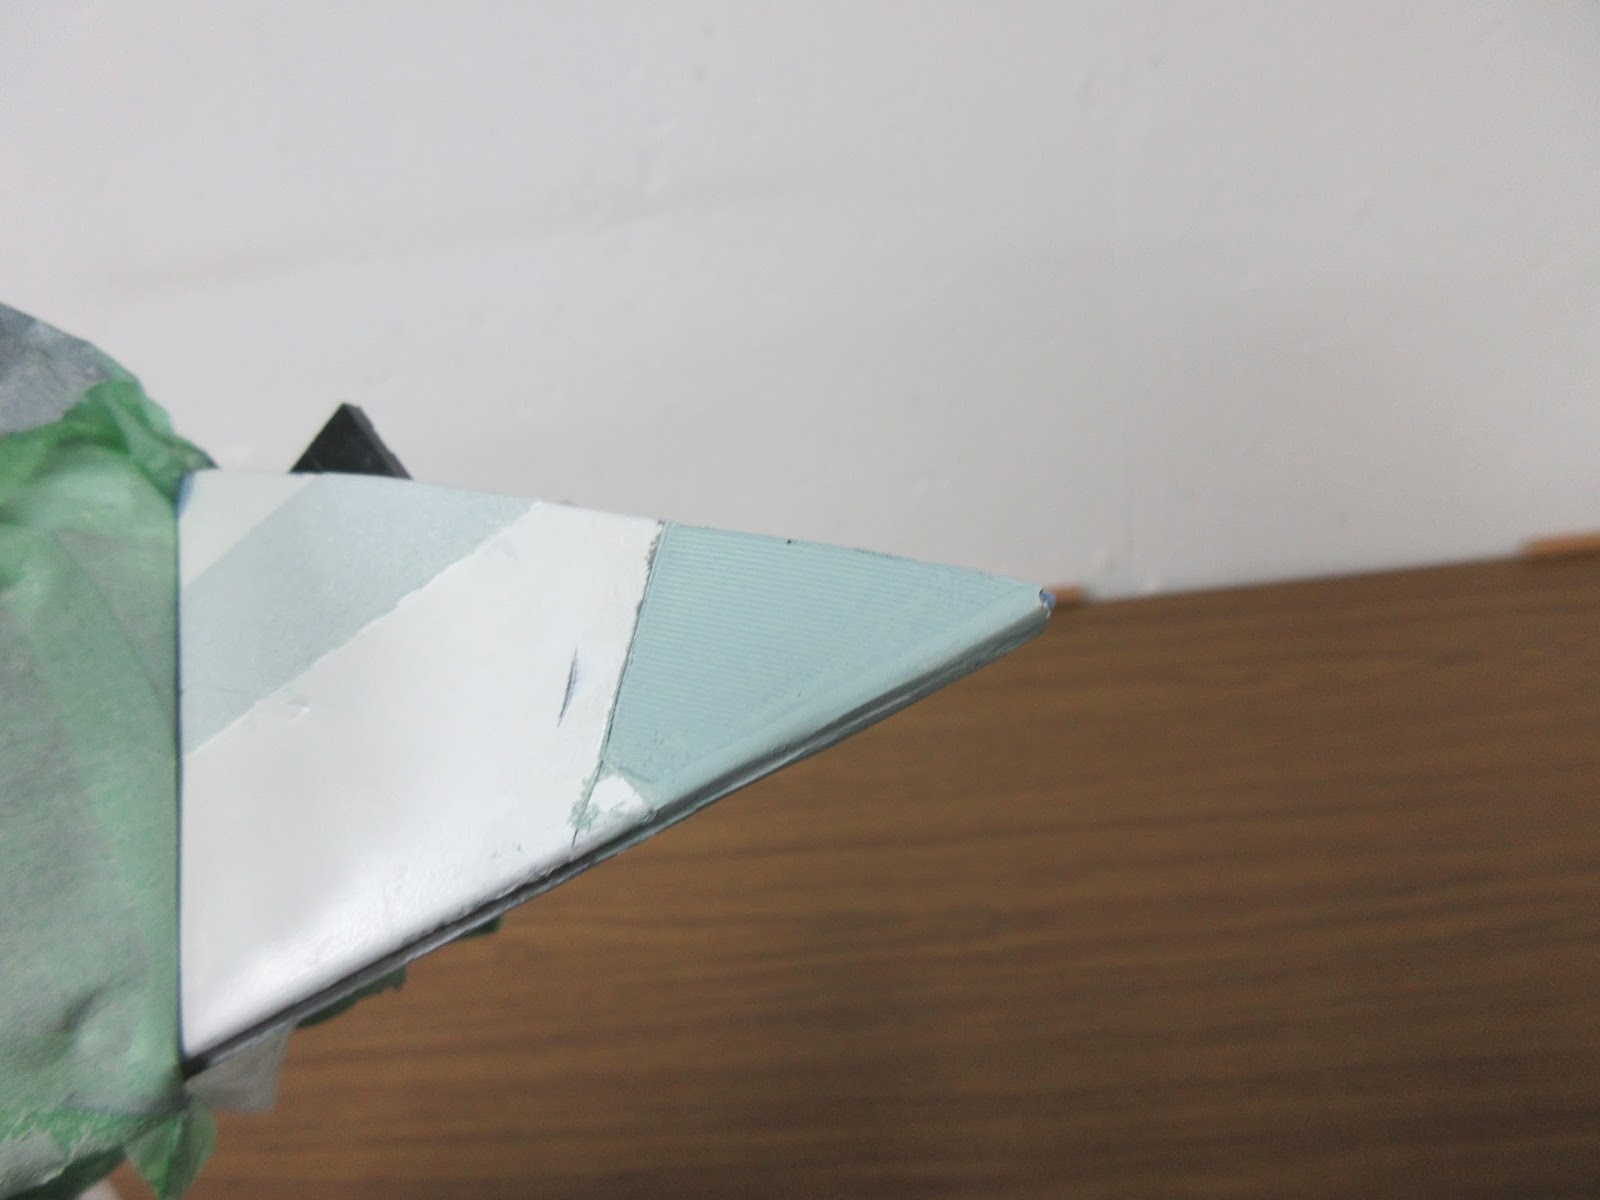
Once I removed the masking (both Frog Tape and Green Painter's Tape) from the pylon, you could see the paint buildup around the vents.  It may not always seem obvious, but paint will leave a build-up around a masked edge.  That's why I like to glue as much as I can of the main parts of a model where strength is needed and mask off areas to be glued later.  Sometimes it works.  Sometimes, not so much.


Dealing with the rest of the starboard pylon, I noticed there was a blackened mark, I have no idea where it came from.  So I decided to repaint the vent.


I just can't win!  In fact, I ran out of my mixed paint and had to mixup another batch and it turned out to be blotchy.  I'm living with it, for now.


Now that the remaining vents have been fixed, time to restore the rest of the pylon to it's pearl white finish.


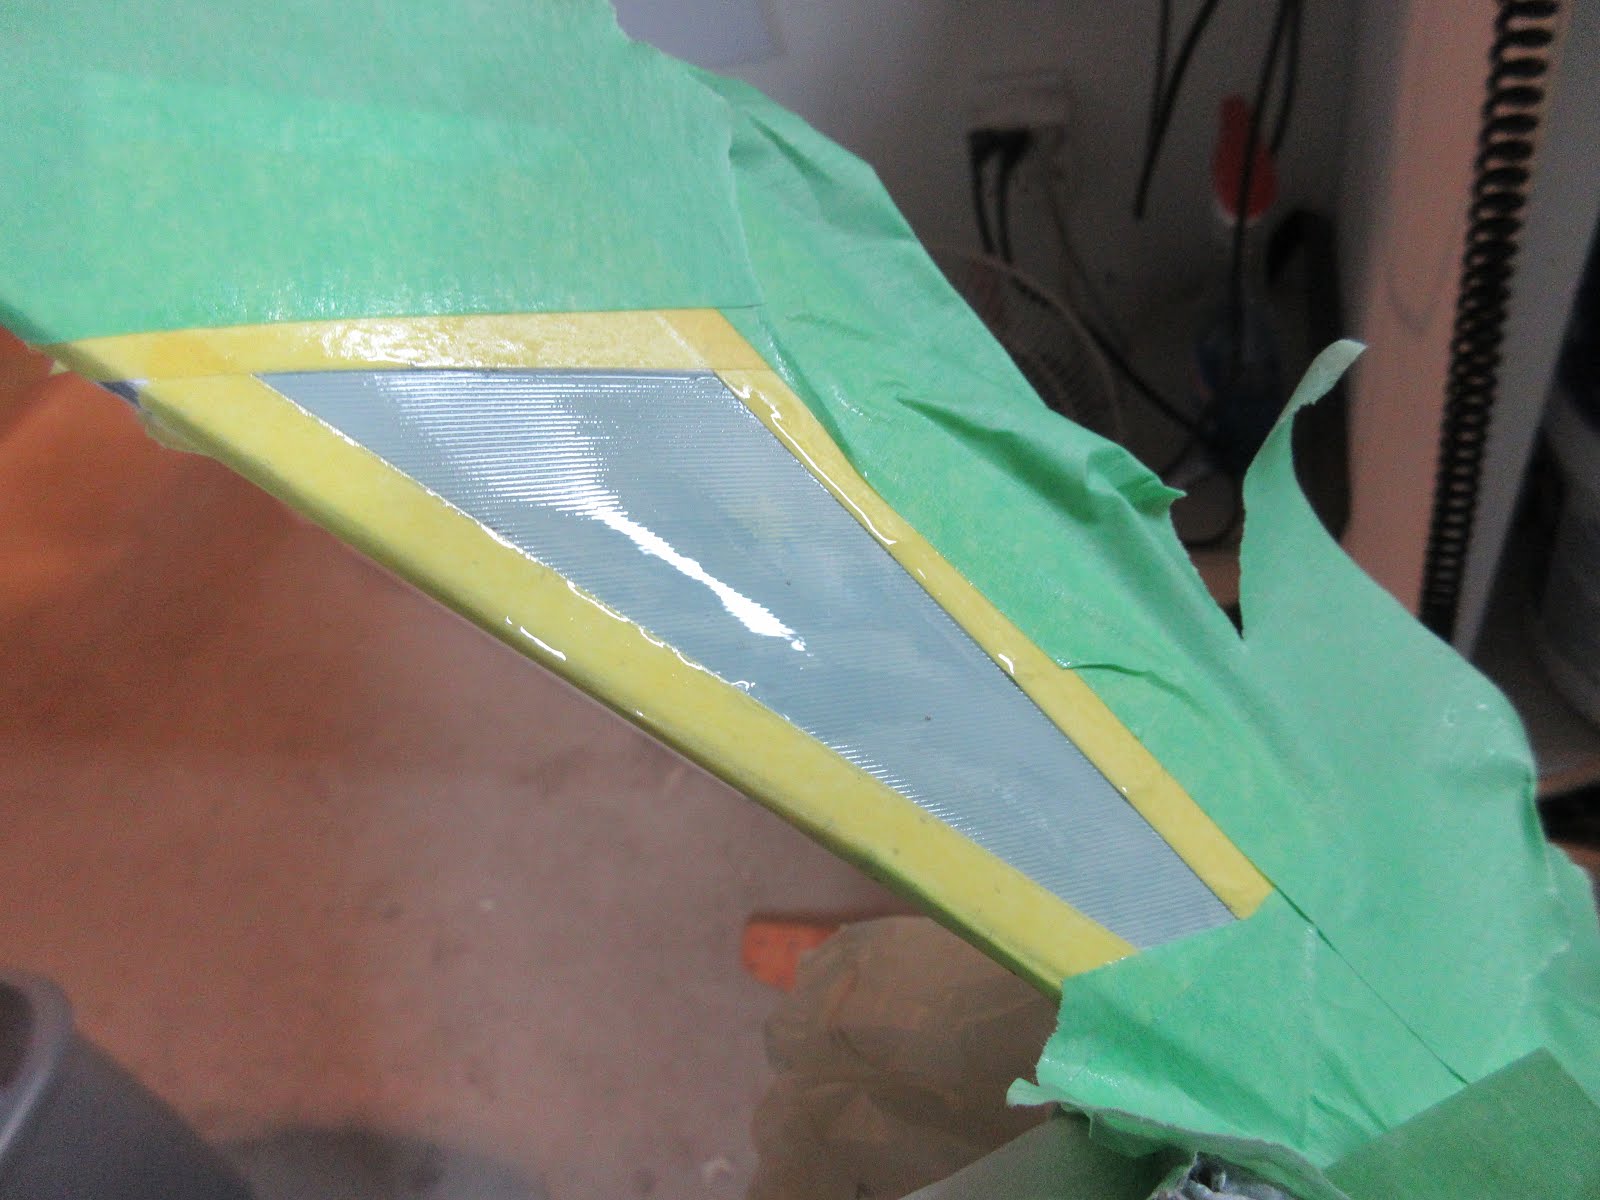
I then decided, so these vents don't show the imperfections, I'd cover them in flat clear (Tamiya).  I masked off each vent on both pylons and sprayed them separately.


PYLON CONNECTION WITH THE HULL


Previously as I mention in entry #13, the pylon connection where it meets the engineering hull split at the seam.


I reinforced the seam with liquid cement.  In hindsight, I would have used epoxy for this connection.  It worked wonders on the neck.  Once I let this cure, for weeks (as I continued work on the saucer, and just working in general), I sanded both sides of pylon connection, I filled them with red putty and sanded smooth.  Then I prepped for painting...again.


In the interim, I also ground down the metal rod that gives strength to the new cast part so it can mate with the nacelle.


I then turned my attention to fixing up this connection.


Which in turn meant repainting the this section of strong back.


And finally with some more touch-up the section is complete...again, like it was before the split.


SHUTTLEBAY


This section just needed some touch-ups, especially where there was over-spray around the shield emitters (or whatever those grey things are to the sides of the opening).


DECALS


This was also a perfect time to test out the decal I am planning to use.  It's slightly different, intentionally, than the normal pendant that goes here.


The big difference is the TNG styled arrowhead.  I put this on one of my spare Refit kits.


TEST FIT


Now that everything is as close to ready as I can get it, time to do a test fit.

(that is a 1/350 TOS USS Enterprise in the BG - unbuilt)

The wiring proved to be challenging, pulling it through the opening.  That will have to be modified with a larger hole.  To test fit this, I have to use my hand to hold it together.  The saucer is WAY too heavy without the balance of the nacelles.

Below is a rare balancing act, using an unbuilt TOS sistership to lean on it.


That wraps up this entry...time to connect and make this ship whole!!

Happy Model Building!

Star Trek and all related marks, logos and characters are solely owned by CBS Studios Inc. This fan blog (production) is not endorsed by, sponsored by, nor affiliated with CBS, Paramount Pictures, or any other Star Trek franchise, and is a non-commercial fan-made blog intended for recreational use.  No commercial exhibition or distribution is permitted. No alleged independent rights will be asserted against CBS or Paramount Pictures.

Wednesday, 30 November 2016

Constitution Class Refit USS OLYMPIA Polar Lights 1/350 scale UPDATE #16 - Secondary Hull - Part 6

Greetings!

This entry will cover my fixes to the secondary hull to get it ready to be mated with the saucer and neck.

The first issue to fix is where I left off, the shuttlebay.  There was a lot of bleeding through the tape, so I had to repaint it in sections.


I still have to retouch the angular grey sections due to overspray.


Next step was to paint the phaser banks.  I painted them from the same batch of paint I used on the saucer's RCS thruster and phasers.  (I also painted them at the same time as I painted the saucer's phaser banks and deflector dish - from a future update, so as to not waste paint from transferring back and forth from the reservoir for the airbrush and the mixed solution.)

ventral phasers on the belly of the engineering hull

just over the shuttle bay 

And the reveal...


Next step was to touch up on the strong back details. The strong back is painted a light grey made by Lowe's brand of paints, Valspar.   So I sprayed a card and touched up with a brush.


I then ran a black micro Sharpie in the grooves between the rings around the grooves of the deflector housing.


PYLON FIX


As I previously mentioned in a previous update, the tip of the pylon busted off.  https://fordosmodels.blogspot.ca/2016/11/constitution-class-refit-uss-olympia.html 

I have a second kit, unbuilt (actually two - one sealed, one open from 2005).  I gathered the parts from the unbuilt kit in an effort to cast a mould off of the pylon.


Here is the starboard nacelle. 


I mocked up the starboard nacelle and pylon with painter's tape.


I then used a two part silicon putty to make a mould off of the vents on the starboard pylon.  Having the nacelle in place helped show me where to stop filling the gap with resin.


Next, I went to my stock of pipe and rods.  I found a suitable steel rod to insert into the cavity of the nacelle pylon.


I used a 15 min epoxy to affix the rod to the hollow pylon.


And at the same time, I reinforced the socket for the stand in the secondary hull.  I found the off-balance of the secondary hull was causing the connection to weaken.  This is a heavy model and the last I thing I want to have happen is for the model to topple over.  Epoxy resin is very strong, adheres well and tough to get off... trust me on this one. 


I had considered splicing in a part from an unbuilt kit, but that might wreck the strength of the part.  I also considered cutting off both corners entirely, much like the Phase II Enterprise (Jeffries Diagram).

sourced from the web - no copyright infringement is intended


I glued in a piece of styrene too use as a stopper for the flow of resin.


Ready to pour!


note, you can see the terminal connection for the future engines

I propped up this part of the model to ensure this section of the model was 100% level.  It needs to be to pour in resin.


Survey says...


Here are the results.  I noticed there was a leak as the resin seemed to drain through the pylon.  I put in blocks with styrene and hot glue but I guess there wasn't a perfect seal. It actually drained and leaked on the hull.  Fortunately it didn't stick to the glossy surface of the paint and could be chipped off easily.  The residue easily removed with mineral spirits.  I tried doing that on the engraved detail on the pylon and created a bigger mess.


Moving forward, I cut off the metal rod with a dremel rotary tool. 


I still need to refine the fit of the nacelle to the pylon now that the resin has fully cured.


But before I do that, I need to fix the grill work.  This has been a very frustrating setback.  I paint the section with grey primer to see the faults, and there were quite a few.  I then had a new idea/approach, fill in the gaps with putty and stamp the design in with a half mould.  I wasn't going to reuse the mould I previously made, so I made a new mould off of the unbuilt pylon.


Here is my first attempt.  It's ok, but not perfect.


I then painted it, and still no go.  So a few more tries later, this time filling in the whole piece.


In the end I re-stamped it and smother over the bumpiness with my finger.


That wraps up this entry...more fixing and painting on this 'beastie'.  Next entry, I start the decals on the saucer!

Happy Model Building!

Star Trek and all related marks, logos and characters are solely owned by CBS Studios Inc. This fan blog (production) is not endorsed by, sponsored by, nor affiliated with CBS, Paramount Pictures, or any other Star Trek franchise, and is a non-commercial fan-made blog intended for recreational use.  No commercial exhibition or distribution is permitted. No alleged independent rights will be asserted against CBS or Paramount Pictures.