Monday, 31 October 2016

Constitution Class Refit USS OLYMPIA Polar Lights 1/350 scale UPDATE #12 - Secondary Hull - Part 4

Greetings!

So this entry comes up as a follow-up to the last one on the Secondary Hull.  Light leaks have been my biggest obstacle with this build.  The window masks I got for this model have been a 'godsend'. It is virtually impossible to build this model without utilizing them and it creates more work in the end to do what I did, and not use them initially.

Onto the build!!

...'Just like starting over'...John Lennon

That summarized what I need to do painting wise to complete this build.  But before I needed to do this, I had to check the wiring...

sorting out the wires

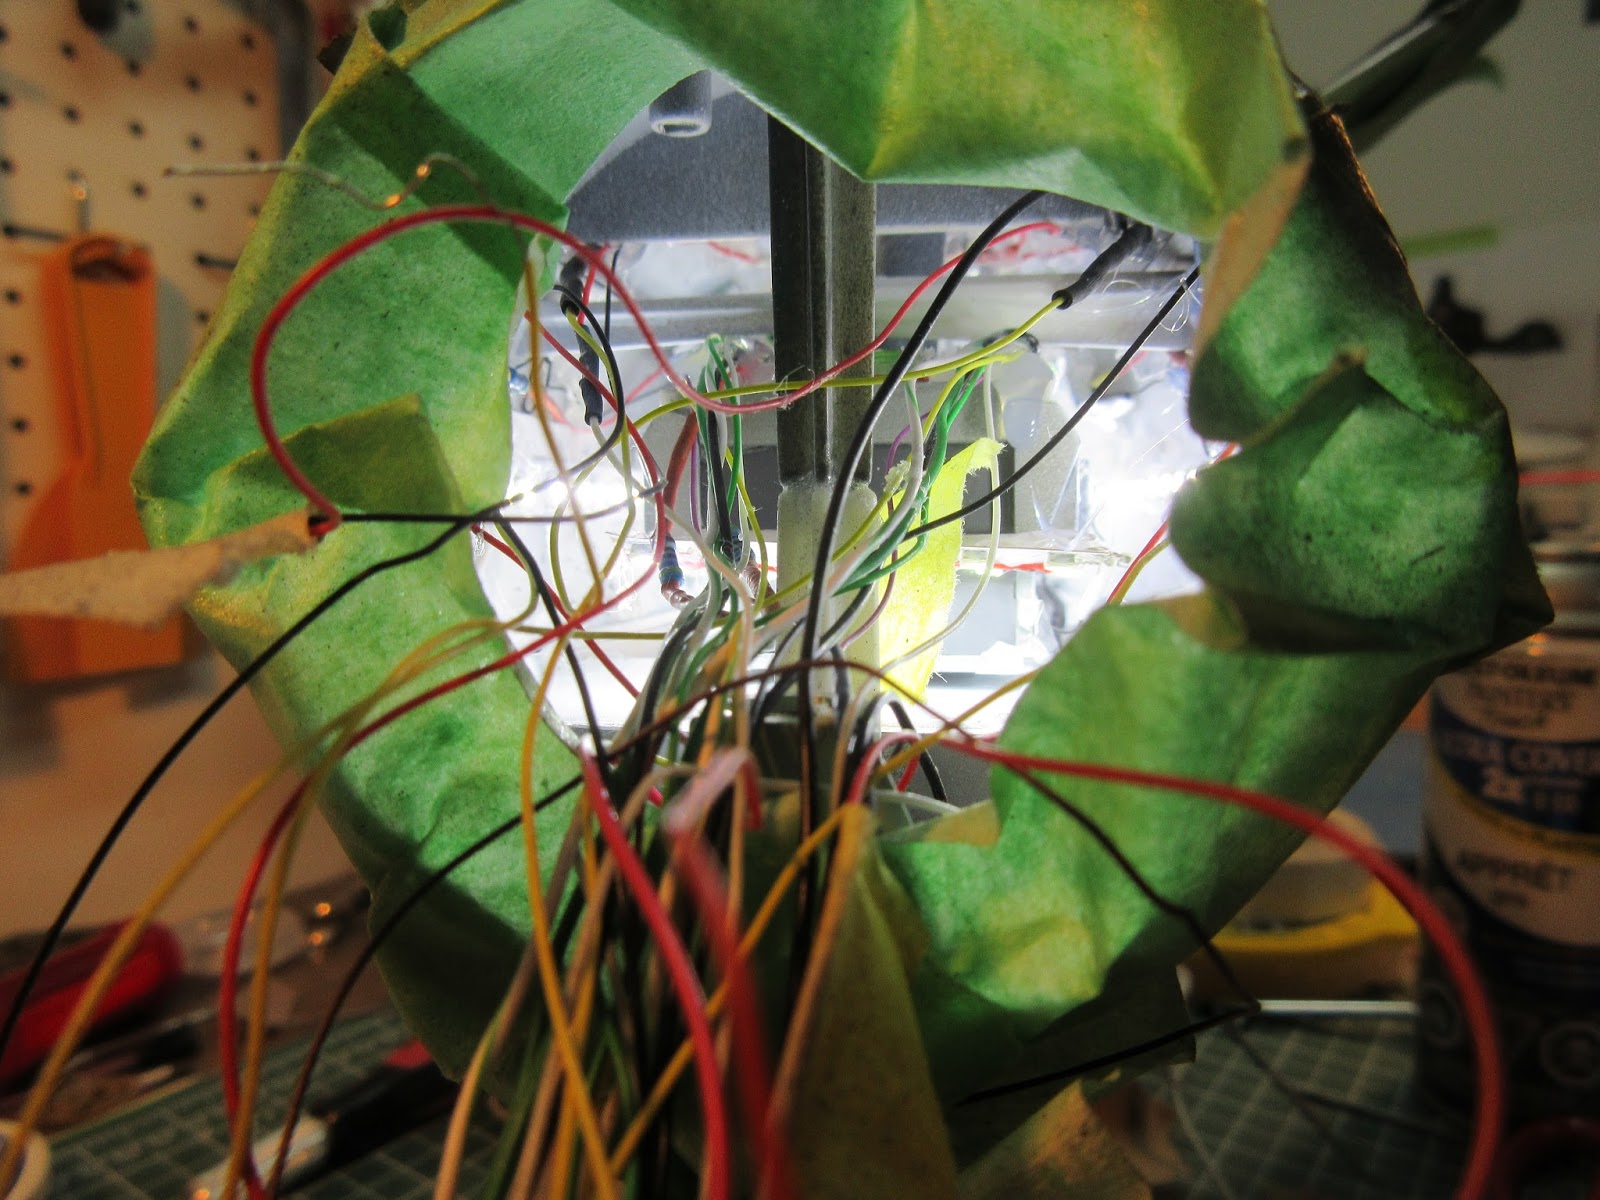
What you are seeing here was my biggest fear...something isn't working.  In fact, because I had all my wires as separate leads vs. making mains for each circuit, some wires got damaged when they were taped up, as the model sat for months.  Each entry isn't always exactly order of how I've worked on this as I keep switching back and forth between the saucer and engineering section.  I had to add a new strip of LEDs to illuminate the starboard windows.


This is a better view of what I had to do - the camera tends to overexpose things.


I used a pencil to hot glue the LED strip.


Taming the wires...I colour coded each circuit for easy identification.  Once I got them all sorted, I soldered everything into one wire, per colour.


A little light on the subject...

Once I got the wiring set, I turned on all of the lights, fixed seams and looked for more light leaks.

in the lower half of the ship, you can see a band of glowing plastic
The shuttle bay still is lit correctly.  There is a gap between the red windows (control deck, in universe) and the rest of the ceiling.  I filled it in with Black Tulip Fabric Paint.  You can pick it up at Walmart in the hobby section.


The aft bulkhead which houses the frame for the doors and fantail had many light leaks, not to mention, a very bad seam.  That was filled with red putty (Bondo Glazing Compound).


Also, the undercut of the fantail had light leaks too, not to mention uneven paint job.


Applying the window masks


I used my #11 X-Acto knife to individually apply each mask to the windows.


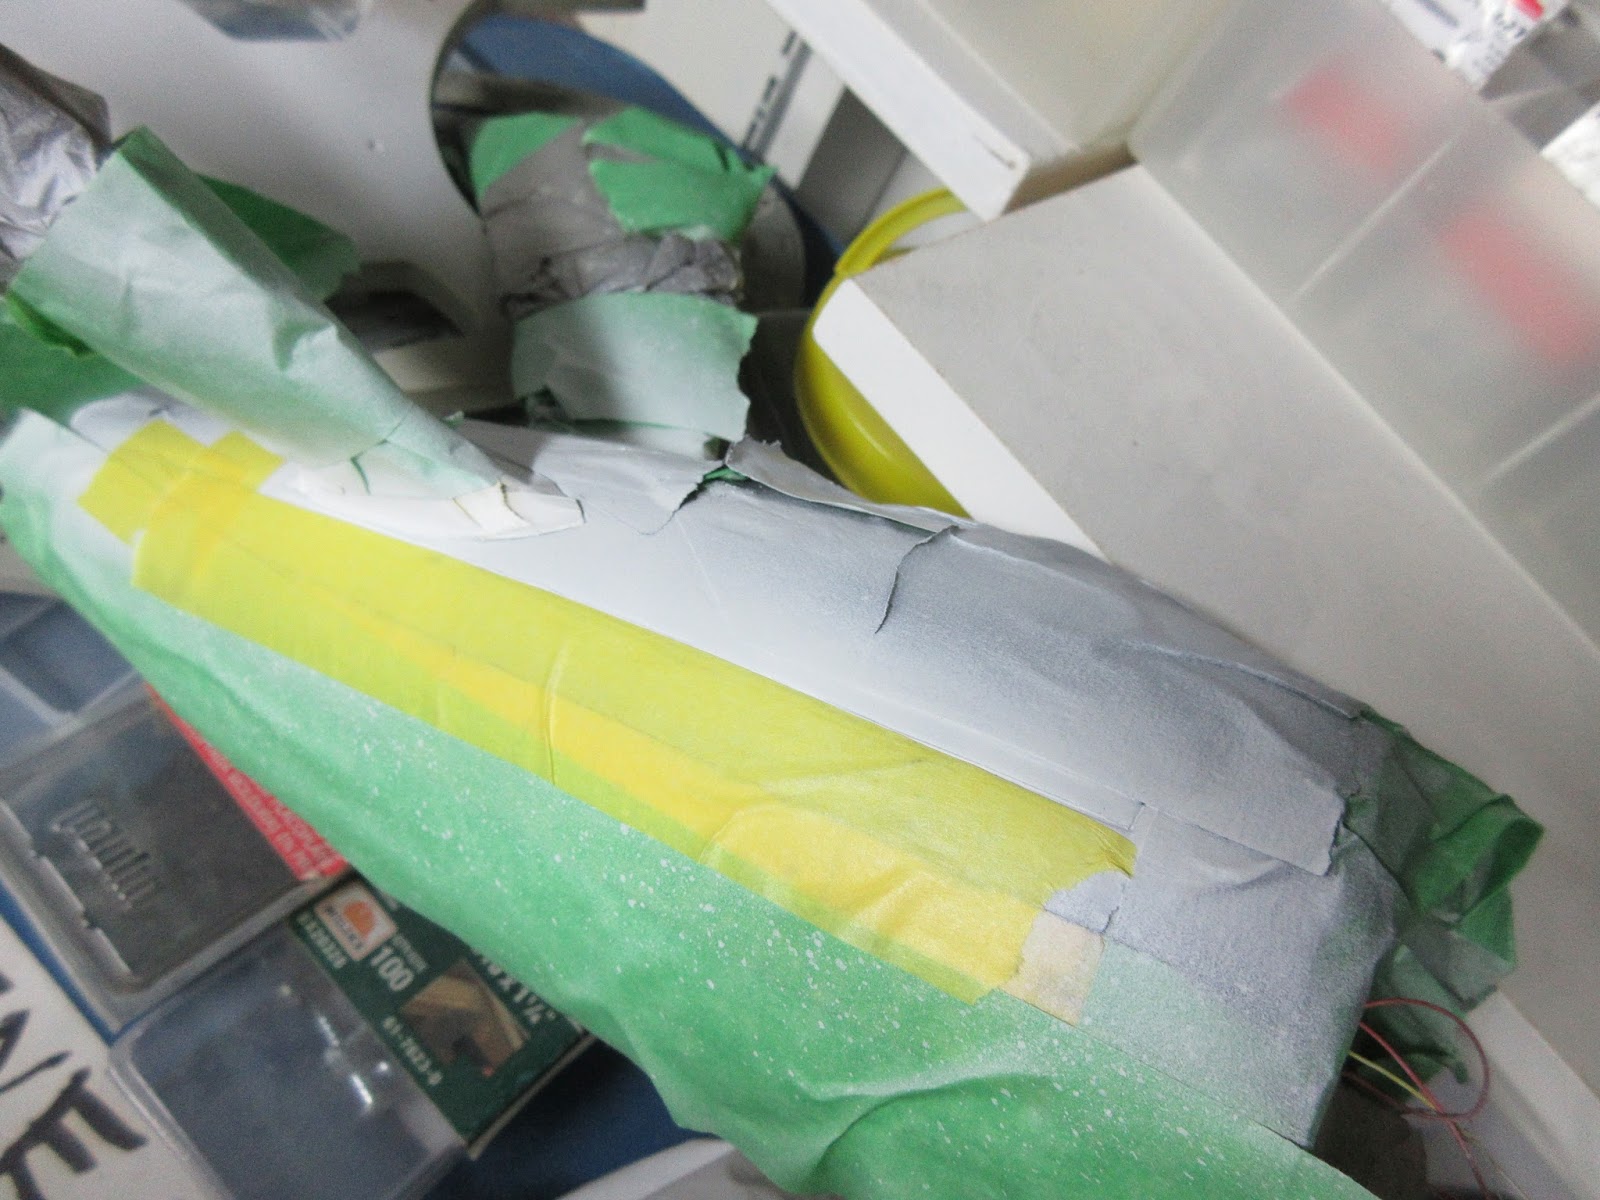
The masking set did not have accurate botanical gardens masks, so I jut used frog tape and cut to shape.  The key with frog tape (which is a bit stickier that Tamiya tape I find) is you have to burnish it with your fingernail to avoid getting overspray under the edges.


Ready for grey primer...again.


Here is my first new grey coat of primer.


Still some light leaks.


Some refining of the surface of the hull.  I had a chemical reaction last time which created a bumpy surface on the hull previously, so this had to be fixed. 


I also notice there were dimples on fantail too, red putty to the rescue!


I had to re-scribe the area around the spine of the engineering hull, many times.  The problem is there is a natural seam along the slanted gridline, connecting to the spine and it bleeds light in a big way!


Also after all of my fixing of the grid lines, I had to further refine them...


In the end, black Tulip paint has been a godsend to fill the offending gridlines.


That wraps up this chapter of this model...

It may not seem exciting, but this is so crucial to make sure this looks like a replica, not a cheap toy.


Happy model building!!

Star Trek and all related marks, logos and characters are solely owned by CBS Studios Inc. This fan blog (production) is not endorsed by, sponsored by, nor affiliated with CBS, Paramount Pictures, or any other Star Trek franchise, and is a non-commercial fan-made blog intended for recreational use.  No commercial exhibition or distribution is permitted. No alleged independent rights will be asserted against CBS or Paramount Pictures.

Friday, 21 October 2016

Constitution Class Refit USS OLYMPIA Polar Lights 1/350 scale UPDATE #11 - Secondary Hull - Part 3

Greetings!!

I do realize this has been a while.  What can I say, life is beautifully busy, and I've had a fantastic summer - both personally and professionally!  Not much time spent on my hobby, but there's no deadlines or rushes.  Anyways, I've also since I last posted ordered some additional materials for this build, and they just came in.

The ship has a name!!  USS Olympia, it was featured as a crashed ship in an episode of Deep Space Nine.  According to Memory Alpha Wiki, it was a reuse of the destroyed Enterprise Saucer Section from Star Trek III: The Search For Spock.  I'm making an assumption it was a Constitution Class Refit.  We saw Excelsior and Miranda Class ships throughout TNG, DS9 and Voyager, but never the Constitution Refit, except for during the "Battle of Wolf 359" (which BTW, is a real red dwarf star in the constellation Leo - many stars in Star Trek are named after real stars).  The ship appears as the wreckage of a secondary hull of a Constitution Class Refit, and you do see a separated saucer section. That's the only time in Star Trek The Next Generation this type of ship appears, so it is reasonable to assume these old ships must still be in service too.  So this build will now be a 24th Century Vessel.  That means a five-digit registry (NCC-xxxxx) vs. a four digit (NCC-1701, or NX-2000, NCC-1864, etc.) and 24th century Starfleet branding with the Arrowhead logo on an elliptical disc vs. a circular one.  I'm not going to be adding 'lifeboats' or 'phaser strips' but just update the markings.  I did after all almost double the windows on the secondary hull.  I digress, on to the build!

So this is now the continuation of the secondary hull, where I last left off.   Lots of light leaks through the seams.


My first real step was to address the fit where the pylons meet the hull.  There is a big gap on both sides.  Also where the secondary hull sections, top, bottom, port, starboard and the hanger deck fantail meet each other, there are gaps.  So time to fill.


I did most of this work with the lights on so I could at least see what progress I was making with filling the seams while maintaining the gridlines.


I tried my very best to save my paint job (won't do this again, pre-paint the parts, especially on this kit).  It was a good idea at the time to pre-paint the model, but in practice, not so good.  I think pre-painting the pylons were a good idea, but let's see as I move forward with this build...


One of the trickier aspects of this is restoring every time the gridline where the seam is.  This is why on future builds I won't be pre-painting this section.  To re-scribe the gridline I used the edge of a triangular jewelers file, on its edge, like a saw.


This took more than one try to get it right.


I did this a seam at a time, always hooking up the internal lighting so I could see any light leaks.


The mess of wires out the front cavity of the hull.


Once I was finished with all of the seam-filling and addressing the light-leaks, I moved forward to paint the affected areas.


Now I can finally start to paint what I've fixed.


I chose silver as to me this looks like a section that would have to be structurally secure (both in the fictional universe of warp drive and literally to support the nacelles).


Another area which needs to blend in better is the spot just above the arboretum windows.


After many weeks (drying time, work and other commitments), the idea of just masking off sections and leaving others exposed didn't quite work as planned, unfortunately.


Next update will complete the secondary hull, but a complete repaint job.  I have just received window masks for this project, something I should have done from the beginning, which will undoubtedly speed up things and properly finish this very long project.

Happy model building!!

Star Trek and all related marks, logos and characters are solely owned by CBS Studios Inc. This fan blog (production) is not endorsed by, sponsored by, nor affiliated with CBS, Paramount Pictures, or any other Star Trek franchise, and is a non-commercial fan-made blog intended for recreational use.  No commercial exhibition or distribution is permitted. No alleged independent rights will be asserted against CBS or Paramount Pictures.

Saturday, 2 July 2016

Constitution Class Refit - Polar Lights 1/350 scale UPDATE #10 Finishing the Saucer: Part 2 - Sticking a neck out...

Greetings!!

I know it's been a while, work, life and other projects have been exceptionally busy, I had to put this model down for several weeks.  Meesa Back!

Where I last left off, I had a completed Saucer section,  the neck, and a completed Engineering section with the nacelle pylons attached.  The only things that were missing were there were light leaks on the engineering section and the saucer had a gap where the neck meets the impulse engine as well as overspray along the hull due to a masking accident and a piss-poor masking on the perimeter of the saucer's walls, the sensor bands.  As I mentioned last, I didn't end the blog on a high note...

One of the sore spots on this model that bothered me the most was a difference in colour when I sprayed on the base colour again in the first grid on the upper saucer.


Because I didn't want to repaint the whole model, I came up with what I thought was a bright idea, give this ship a 'rust ring' like the TOS Enterprise.

(from an earlier build)
Since the colour of the ship is white, I decide to use 'antique white', same colour I used on my Avro Arrow build a number of years ago.


My next step was to paint the individual access doors on the upper saucer hull.  These doors allow the crew of the starship access to the exterior of the ship via a lift (elevator).  Kirk, Spock, Decker and Ilia used one of these in Star Trek The Motion Picture when they journey to the heart of V'Ger.


Once I got these completed, I realised the rust ring needed to look, aged so I decided to weather my already weather upper saucer surface.  Certainly an interesting experiment in fixing a problem...


Come together...


Once I (thought I) was done with painting the saucer, I moved onto the exciting part for me, attaching the neck.  Due to the mass of wires, I felt the order of assembly has to be: saucer to neck to engineering hull.


For the gap between the saucer and neck, I used bits of styrene and lots of Evercoat and red putty.  To sand it, I built myself a new sanding stick.

a popsicle stick with sand paper
Once I was satisfied, I masked off the area where the neck meets the saucer which gets painted a light blue.  Having this on both the saucer and neck means its easy to isolate this part of the model and fully paint the subassemblies.


Whenever you start to paint an area that has had putty, I use grey primer to see the flaws, and like most areas, I find you do this about 2-3 times: spray, evaluate, sand, fill, sand and then back to spraying again.


Now this is where the fun begins...back to adding colour, starting with white primer.  I usually will prime it white, unless a dark grey or black is going over it.


As I described previously, this part has the same design element as the other skeg on the nacelles, so they get painted the same colour.  I decided to do them from both kits.  The parts needed a lot of preening as there was lots of flash and a few sink spots.


The green 'block' a special kind of foam used in floral arrangements.  It's great to stick parts in for painting, so long as they are lightweight.


It is really hard to see this in the following picture, but both the nacelle and saucer skegs are indeed the same colour.


That will wrap this up for now.  Expect more coming sooner than later.

As things have changed recently in the relationship between Star Trek fans and CBS/Paramount, I am going to refrain from posting screencaps in future, out of respect to their current guidelines for fan films (even though this is just a model building blog, primarily concerned with Star Trek).  I do this blog to 'give back' as there are so many wonderful YouTube channels which feature models being built in various stages, and I regularly watch them and have learned many techniques from them.  I would hate to have happen to the model, prop-maker enthusiasts what recently happened to Star Trek fan films.  (Not exactly the Gene Rodenberry spirit...I digress on that.)

That said, have a great weekend, Happy Canada Day to my Canadian friends and followers and I wish a Happy 4th of July to my American friends and followers.

Disclaimer

Star Trek and all related marks, logos and characters are solely owned by CBS Studios Inc. This fan blog (production) is not endorsed by, sponsored by, nor affiliated with CBS, Paramount Pictures, or any other Star Trek franchise, and is a non-commercial fan-made blog intended for recreational use.  No commercial exhibition or distribution is permitted. No alleged independent rights will be asserted against CBS or Paramount Pictures.