Saturday, 2 July 2016

Constitution Class Refit - Polar Lights 1/350 scale UPDATE #10 Finishing the Saucer: Part 2 - Sticking a neck out...

Greetings!!

I know it's been a while, work, life and other projects have been exceptionally busy, I had to put this model down for several weeks.  Meesa Back!

Where I last left off, I had a completed Saucer section,  the neck, and a completed Engineering section with the nacelle pylons attached.  The only things that were missing were there were light leaks on the engineering section and the saucer had a gap where the neck meets the impulse engine as well as overspray along the hull due to a masking accident and a piss-poor masking on the perimeter of the saucer's walls, the sensor bands.  As I mentioned last, I didn't end the blog on a high note...

One of the sore spots on this model that bothered me the most was a difference in colour when I sprayed on the base colour again in the first grid on the upper saucer.


Because I didn't want to repaint the whole model, I came up with what I thought was a bright idea, give this ship a 'rust ring' like the TOS Enterprise.

(from an earlier build)
Since the colour of the ship is white, I decide to use 'antique white', same colour I used on my Avro Arrow build a number of years ago.


My next step was to paint the individual access doors on the upper saucer hull.  These doors allow the crew of the starship access to the exterior of the ship via a lift (elevator).  Kirk, Spock, Decker and Ilia used one of these in Star Trek The Motion Picture when they journey to the heart of V'Ger.


Once I got these completed, I realised the rust ring needed to look, aged so I decided to weather my already weather upper saucer surface.  Certainly an interesting experiment in fixing a problem...


Come together...


Once I (thought I) was done with painting the saucer, I moved onto the exciting part for me, attaching the neck.  Due to the mass of wires, I felt the order of assembly has to be: saucer to neck to engineering hull.


For the gap between the saucer and neck, I used bits of styrene and lots of Evercoat and red putty.  To sand it, I built myself a new sanding stick.

a popsicle stick with sand paper
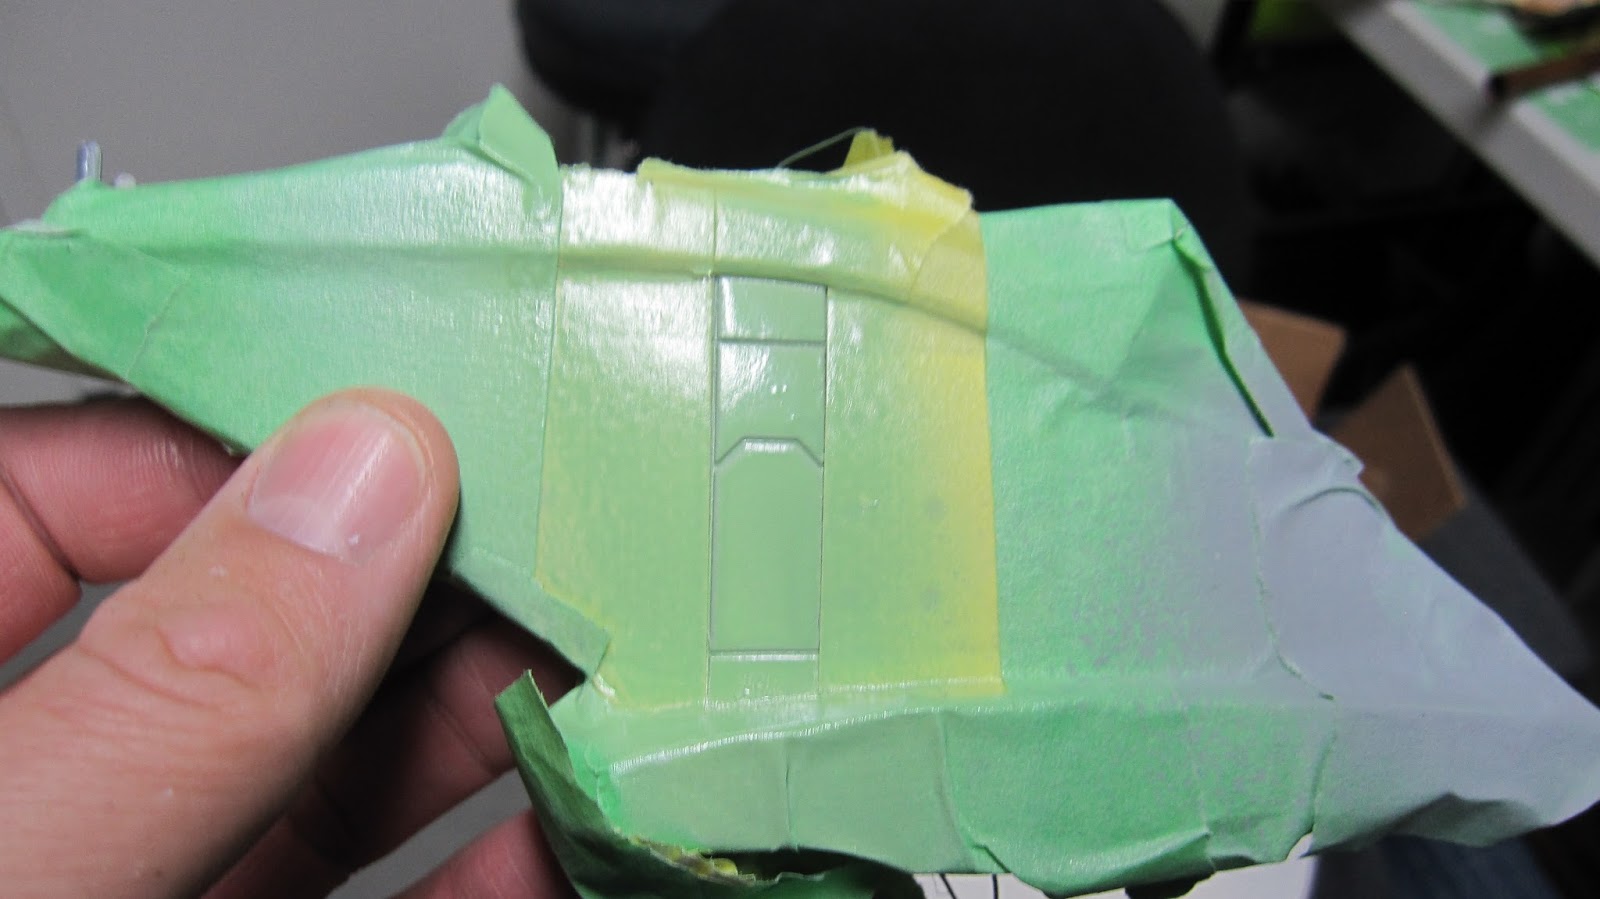
Once I was satisfied, I masked off the area where the neck meets the saucer which gets painted a light blue.  Having this on both the saucer and neck means its easy to isolate this part of the model and fully paint the subassemblies.


Whenever you start to paint an area that has had putty, I use grey primer to see the flaws, and like most areas, I find you do this about 2-3 times: spray, evaluate, sand, fill, sand and then back to spraying again.


Now this is where the fun begins...back to adding colour, starting with white primer.  I usually will prime it white, unless a dark grey or black is going over it.


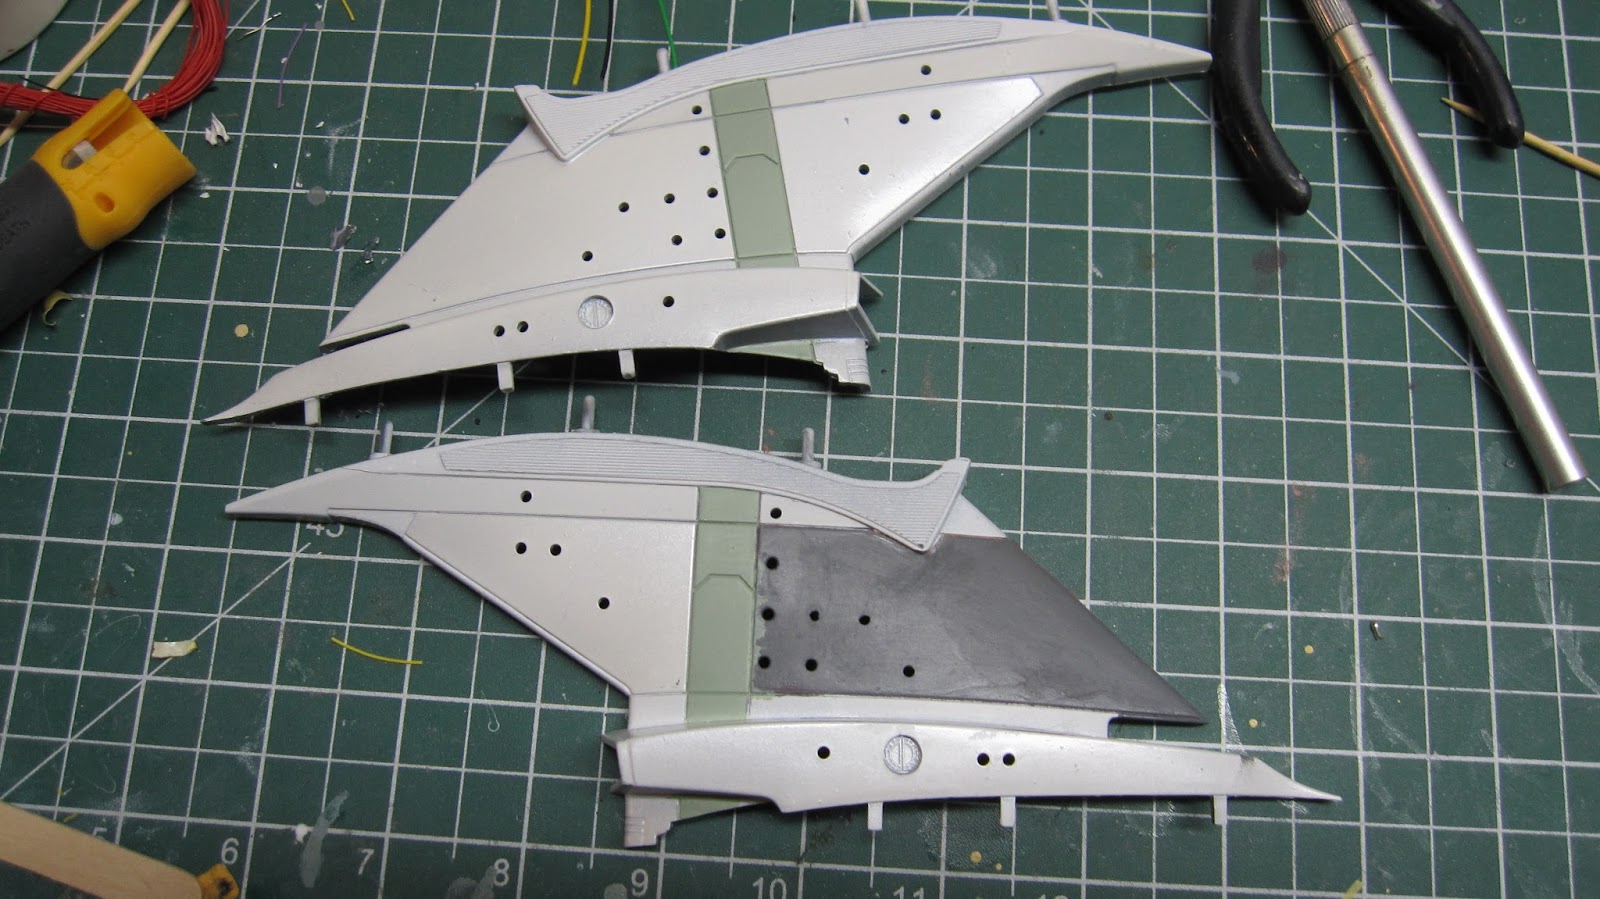
As I described previously, this part has the same design element as the other skeg on the nacelles, so they get painted the same colour.  I decided to do them from both kits.  The parts needed a lot of preening as there was lots of flash and a few sink spots.


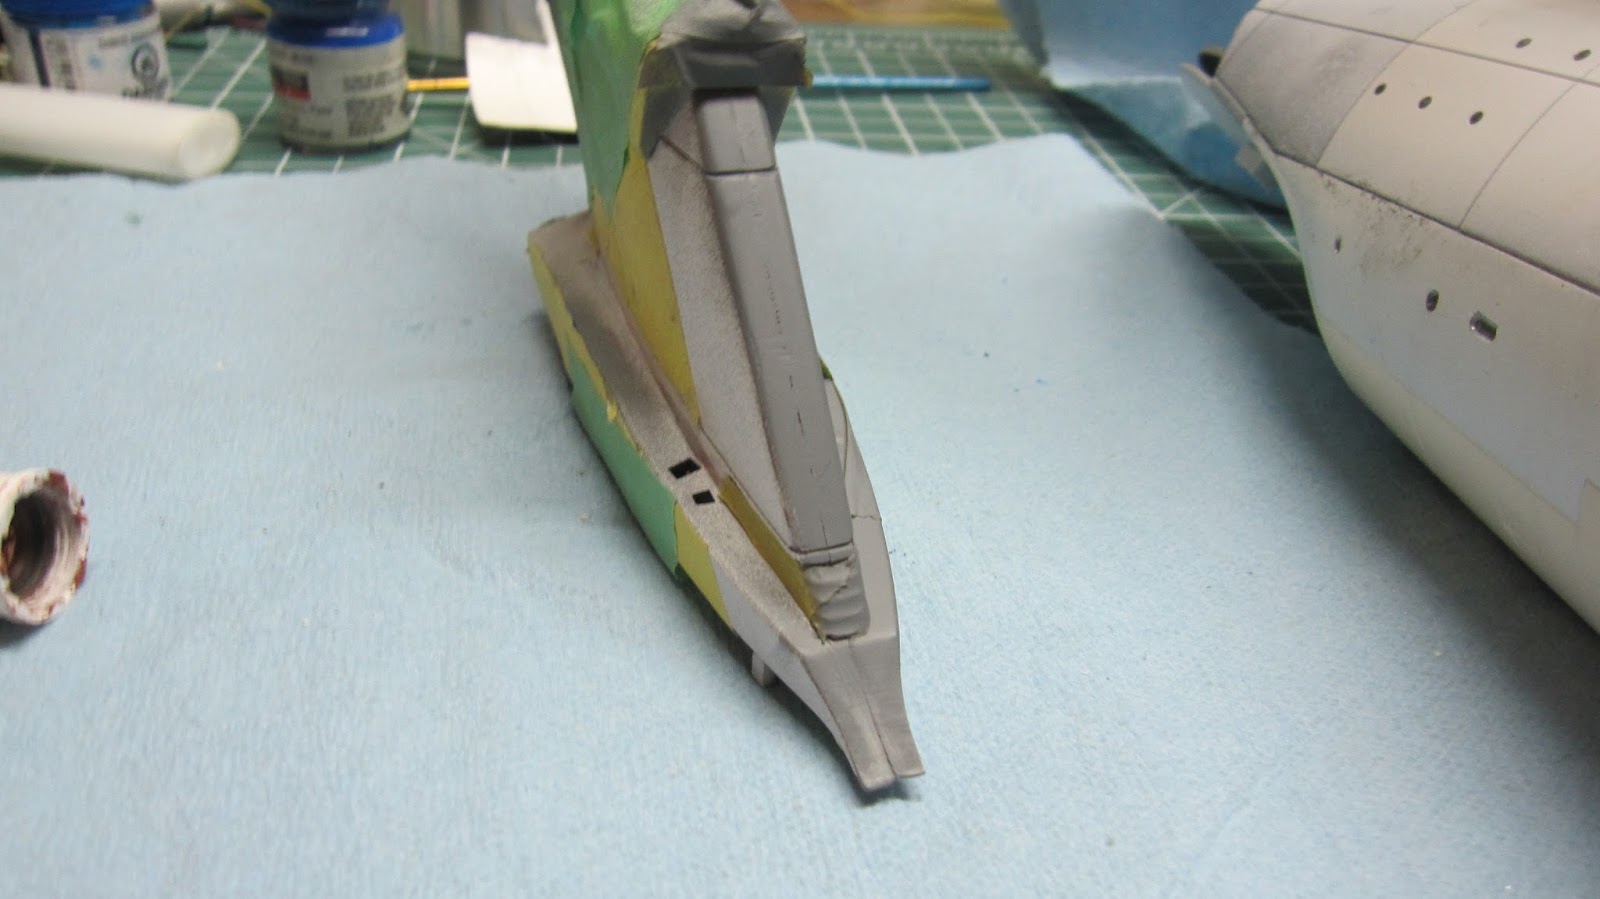
The green 'block' a special kind of foam used in floral arrangements.  It's great to stick parts in for painting, so long as they are lightweight.


It is really hard to see this in the following picture, but both the nacelle and saucer skegs are indeed the same colour.


That will wrap this up for now.  Expect more coming sooner than later.

As things have changed recently in the relationship between Star Trek fans and CBS/Paramount, I am going to refrain from posting screencaps in future, out of respect to their current guidelines for fan films (even though this is just a model building blog, primarily concerned with Star Trek).  I do this blog to 'give back' as there are so many wonderful YouTube channels which feature models being built in various stages, and I regularly watch them and have learned many techniques from them.  I would hate to have happen to the model, prop-maker enthusiasts what recently happened to Star Trek fan films.  (Not exactly the Gene Rodenberry spirit...I digress on that.)

That said, have a great weekend, Happy Canada Day to my Canadian friends and followers and I wish a Happy 4th of July to my American friends and followers.

Disclaimer

Star Trek and all related marks, logos and characters are solely owned by CBS Studios Inc. This fan blog (production) is not endorsed by, sponsored by, nor affiliated with CBS, Paramount Pictures, or any other Star Trek franchise, and is a non-commercial fan-made blog intended for recreational use.  No commercial exhibition or distribution is permitted. No alleged independent rights will be asserted against CBS or Paramount Pictures.

Tuesday, 26 April 2016

Constitution Class Refit - Polar Lights 1/350 scale UPDATE #9 Finishing the Saucer: Part 1

Greetings!

This entry will go over the assembly and completion of the saucer.

This might seem like I jumped over this step, in fact I started to move on while I was still working on the saucer.   In fact, I had a lot of problems with the saucer in terms of light blocking and most importantly dealing with the sensor bands which wrap around the perimeter of the saucer.  This has taken some time to fix while I naturally started work on the rest of the ship. And I wanted to continue to post rather than wait to fix this part.

One of the problems I had a while back was a short circuit of one of the LED strips when I bored out a hole for the new registry light.   I also have had to test the circuits to ensure nothing will burnout.  I find leaving the model on running for 24hrs is a good way to test it. 

Once I completed the repairs, I hot glued the connectors together so they won't come loose (I had an issue with one of the connectors). 


Gluing the top and bottom saucer halves together, I was going to use CA (super glue) so if I ever had to get into the model again, I could crack the glue to get back into the model with a minimal seam.  With gaps,  I soon realized this wouldn't be possible and I decided to glue the 'crap out of it' just to seal it.  Hopefully I will never have to open it again.

Many clamps to seal this bad boy

One of the main reasons to have the internal lighting on is to see the gaps and if there are any light leaks.  Oh boy, there are many...


PAINTING/LIGHT BLOCKING


On future builds, I would light block from behind, the only reason I didn't do this here was I was unsure of how I would attach the window lenses and the 8 pieces of saucer hull walls together, to give a firm bond, without masking off each individual window.  Lots of windows; 12 x 6, + 6, +10 (aft windows), too many to mask without a masking set.   Next time I would light block from behind, glue the sidewalls with window inserts in first, and then grind out any additional openings.  The walls are a bit warped.


Light bleeds through this seam.

The gangway docking port awaits it's door.  At least this seam is easy to blend in.
I then masked off the rest of the model.  Since this model has grid lines, and is supposed to made of multiple parts, this makes it that much easier to mask off large sections. 


Despite having gluing down the lower and upper saucer halves, there were some real stubborn areas which continued to pop, so clamps became necessary.


Once I got a good seal, now was time for grey primer to see the flaws...


...And more light leaks.


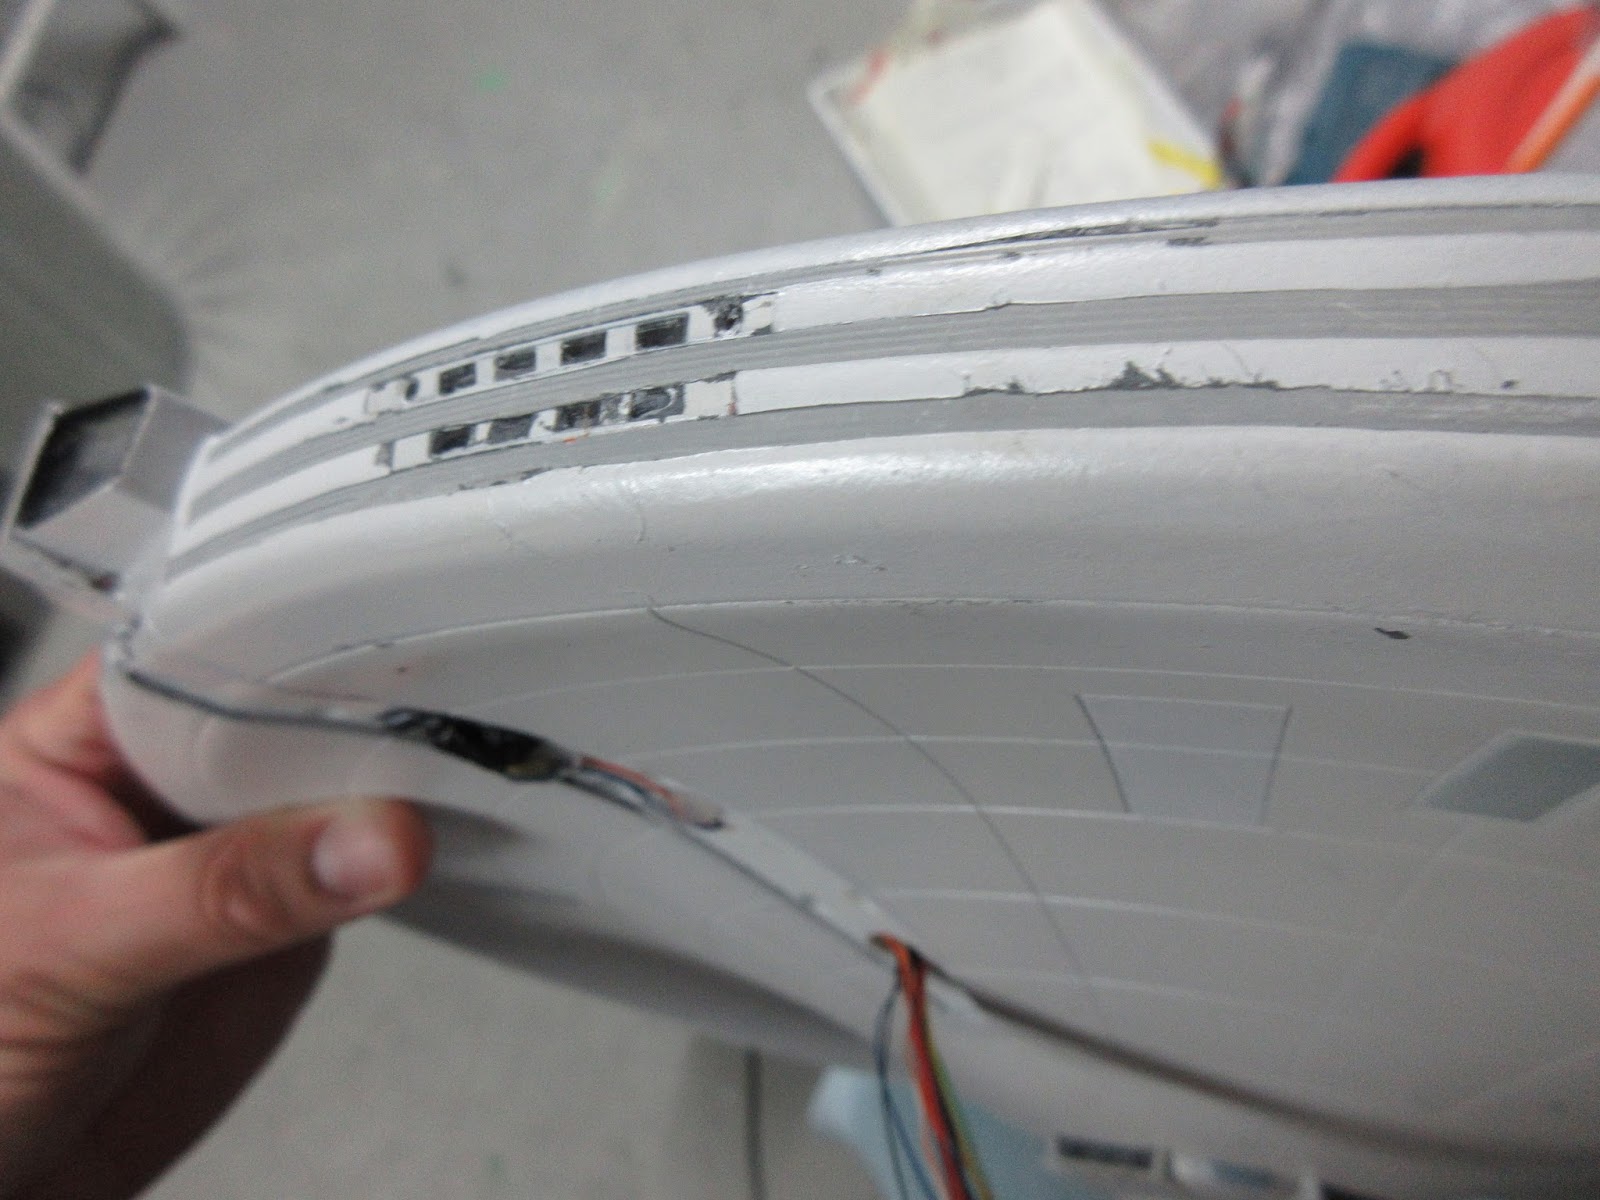
A feature on this style of starship is a series of concentric rings along the edge of the side walls which make up the 'sensor band'.  The drawback in building the model is actually getting the seams perfect without gaps or bends.  This is where red putty comes in.  (3M Glazing Bondo).  It is inexpensive and this is the finishing layer used in automotive work.  Most modellers use this product because of it's ease to work with and price point.  I do also use Tamiya and Squadron Putty (in white), for finishing purposes. 


The fact I hollowed out the saucer wall segments before I installed them really came back to haunt me.  The walls warped a bit when I glued them down.  It's not noticeable to the eye, but definitely something I had to use more putty to fix unfortunately as they don't sit correctly.  Live and learn.


Once I was able to get rid of all of the light leaks, by repeated coats of grey primer, I then airbrushed a very light grey on the sidewalls of the model, only to work backwards and paint in the white between the sensor bands.

A very big mistake I made on this model was to be a bit heavy handed on the grey primer to light block the outer wall - it has distorted the detail on it.  Fixing this, a centimetre at a time has taken a long time to complete. 


At this point, I was finally able to paint the edge of the saucer with a white primer, followed by Tamiya White Pearlescent paint.


Once I was done with the sensor bands, my attention turned to the Impulse Engine and the black boarder which goes around it.


Unfortunately the paint bled through the tape and...


...spattered though an opening in the masking along the hull.

Here's the full damage report:

hull splatter - this would be okay if this was the Millennium Falcon...


paint bleed
more bleed and peeled paint
masks that lifted on the RCS panels
more of the same and painted over apertures
white primer bleed and run-over on the finished saucer
more splatter

paint wear
dirty marks on the pearl finish

unfinished spot light and additional bleed from Sharpie markers
And with all of this, there is a two-tone variety now on the saucer from two different Tamiya white pearlescent coats of paint.


The one thing that did go right however is the additional detail on the Impulse Engine housing.


And the accent colour with it's gradual fade out which is canon.


Not exactly a 'high note' to end on with this entry, in fact there's a mess to be cleaned up cosmetically and much work to do ahead.  A saving grace is this is not the USS Enterprise NCC-1701-Refit or Enterprise-A.  It is a sister ship and I have a new take on when this ship would have existed based on a recently viewed episode of Deep Space Nine - yes there were a few Constitution Class Refits in service in the fictional 24th Century as seen in DS9 and TNG with the Battle of Wolf 359.  So this ship doesn't have to have the exact same paint job Kirk's Enterprise had.  ;)  That can hide a few sins.

Happy Model Building and upcoming will be my saucer fix.

Cheers!

All still images taken of the USS Enterprise from Star Trek are being used for educational use only.  This blog does not claim rights of ownership over any images sourced from the internet.  


Monday, 4 April 2016

Constitution Class Refit - Polar Lights 1/350 scale UPDATE #8 Neck

Greetings!

This entry will go over the building of the neck (interconnecting dorsal hull).

In order of building this model, this part I started to work on while the saucer was being glued together (to be shown in a future build).

I think for most skeptics, this is the most unrealistic piece of the design of this starship; a huge saucer, 11 decks thick in the middle, which is cantilevered over the starship's centre of gravity.  The Enterprise-D exaggerated this, which too me makes the design more 'out of this world'.  I digress...

Early on I had to figure out a wiring path.


For the longest while, I've kept my unused parts taped together with masking tape on the stand.  There are many reasons I do this: a) it frees up space in the overcrowded box; b) it allows me to visualize the completed model; c) there is a sense of accomplishment as this model is slowly being assembled with the mock-up getting disassembled.

That is the 1/1000 USS Enterprise-A Secondary Hull Assembly resting on one of the pegs for the neck connection to the Primary Hull (Saucer Section).
On of the things I don't like about this kit is how the neck connects to the saucer and fuselage (primary/secondary hulls).

The 1/350 TOS Enterprise got it right by making it a large tab on both sides.  A comparison:


And both secondary hull assemblies (note how much masking tape is used to hold the Refit together on top vs. the lack of tape on the TOS Secondary Hull).


The interior of both necks.


I always worry about dry fitting the neck into the hull in case the pins break - it's happened on another model kit which is destined to be a 'kitbash' model of a heavy destroyer, or a 1/350 Stargazer, which would require a 2nd kit.

That said, it is a vast improvement over the old AMT/Ertl Refit kit of 1/537 scale.


The shape of the neck (Ertl kit) was very crude and the docking ports are funny enough the same size as the ones on the 1/350 kit (which is scale accurate, minus a few details).  And there is only one alignment pin on the top of the neck and recessed area to connect with the very heavy saucer.


Having had many of these kits, this did manage to hold for many years...the nacelle pylons were a different story.  But one thing is known about the Ertl kit, it was designed to be illuminated.  The very first release (AKA the 'smoothie') in 1980 and the subsequent release in 1989 had internal lighting systems, the latter one more advanced.  I digress though, but will say at least one kit was built by ILM to represent the USS Enterprise in Star Treks II, III and VI in distant shots, and was sold at Christie auction in 2006.


PREP & PAINTING


Early on, I assembled the whole of the secondary hull and neck with dabs of hot glue and electrical tape (inside) so I could paint the entire sub assembly whole, and thereby eliminating the need to mask off all of the part edges, critical for having a good, clean surface to bond the plastic together.  Any new section of model to be painted always gets washed first with dish detergent and warm water to get rid of any mold release.


First, grey primer to show the defects, followed by white primer as that is close to the hull colour and easier to paint pearl white over it.


So now I have two halves of the neck, clean.  My first task was to start painting where the seam doesn't show.  This also allowed me to paint the hull where the windows are so I don't have to mask off each window individually.


First accent colour is the vertical strip which represents a heavily shielded area where the warp core meets with the impulse deflection crystal.  This section of the ship is designed to have 'blow out panels' in case of an emergency.


Unfortunately as what can be seen below, the grey panel below is where I have had to repaint as the white pearl reacted badly with the paint and created a 'cracked surface', much like you would see in a dried up lakebed, not unlike in Kingman, AZ (what a beautiful state with its deserts, rock formations and kind people).


After some red putty and many coats, I fixed this problem.  Now onto the Torpedo Launch Exhaust Port.  I love how on this model kit they gives you two options, one that looks like the Ertl incorrect part (which they call the Enterprise A version) and one that looks like studio model.  For me, studio model is the way to go.


TORPEDO LAUNCHER


This is one of the main differences which separates this Refit from the original, the visible Torpedo launcher.

On the original Enterprise from the 1960s tv series, all of the weapons emanated from lower saucer, near the central dome, but never was a mark shown where it came from.   It can be seen here.


For the feature films, the torpedo bay, among others (RCS thrusters, Phaser Banks) have become standard demarcations on all Federation Starships.  A updated example.

This is from Star Trek III: The Search For Spock.  This is actually a close-up model of neck, torpedo and upper secondary hull, built for Star Trek II The Wrath of Khan.  Note there is no windows or docking port along the starboard side of this model.
So here is the model part:


With the way models can be built today, I might have made the photon torpedo tubes hollow in regular plastic and added lenses to them, but the studio model had a lens on the front of the torpedo tubes too.

Once masked and painted up, the part is impressive.  Great work Polar Lights (original manufacturer of this kit)!!


LIGHTING


I used two of my smallest LEDs to illuminate this part, so small, I always grow nervous of soldering them, in the past, I've gone through an entire 10 pack attempting to solder them.

Each torpedo tube is separately wired to allow the user to turn on one at a time.


This connection is exceptionally fragile.

So here is the basic lighting setup for the window ports.


And the neck halves dry fitted to test the lighting.  Looks good to me.

Lighting test - docking ports on the same deck as the torpedo bay have not been illuminated yet.
Here is a top down view.


I mated the neck with upper hull segment of the Secondary Hull to see if there is adequate lighting to illuminate the docking portholes.  I will need an LED additional strip for this.


ASSEMBLING THE NECK


Despite planning, there are more wires to go through the neck along the leading edge than originally planned.  I know I can re-route the wiring through another method.


The other big 'ick' is the check-marked shape section on the neck.  Since I've altered the impulse engine, it no longer mates flush with the neck.  This requires me to add more material to the neck, something consistent with the old ERTL model.  


In fact, both the original and Constitution Reft's neck mated close to the engine.  The only 'Enterprise' which had a complete circular saucer with no breaks, either as plant-ons or cut-outs is the Enterprise-C. 

Also my least favourite version of the Enterprise - the early version painting of it looks less awkward than the finished model.

The next big issue is neck doesn't fit into the groove of the saucer.  This is a big problem.  The pins in my honest opinion are not strong enough to carry the weight of the saucer.  My solution is to trim the neck so it fit flush with the saucer. 


Now that all the considerations have been made regarding the neck, it's time to finally glue it together. 


This part is such a crucial part to be strong.  I've allowed it to cure for over a week.  During this time, I started work on the inner workings of the Secondary Hull and the secondary Hull itself.

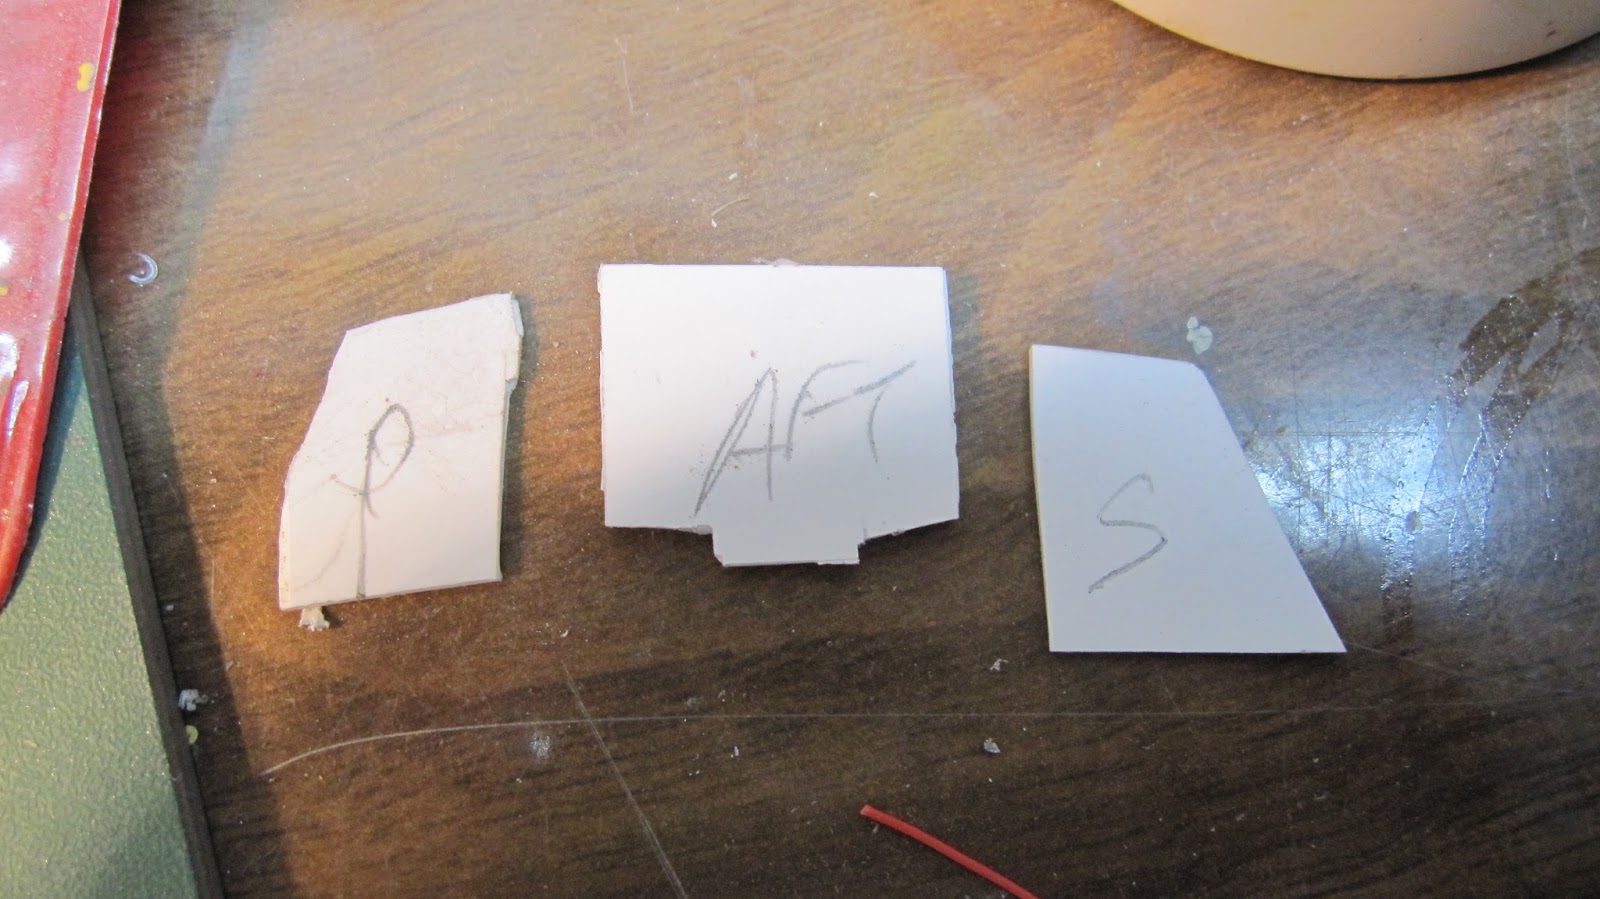
Once the neck was setup, I then proceeded to pour hot glue to help reinforce the LEDs behind the torpedo launcher.  Then I seamed and scribed the panel lines across the seam on the front and back.  Next step is to deal with the large gap where the 'skeg' on the neck meets impulse engine.  I glued a piece of 'backing' styrene so I can add pieces of styrene later when I mate the neck with the saucer.


My understanding is this part was later added to the neck, to reflect the part which is on the rear of each nacelle.  It's kind of like a 'mini-keel', and both parts are painted the same colour and have the same texture on it.

To replicate the contour, I use an old tool, a contour gauge.  Once pressed against a curve, the individual pins will form the curve of the surface.


contour gauge applied to the saucer.
 This edge is then transferred to sheet styrene plastic.


The same method is used on the impulse engine.


The final part will be made of three pieces of styrene to form an extended box off of the skeg.


The next step was to eliminate the seam in the neck.  Red putty and grey primer to the rescue!


ADDITIONAL PAINTING

To deal with the seams, I painted the leading edge of the neck and the trailing edge as separate colours.  


Something I did notice was the old and new coats of Tamiya Pearl White are different hues.  Since this is going to get wallpaper decals to simulate the aztec hull plating, I'm not worried about this.


Also, the masking I used on the torpedo launcher kept falling off so there is over-spray unfortunately.  This is an easy fix with a brush.


The green vertical stripe (which is supposed to be 'blow out' panels for the warp core) is too dark in my opinion.  It also has chipped a number of times too.  So I'm repainting it.


Finally I can say this is actually the second exterior piece which is completed, painted (minus touch-ups) and the first with lighting (although additional lighting will be added once I prepare to assemble the model).  The only thing which I haven't painted is the 'skeg', something I will paint once it is attached to the saucer as both the area around the neck and the keg are painted the same light blue colour.

The neck finally illuminated with the torpedo bays ready to fire.


This is an accidental shot, but I thought I'd include it.  It sort of reminds me of the early promotional material for Star Trek The Motion Picture with the light trails and psychedelic worm-hole effect.


That ends this entry.  Currently I'm cleaning up the secondary hull for light leaks and dealing with a few issues with the saucer.  The final assembly of this model is as follows as per the instructions:


...and this is where there model is at, in terms of what is assembled (even if there is still work to be done on both the saucer and secondary hull).


Happy model building, cheers!! 


All still images taken of the USS Enterprise from Star Trek are being used for educational use only.  This blog does not claim rights of ownership over any images sourced from the internet.