Another quick update but some significant progress...
At this point I'm closing in on getting the sub assemblies ready for final assembly.
PRIMARY HULL/SAUCER
This was basically done the other day but a few hairs and bits got on the surface and where I painted with Tulip, it looked blotchy. So another pass of 400 grit sandpaper followed by 0000 steel wool and I got an acceptable surface. I also noticed in going through some online reference pictures of the USS Enterprise before the 1991 Smithsonian restoration (I'm not as bothered by the weathering but more happy the correct 'Bussard Collectors' and correct Deflector dish were fabricated vs. the crap which was installed on it back in the 70's) I noticed there is one accent colour on the topside of the saucer I never noticed before...the 'bump' which is supposed to be the turbolift/elevator is dark gray, same as the rest of the accent colours.
The clear dome stills needs some close up detailing/clean-up from where the mask was. Considering the 'turbolift' is about 1/8" in diameter, not bad for neatness.
The gray strip along the back of the saucer is bare plastic to make it easier for gluing the rectangular section along the saucer (in reality it is a bolt cover on the 11' model).
ENGINEERING/NACELLES SECTION
So this is the big update, at least for me. I got a smooth surface on the Secondary Hull and painted it. When it was dry to the touch I attached the nacelles to the starboard side.
Next step, wiring...
I pre-made a wiring harness using 24 gauge telephone wire (it's solid vs. stranded and is more than enough for this wiring situation) soldered to a 'bus-bar' (this is something I outlined in one of my Avro Arrow builds and started doing on my Galaxy Class build I did last year for a dear friend of mine who works in the film business, like me. Also from some electrician training I had early in my career I learned about how distribution boxes work) made from 14 gauge solid copper wire. The rest of the wiring is made with magnetic wire which is very strong, thin, flexible and to strip all you need is a Bic lighter. Bic lighter are also great for creating lenses on fiber optic strands....
A note on bus-bars, in distribution boxes they are often open-air only separated by distance. In my builds I encase them with hot glue from a glue gun which not only cements them in place but also insulates the the +ve from the -ve. I also sometimes use liquid electricians tape but the curing time is 24 hrs.
Finally closed up. I will leave this at least 24 hours to let this cure, then red putty to fill the seams and gaps.
SS BOTANY BAY
(...Never told you how the Enterprise picked up the Botany Bay, lost in
space from the year 1996 with myself and the ship's company in cryogenic
freeze?...Khan, Star Trek II: The Wrath of Khan)
That's me geeking out. This is why I bought this 1/1000 scale model, I wanted a licensed SS Botany Bay model, which I was willing to give it away as a Christmas gift...that didn't work out...back to the model.
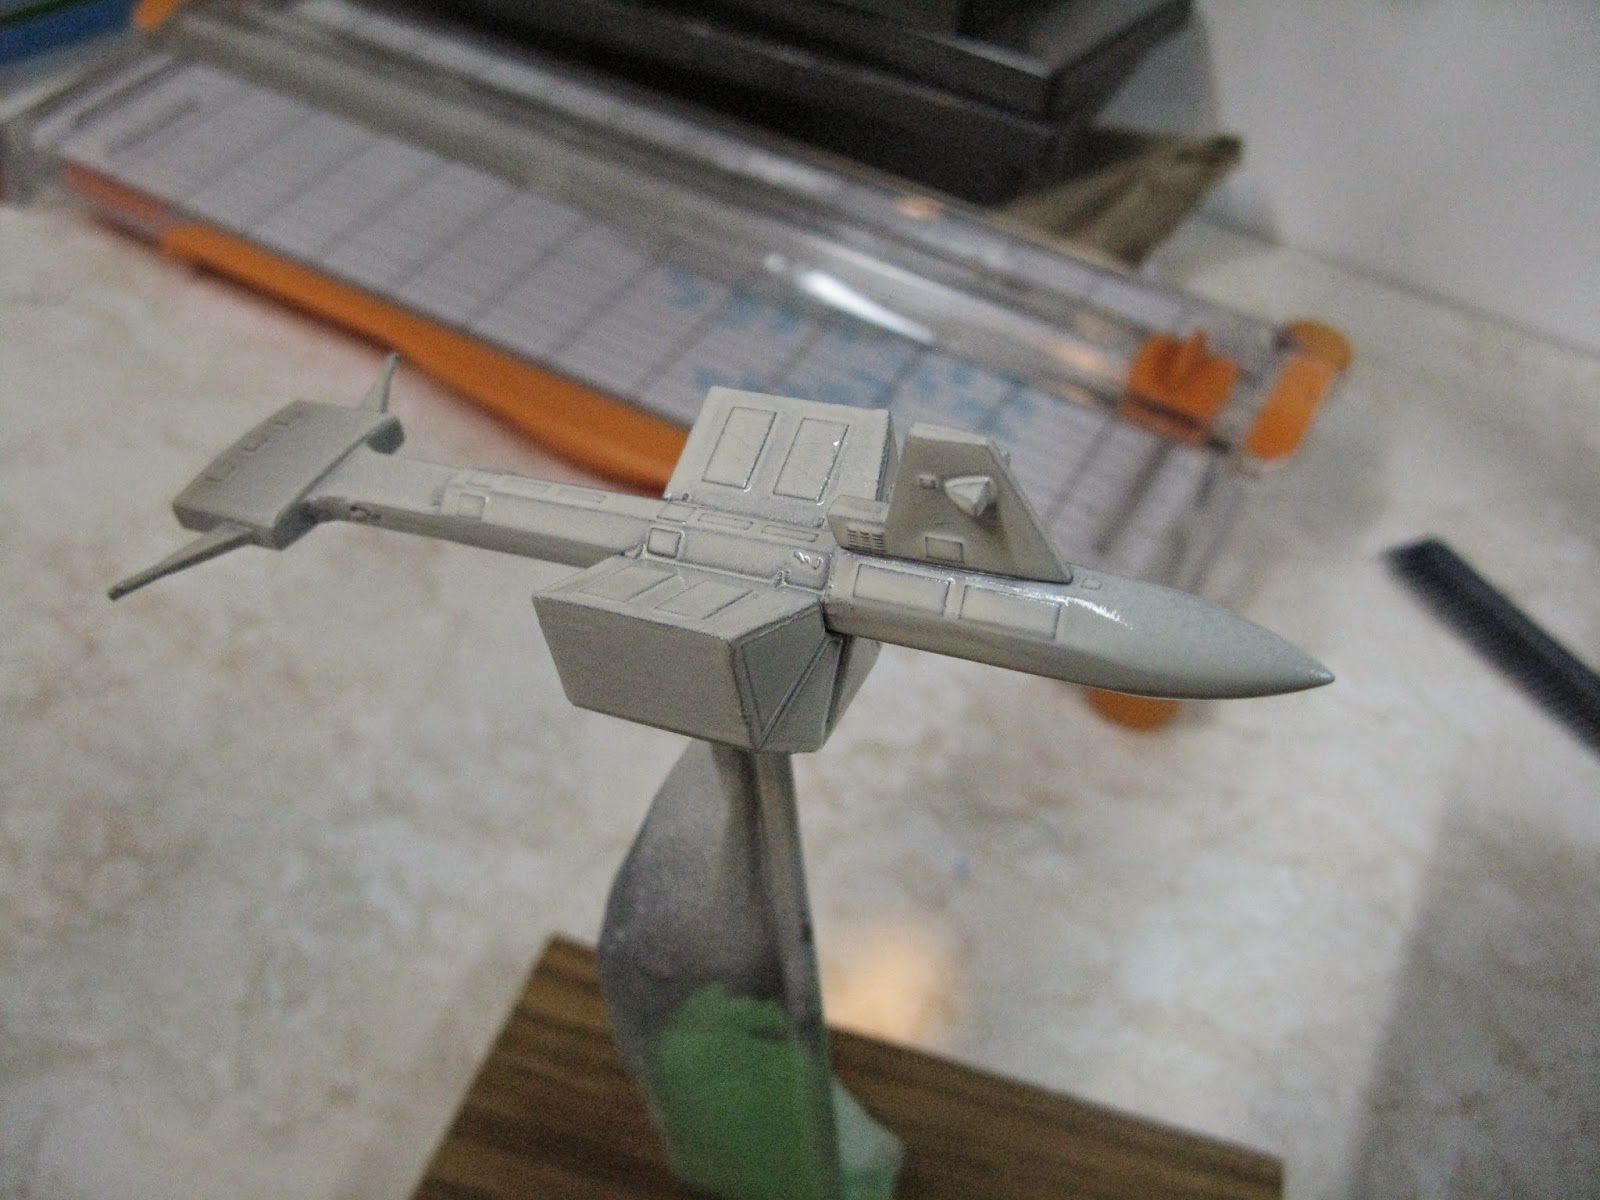
I realized this evening I really need to weather this little ship so I came up with a plan. I used 100 grit sand paper and a blunt X-Acto knife to make pit marks in the hull. I also finally came around to attaching the 'conning tower' (for lack of a better term - take away the engines, the cargo modules, it looks like a submarine).
I primed the model in standard grey, then in a tan rattle can made by Valspar, I used this same paint I used on the unnamed Galaxy Class Starship I made last year for a close friend (I will name it and my reasoning for it when I post it...think 'Alternating Current' as the inspiration). What I found at the time this paint was slow to dry/cure, surface tension broke around the edges (showed the undercoat at the edges). For me watching the original episode of 'Space Seed' it looked grey vs. the molded orangy/redish tones. Since the ship is supposed to be 270 years old (as per the Canon Star Trek timeline, the original series took place between 2265 & 2270 and the first season was 2266 where the Enterprise discovered Khan and his crew escaped Earth in 1996), I will heavily weather this.
The thin paint brings out panel lines...that was my goal. Lots of weathering to come.
Cheers!!!
A personal journal of someone rediscovering their childhood hobby from the perspective of a film professional, working in the business since the end of the 20th Century. Mostly the subject is science fiction, especially Star Trek.
Friday, 30 May 2014
Thursday, 29 May 2014
Polar Lights/Round 2 USS Enterprise - Space Seed Edition - Update #4
Greetings all!
This is a bit of a short update compared to the last time. So let's get going...
PRIMARY HULL
When I last worked on this section of the model back in March, I needed to repaint the hull for 2 reasons: 1) to touch up the seem and other scratches; 2) to address a light leak around the bridge dome. It's a clear part and at this scale, it would be difficult to mask off from inside. Here is the result of another coat of primer.
I don't know what it is about this damned primer, it 'sputtered' again. I went back, sanded it down and repainted withe hull colour. Upon another light test I found there was still a small bit of light leaks. Tulip to the rescue!! Tulip is a black fabric paint which is excellent for light-blocking. I smoothed it out with a brush.
And here it is with the final coat. I just need to lightly sand a few spots before I gloss coat it for decals.
NACELLES ASSEMBLY
After I last left off the nacelles needed some sanding where the red putty was. A few of my masks for certain parts fell off the model so I needed to remake them before the primer coat. Again I had the same #$%^ing problem with the primer again. Time for a new primer.
At least when it does this, it's easy to sand and dries almost instantly. Next coat, base coat.
After some closer inspection, some more filling needed to be done on where the struts meet each nacelle. One of them broke off previously and I had to use CA to reattach it.
Another coat of paint hopefully I can move on.
SECONDARY HULL
Something I realized is I haven't paid much attention as this is sort of the final main assembly. As this is a 'snap-it' kit (which also snaps apart), I joined the to hull halves together so as to not get paint along the seams. That can be a pain to remove, trust me as glue doesn't like to stick to painted parts very well.
It was a good idea to do this as a number of flaws came up; it's really strange I've built 2 of these kits before from Polar Lights (1 partial build - later on that) and the secondary hull was flawless. This version has raised panels where the pendant goes along the side of the hull. That needed sanding. Also I filled in the grooves on the neck to indicate where the next colour should appear. Too deep and there were no scribed lines on the original 11 foot model so I filled them. Primer revealed I needed to redo it.
MISCELLANEOUS DETAILS
So now is the time to start work on the detail parts. When looking for the clear parts, they were nowhere to be found. So digging through my old Polar Lights box, I found the parts for my static model I started last year but put on hold, USS Intrepid NCC-1631-A.
I'm making my own 'refit' type decals for this model so I haven't progressed much further with it. This is sort of an in between model between the Original Series Enterprise and the one featured in Star Trek The Motion Picture. Back to this project...
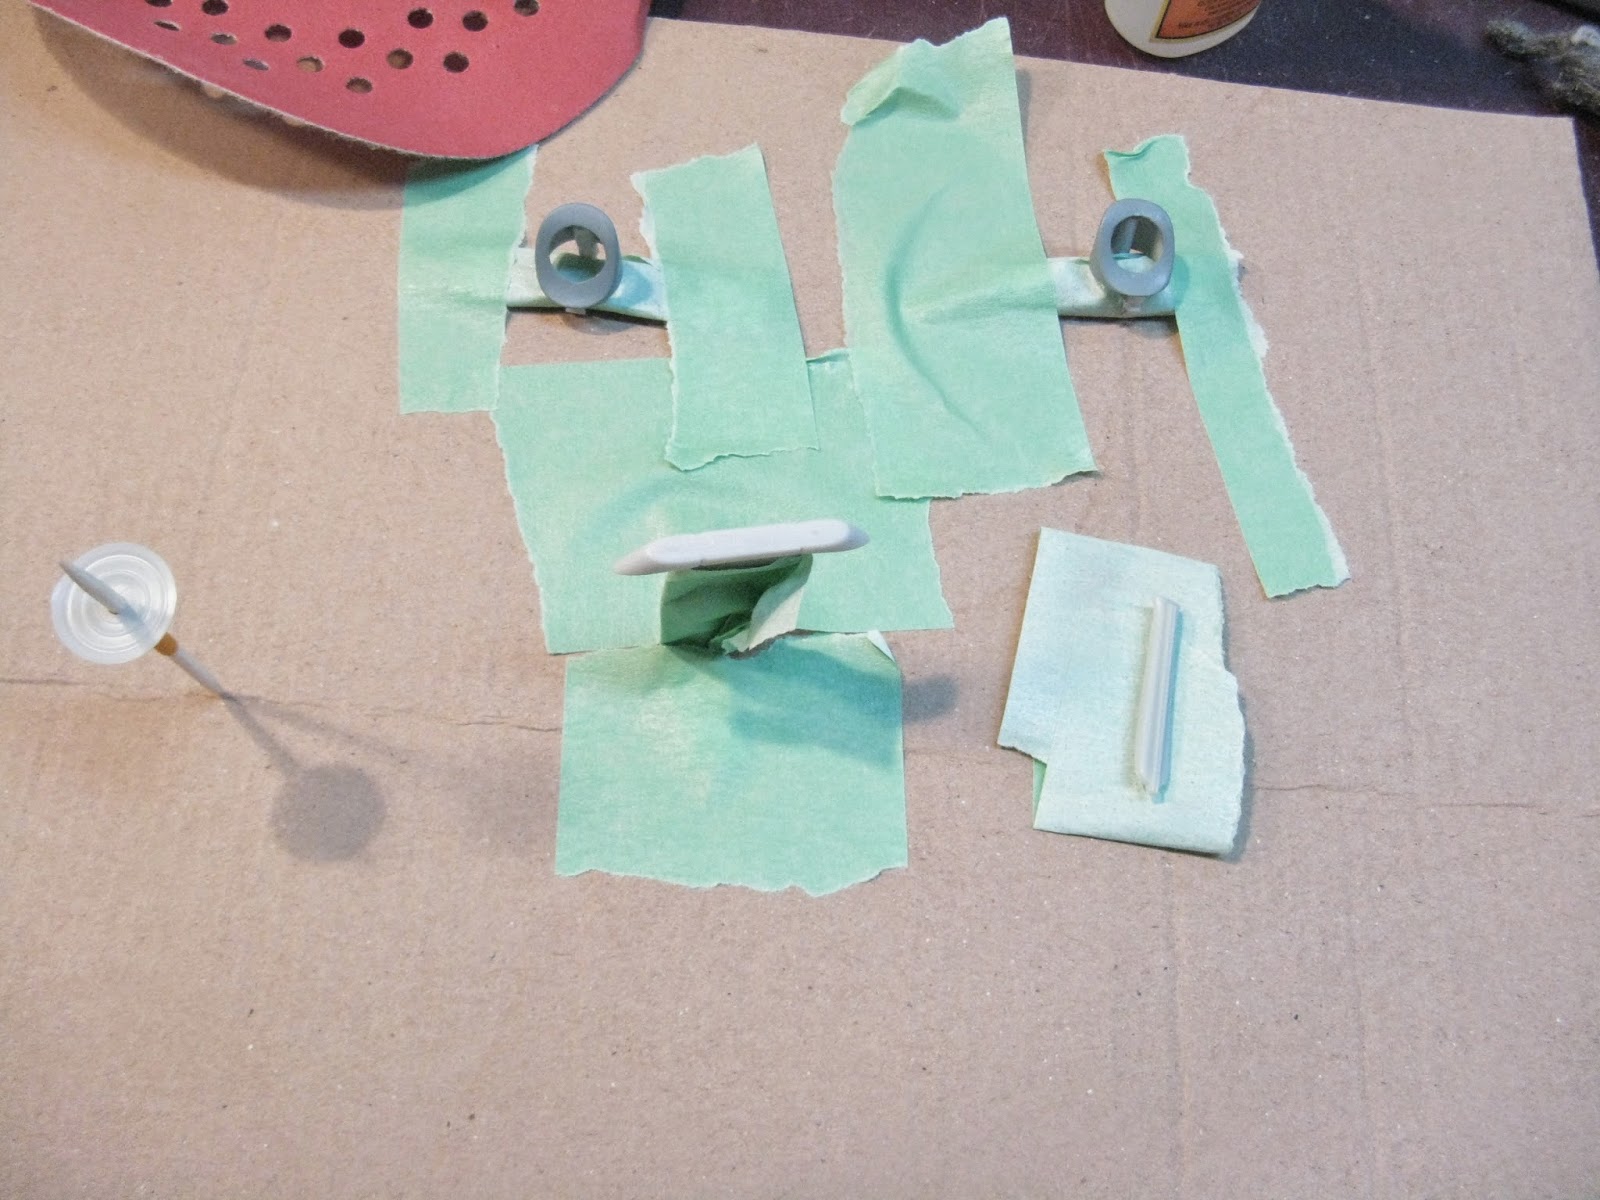
These are the parts I found (except the dish which is from this kit). The clear domes (called Bussard Collectors in the Star Trek universe) need a bit of work and need to be frosted.
A little bit of primer goes a long way.
Both the dish and the other parts have received their correct colours.
A TALE OF TWO DEFIANTS
The next few projects coming up are directly related, USS Defiant NCC-1764 which is a Round 2 reissue of the 18 inch AMT Kit of the classic USS Enterprise, except molded in 'glow in the dark plastic', two Tholian spinners and a the Tholian Web backdrop. This will be a diorama like the this current build. The only difference is to utilize the 'glow in the dark feature', I can't paint it. That also means no filler for gaps. Neatness is paramount here.
The model is just mocked up with lots of tape.
The other kit is the USS Defiant NX-74205 from Star Trek: Deep Space Nine and is a reissue of a kit an AMT/ERTL kit from the late 90's. I had started to build this back in my university years but life took over and sadly the kit, unbuilt is in a landfill somewhere.
But somehow, the only 'survivors' from the landfill was the box (which became a junk box) and the original stand. I will incorporate this into the model.
Both of these models have accuracy issues. I'm familiar with the classic Enterprise issues for the old school Defiant but the newer one was molded without clear parts both now and in the late 90's, so lighting will already be a bit challenging. I have been doing a fair bit of research on the Defiant (DS9) and as it turns out the engines are molded incorrectly and are actually open at the back with a mesh covering the opening and the deflector is made of the type of lens one uses for flourescent lighting.
Considering this model is about half the size of the studio model, I went around to hardware stores to find alternate lenses to create the same effect and I believe I found it.
It should be an interesting build with a bit of scratch building. Should be fun.
Happy modelling!!
Saturday, 24 May 2014
Polar Lights/Round 2 USS Enterprise - Space Seed Edition - Update #3 - well overdue...
Greetings, a longer break than I expected, especially with this model which is now for me (vs. the original gift it was intended for). I started work on this again in March and throughout but between a few contracts and twisting my ankle, and a very bad flu bug, I haven't had much chance to do much in terms of updating or model building lately. So here it is...
SAUCER SECTION
When I last left off the saucer was still in two pieces and a very poor fit. Partially that was due to the electronics but even still there was an even gap around the edge so I glued it down using liquid cement and clamped it down.
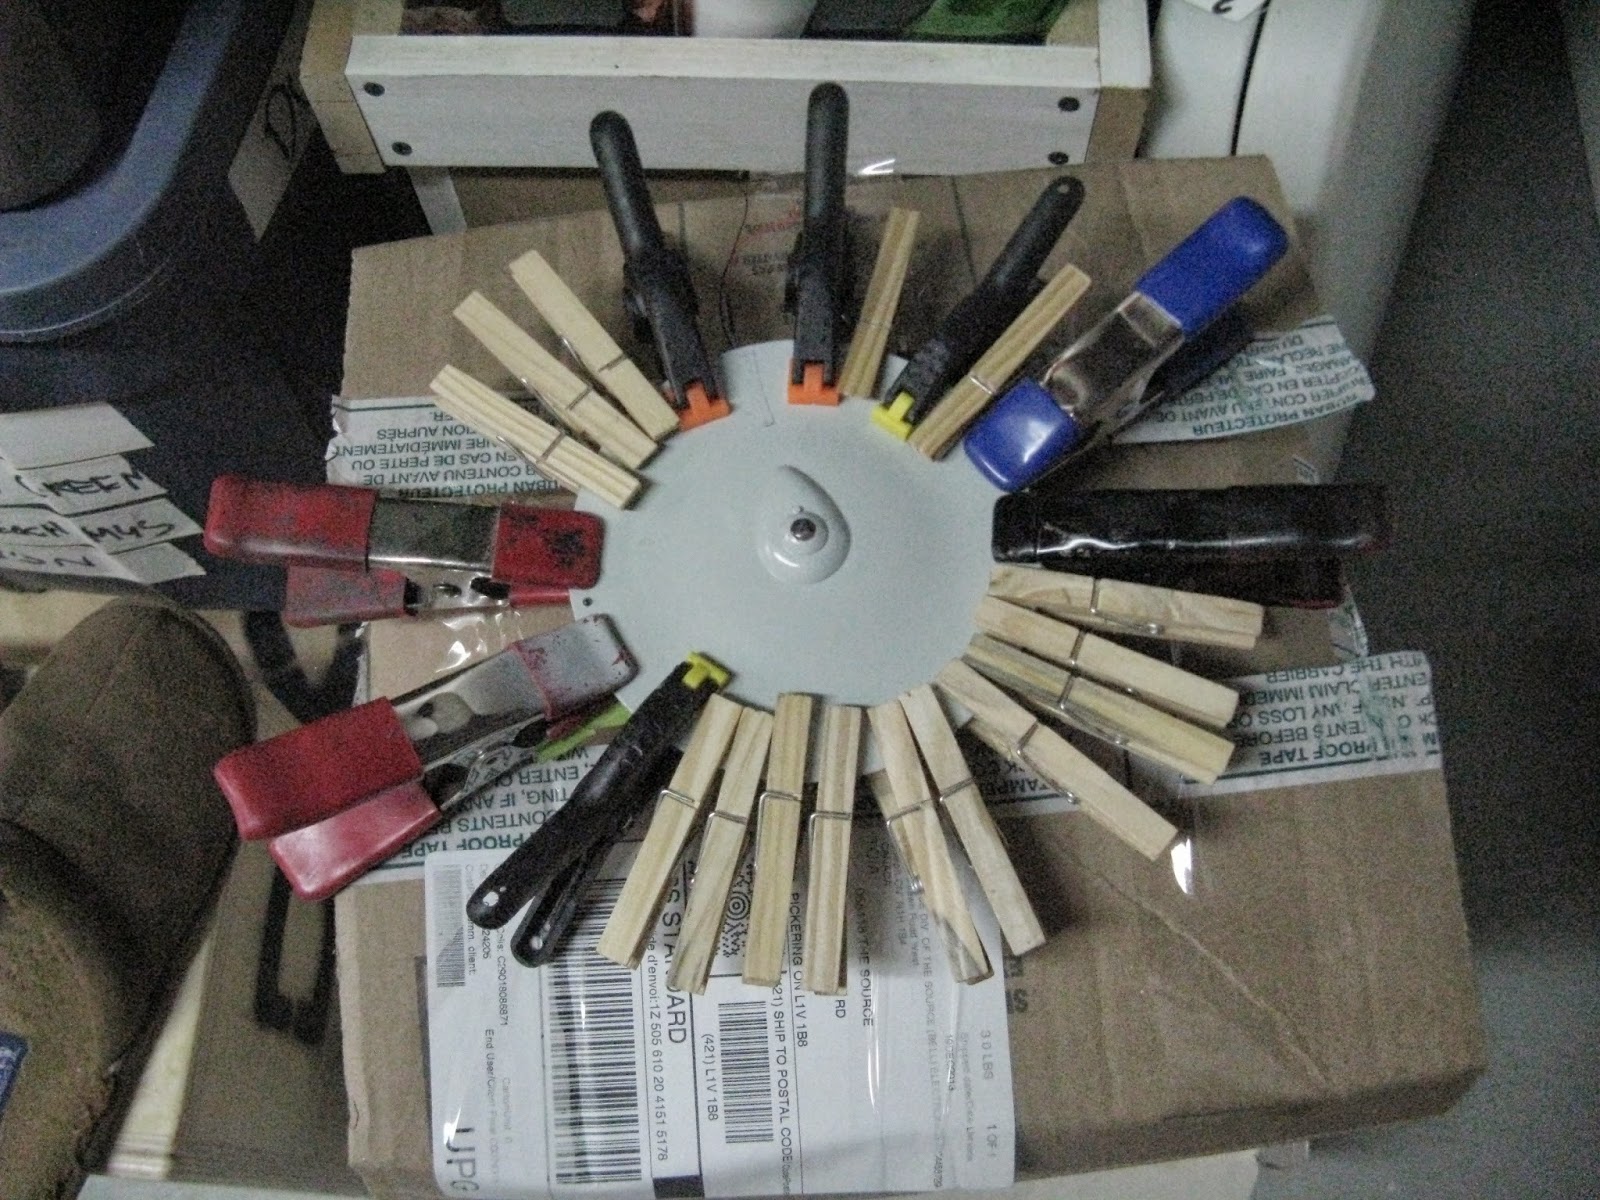
After leaving it for 24 hours or so, the damn thing came apart. So I used a Dremel tool, ground out the peg holes, ground down more material from inside the saucer to allow for more clearance for the lights. I used good old-fashion tube glue (I know a lot of professional modelers pan this but it works and it melts the plastic) and used heavier duty clamps.
I left this for a few days and it's permanently sealed. Next step was sanding down the upper saucer edge as it is larger than the lower saucer (something I don't remember in the original release of the kit). I used red putty to fix the gap between the two halves and a few scratches in paint from using spring clamps.
Some sanding a bit more putty and this model is ready to accept a coat of primer. I used (for my first time) a liquid mask made by Microscale Industries to coat the sensor domes on the upper and lower sides of the saucer as well the navigation lights.
Now for primer...I had the same problem again I had with the Avro Arrow build, I got a splotchy finish. Now that spring has finally come I can paint outside as opposed to having to do it inside.
ENGINEERING HULL
Not much has/can be done on this until the nacelles are complete. That said, it's built up as much as it can be. I also have ground out a wiring pass through. The designers of this model kit really made this section really strong.
I also drilled out tiny holes in the aft end for the running lights (going to leave them in the 'on' position as this is a bit of an after thought and in NO WAY do I want to open up the saucer to get access to the flasher LED. I used the decals as a reference for positioning.
NACELLES/PYLON ASSEMBLY
Where I last left off I had glued up the nacelle pylons (at this scale, I really like how they fit into the engineering hull) and made one Bussard lighting rigs (the glowing domes at the front of the engines).
The pylons required a lot of filling and sanding and were primed. Next, attach the two inner halves of the nacelles to the pylons so I can work on the wiring inside as opposed to gluing the two halves together first.
I used the engineering hull half as a reference guide to for alignment.
Now for the Bussard Collectors:
I had to replicate another one, three months after I made the first one and had to spend time to figure it out. I came up with better solution to using heat shrink to collect the fiber optics (as heat melts fibers very quickly), brass and aluminum tubing.
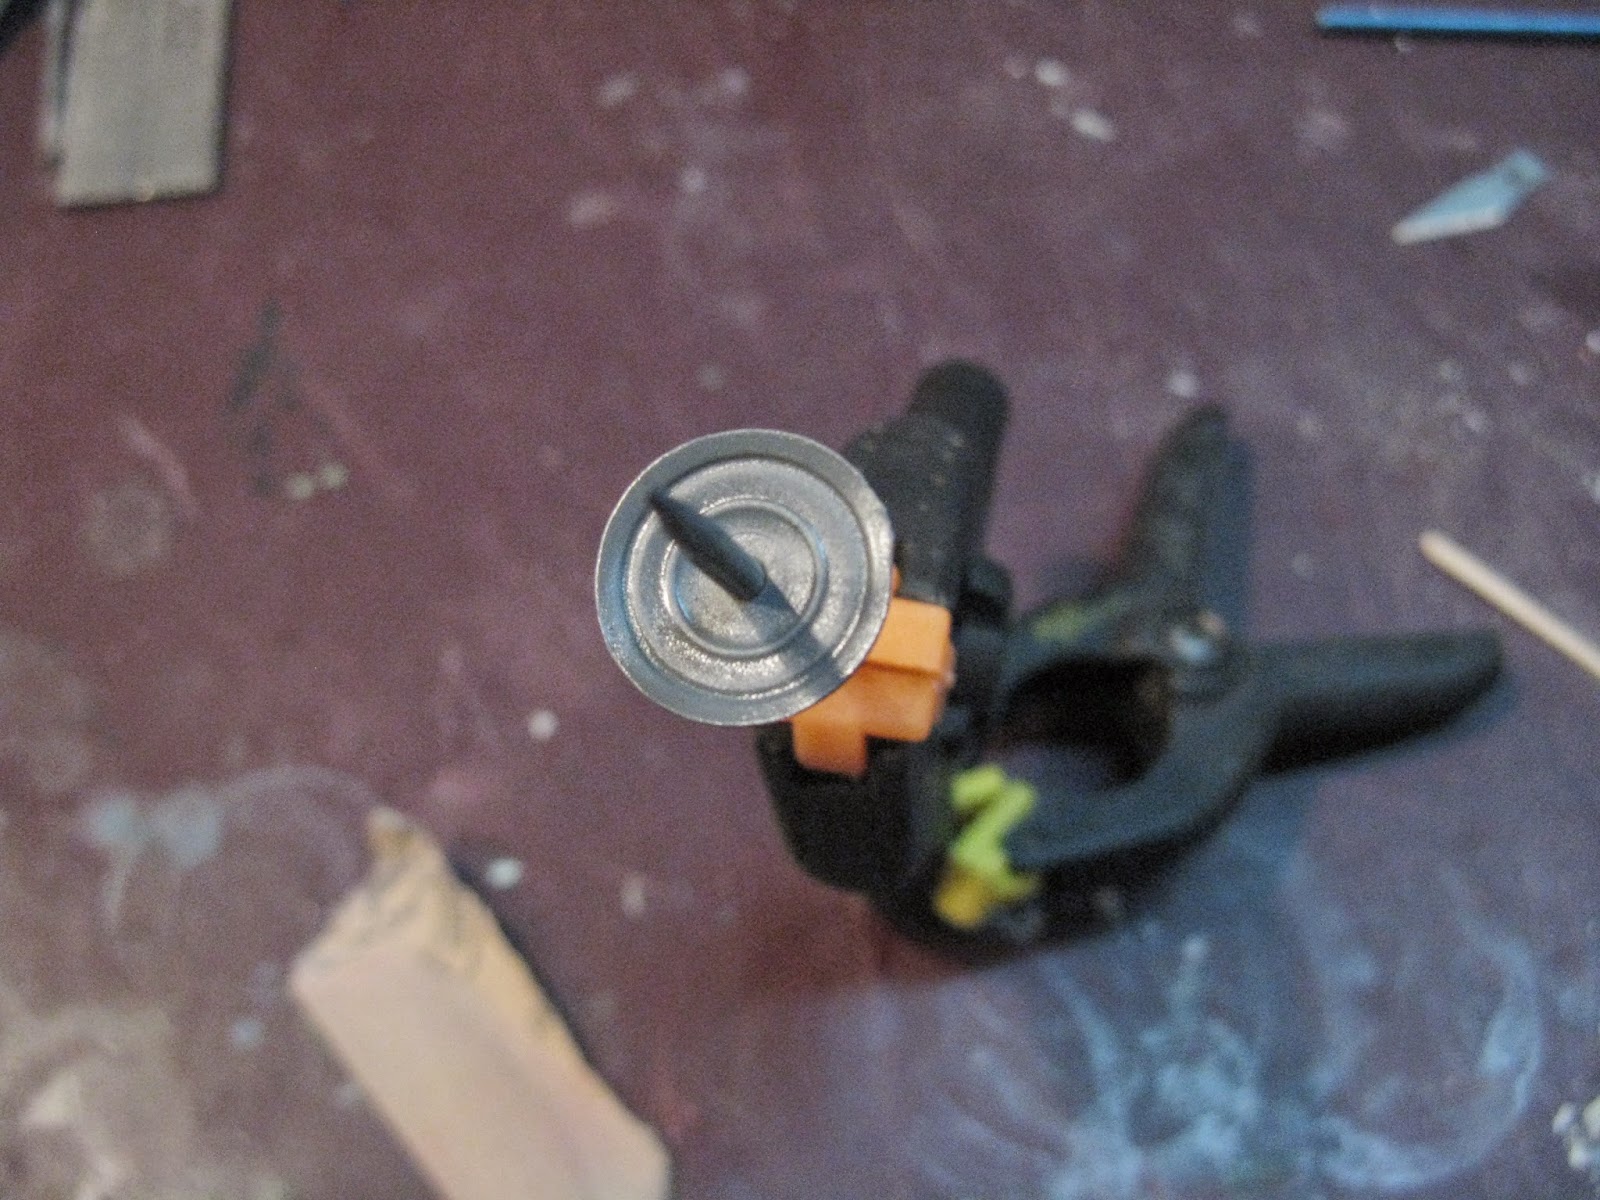
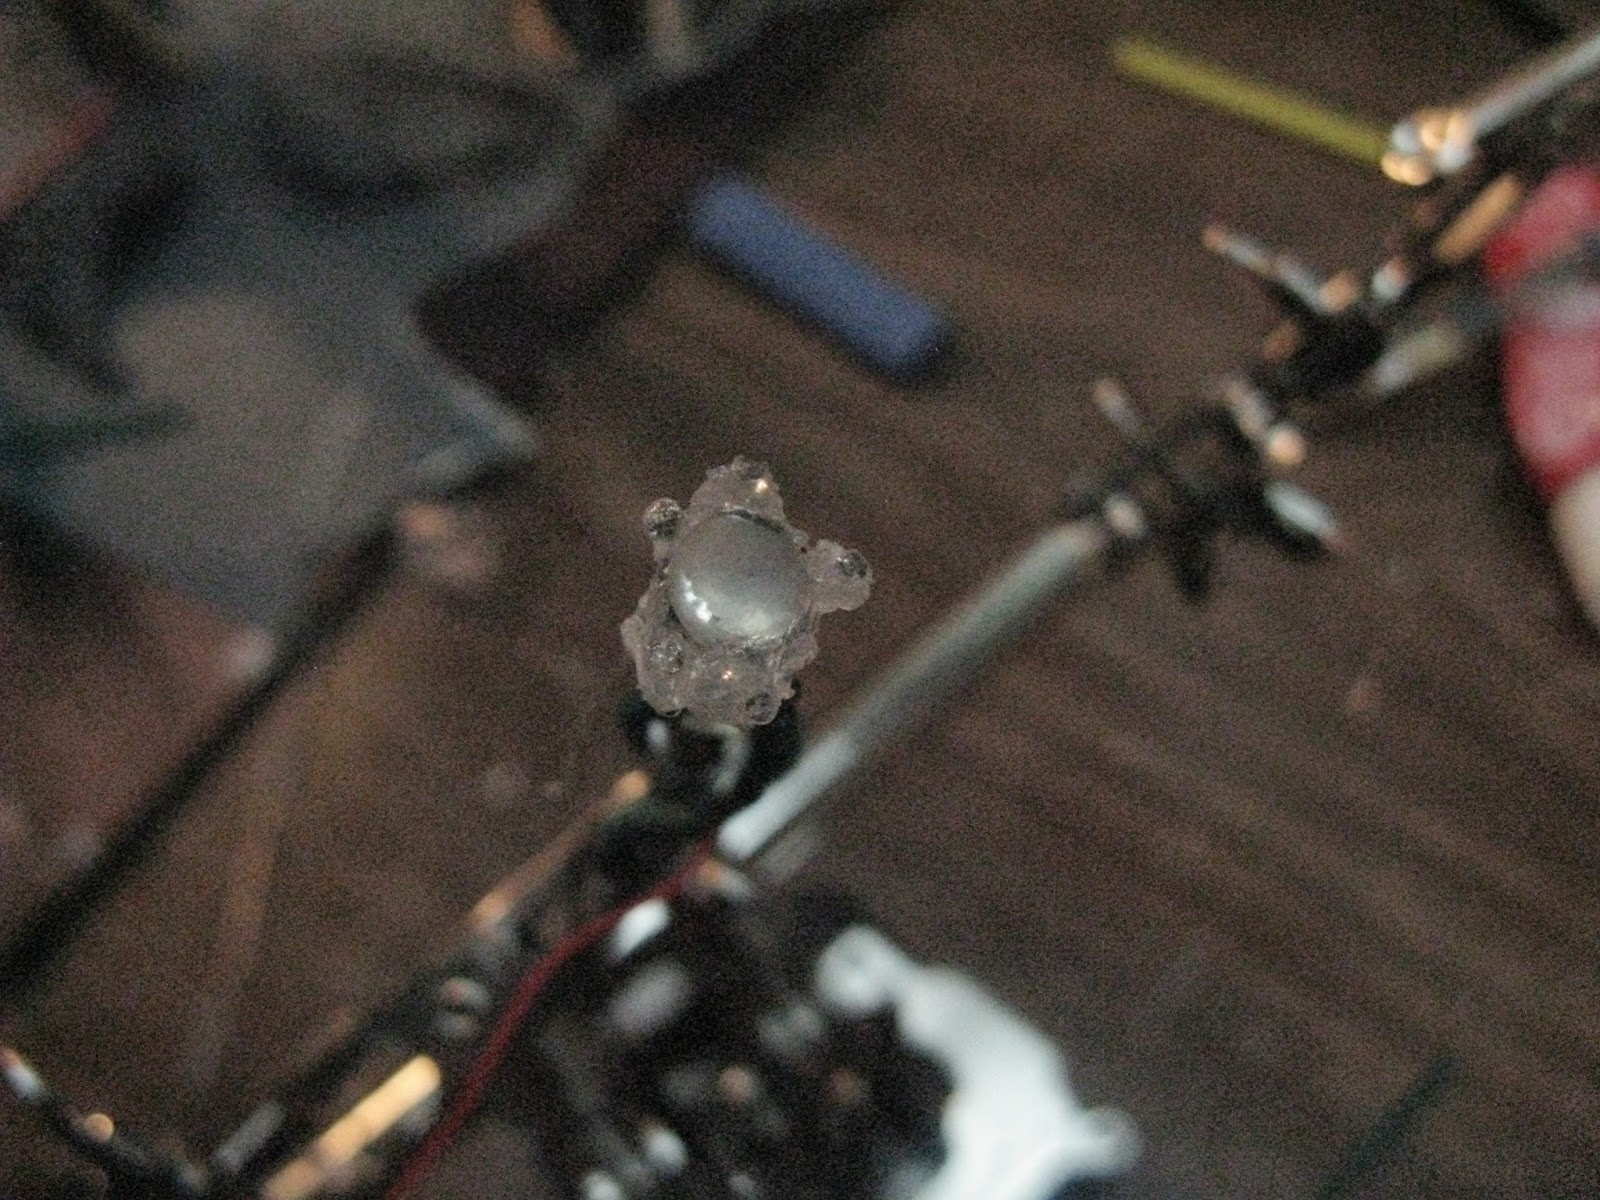
Next, the 'fan blades'. On the 11' filming model, the spinning effect was created by rotating a 12 segment fan over blinking Christmas lights. There is a provided kit part to represent this but there is no real way at this scale to have a rotating part (at least I can't make one, although I have seen it done before). To create the effect I used tiny strips of aluminum tape normally used in duct work to seal joints. I used 0000 steel wool to frost the dome.
I installed both of these lighting units into the nacelle halves and here is the result.
Final step is to close up the nacelles and like the saucer, the fit is poor. I glued them one at a time and used clamps to secure them.
This is where I'm at now, the seams are red-puttied and await sanding.
BOTANY BAY SHIP
I started building this tiny little model. It's really cool and is one of the main reasons I bought this kit, to create the iconic shot from 'Space Seed'.
The Botany Bay is designed as a snap together kit but upon further inspection there is a signifcant weakness, the aft section uses a tiny little tab with a hole in it to connect with the rest of hull. This would break off easily so I decided to cut that off and use two brass pins instead.
The rest of the model has gone together simply.
Next step, I need to sand the cargo container joints and add the 'conning tower' (I always thought this looked like an angular space submarine).
So that's it, I think I will have time to have a sooner update than my last update.
Happy model building!!
Subscribe to:
Comments (Atom)


