Greetings all!
This is a bit of a short update compared to the last time. So let's get going...
PRIMARY HULL
When I last worked on this section of the model back in March, I needed to repaint the hull for 2 reasons: 1) to touch up the seem and other scratches; 2) to address a light leak around the bridge dome. It's a clear part and at this scale, it would be difficult to mask off from inside. Here is the result of another coat of primer.
I don't know what it is about this damned primer, it 'sputtered' again. I went back, sanded it down and repainted withe hull colour. Upon another light test I found there was still a small bit of light leaks. Tulip to the rescue!! Tulip is a black fabric paint which is excellent for light-blocking. I smoothed it out with a brush.
And here it is with the final coat. I just need to lightly sand a few spots before I gloss coat it for decals.
NACELLES ASSEMBLY
After I last left off the nacelles needed some sanding where the red putty was. A few of my masks for certain parts fell off the model so I needed to remake them before the primer coat. Again I had the same #$%^ing problem with the primer again. Time for a new primer.
At least when it does this, it's easy to sand and dries almost instantly. Next coat, base coat.
After some closer inspection, some more filling needed to be done on where the struts meet each nacelle. One of them broke off previously and I had to use CA to reattach it.
Another coat of paint hopefully I can move on.
SECONDARY HULL
Something I realized is I haven't paid much attention as this is sort of the final main assembly. As this is a 'snap-it' kit (which also snaps apart), I joined the to hull halves together so as to not get paint along the seams. That can be a pain to remove, trust me as glue doesn't like to stick to painted parts very well.
It was a good idea to do this as a number of flaws came up; it's really strange I've built 2 of these kits before from Polar Lights (1 partial build - later on that) and the secondary hull was flawless. This version has raised panels where the pendant goes along the side of the hull. That needed sanding. Also I filled in the grooves on the neck to indicate where the next colour should appear. Too deep and there were no scribed lines on the original 11 foot model so I filled them. Primer revealed I needed to redo it.
MISCELLANEOUS DETAILS
So now is the time to start work on the detail parts. When looking for the clear parts, they were nowhere to be found. So digging through my old Polar Lights box, I found the parts for my static model I started last year but put on hold, USS Intrepid NCC-1631-A.
I'm making my own 'refit' type decals for this model so I haven't progressed much further with it. This is sort of an in between model between the Original Series Enterprise and the one featured in Star Trek The Motion Picture. Back to this project...
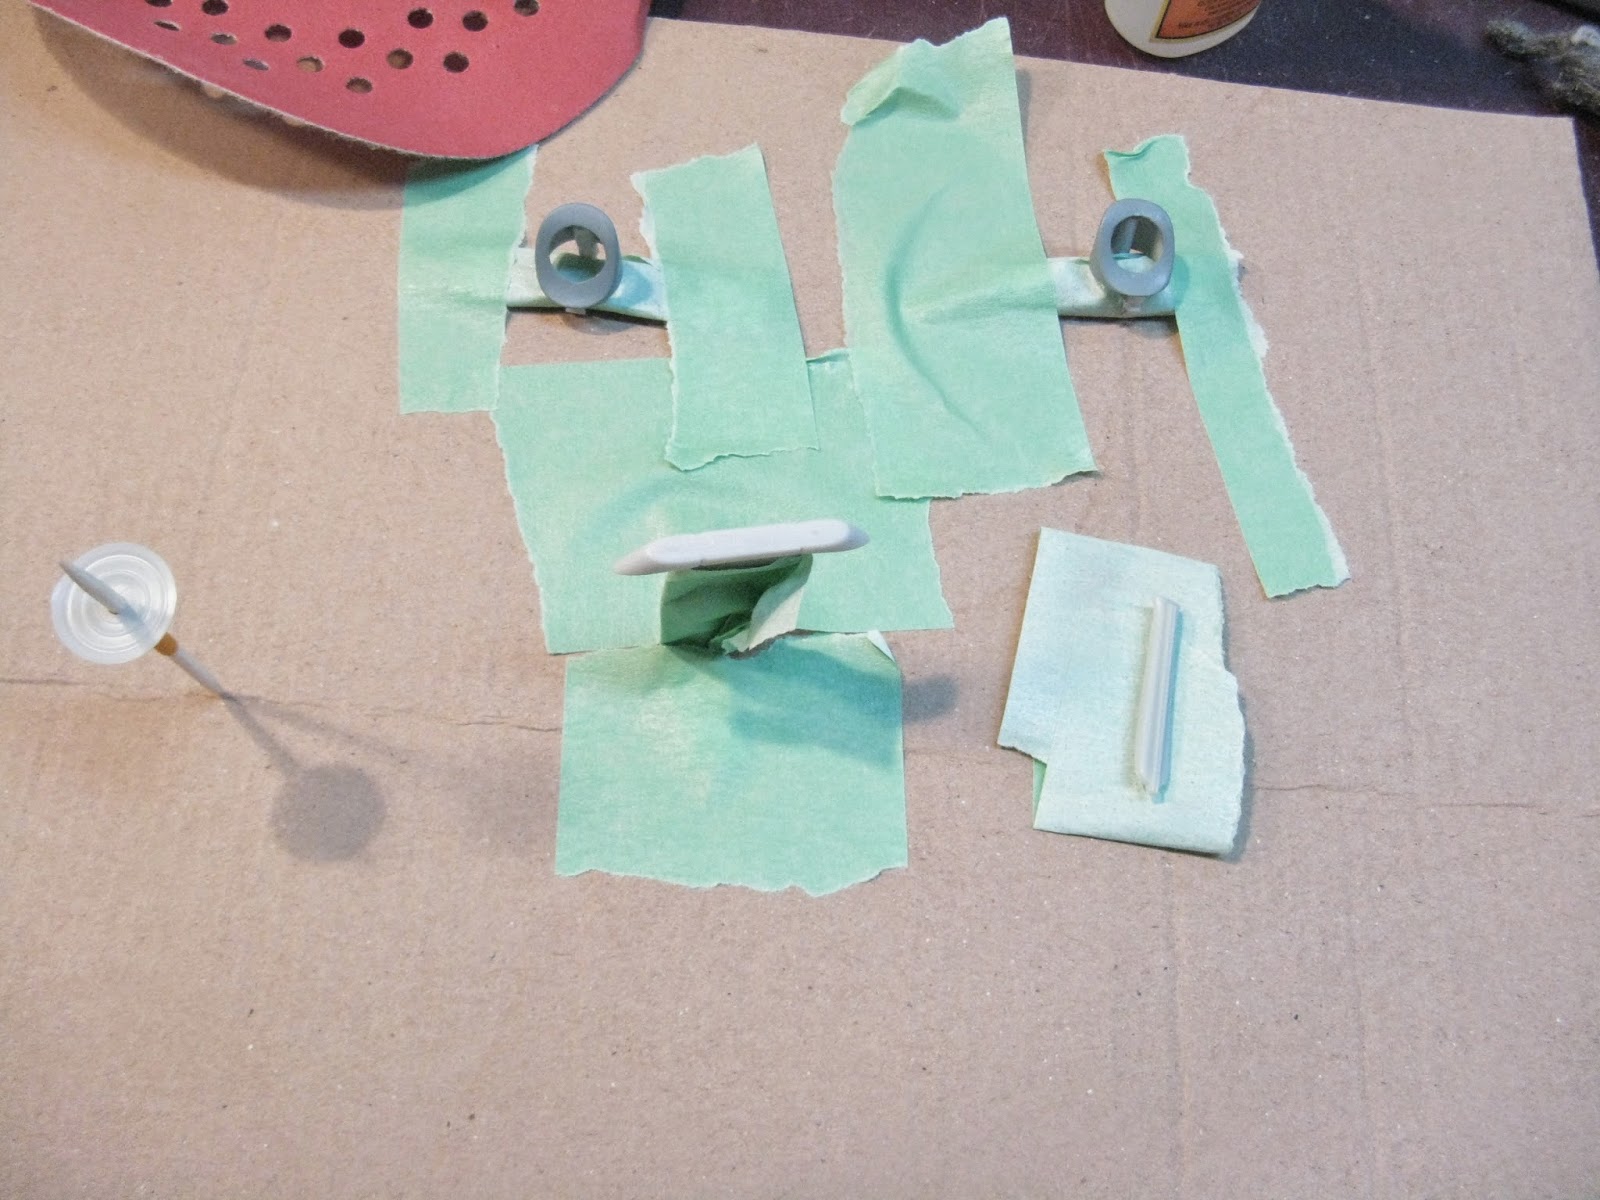
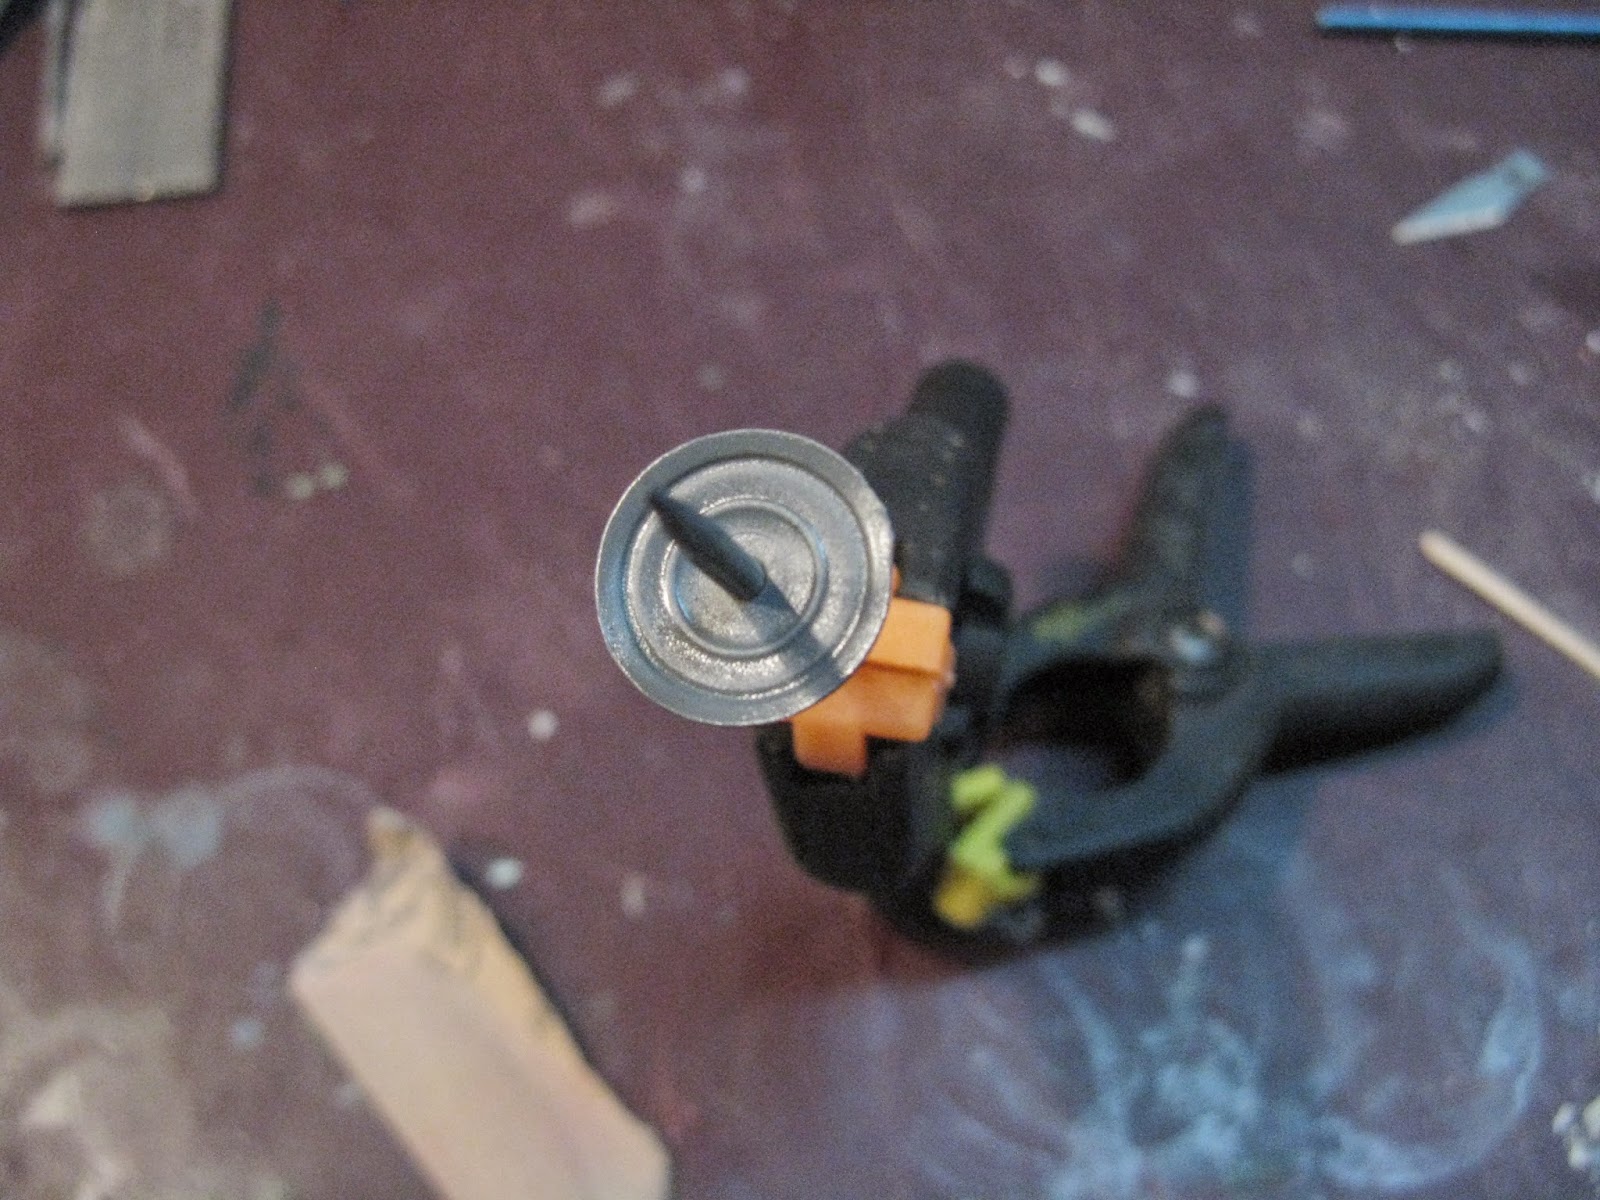
These are the parts I found (except the dish which is from this kit). The clear domes (called Bussard Collectors in the Star Trek universe) need a bit of work and need to be frosted.
A little bit of primer goes a long way.
Both the dish and the other parts have received their correct colours.
A TALE OF TWO DEFIANTS
The next few projects coming up are directly related, USS Defiant NCC-1764 which is a Round 2 reissue of the 18 inch AMT Kit of the classic USS Enterprise, except molded in 'glow in the dark plastic', two Tholian spinners and a the Tholian Web backdrop. This will be a diorama like the this current build. The only difference is to utilize the 'glow in the dark feature', I can't paint it. That also means no filler for gaps. Neatness is paramount here.
The model is just mocked up with lots of tape.
The other kit is the USS Defiant NX-74205 from Star Trek: Deep Space Nine and is a reissue of a kit an AMT/ERTL kit from the late 90's. I had started to build this back in my university years but life took over and sadly the kit, unbuilt is in a landfill somewhere.
But somehow, the only 'survivors' from the landfill was the box (which became a junk box) and the original stand. I will incorporate this into the model.
Both of these models have accuracy issues. I'm familiar with the classic Enterprise issues for the old school Defiant but the newer one was molded without clear parts both now and in the late 90's, so lighting will already be a bit challenging. I have been doing a fair bit of research on the Defiant (DS9) and as it turns out the engines are molded incorrectly and are actually open at the back with a mesh covering the opening and the deflector is made of the type of lens one uses for flourescent lighting.
Considering this model is about half the size of the studio model, I went around to hardware stores to find alternate lenses to create the same effect and I believe I found it.
It should be an interesting build with a bit of scratch building. Should be fun.
Happy modelling!!


No comments:
Post a Comment