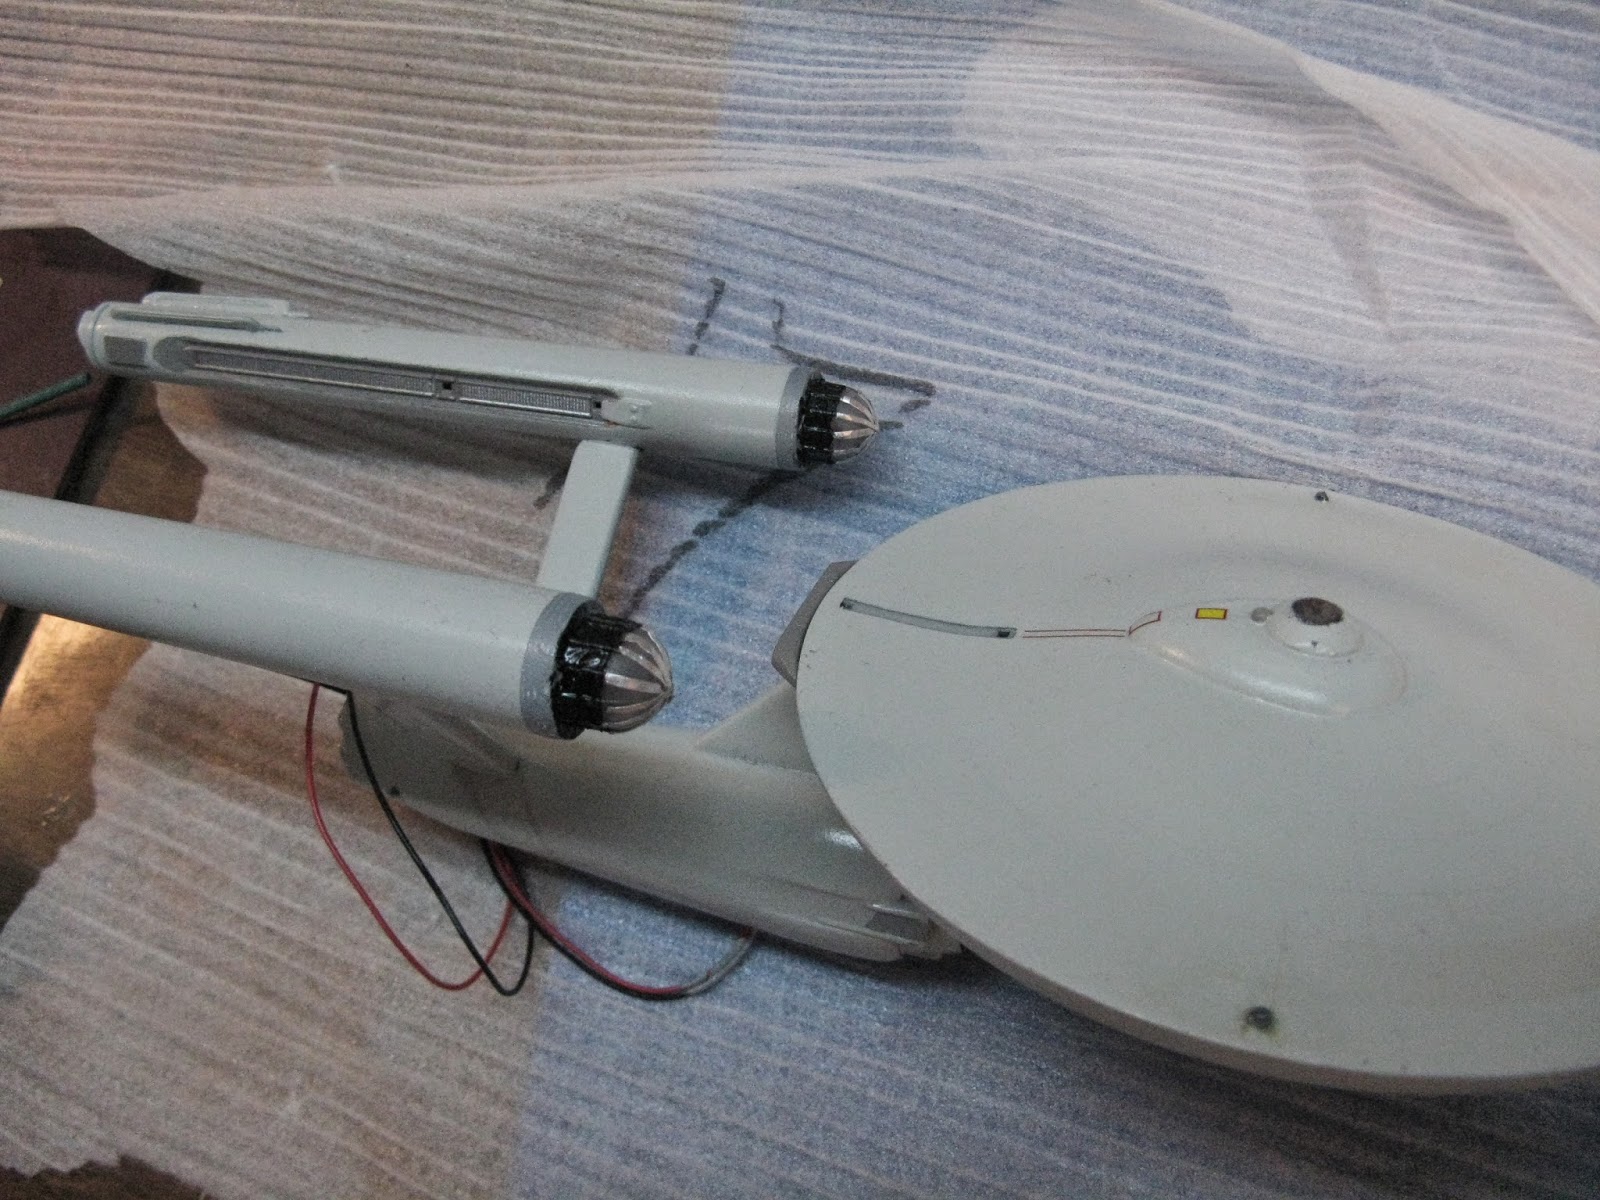
Greetings...well this is the last update before my final reveal...
The last two things for me to address has been the lighter accent colours on the engineering section, and the 'pencil-thin' gird line decals on the saucer.
ENGINEERING HULL
Masking off the ship wasn't terribly difficult...
...what was difficult was dealing with a 'sputtering' rattle can. I know, I haven't yet graduated to the airbrush level (one of the main reasons I haven't built my 1/350 Refit Enterprise or a few planned kit bashes from the TMP - The Motion Picture era, which is one of my favourite for designs and as a hybrid of both TOS and the TOS films), and this experience exemplified why I should take the plunge and elevate my model building to the next level. After 4 tries, #5 was a winner! (with a paint build-up). Nice to finally see all of the lighting!
I light-blocked any light leaks using Tulip and realized the hard way the Bussard Collectors don't fit with the metal tape on them. What I did was cut the tape to where the curve begins and used Tulip directly on the fake 'spinners'.
PRIMARY/SAUCER SECTION
As I mentioned in the last update, I chose to go with Acreation's gridline decals. I must say they are very fine work, almost too fine. The quality of the decals and the R&D are superb! At this scale it is hard to see simulated pencil lines. That said, to the eye, they are there. To the camera they are hard to see but that's exactly what was done to the 11' miniature hanging in The Smithsonian, before the 90's restoration...not going to debate that here other than the model maker is a fine model maker...I digress.
Do you see the gridlines?? I don't, not with this camera but they are there. This was harder to do vs. the top side as the 'rust ring' is a good guide in laying down pie-shaped decals.
FINAL ASSEMBLY
So this is what we are left with:
Some solder and heat shrink, i was able to force (not easy) the wires into the saucer section. I was going to glue it in place but decided not to. The saucer doesn't fit flush to begin with to the neck. Having the hole open where the impulse engines goes was invaluable to stuffing the wires into the hull.
Presenting a 'whole' starship:
I was only going to do 'marking decals' today, but had a change of heart...
Next step is weathering, a dull/matte coat and hook up the base to a switch (which I need to buy) and seal everything with Testor's dullcoat. For now I leave you with an old 1/1000 scale refit I built in 2000 (with a busted nacelle) and the Botany Bay amongst a busy/messy workshop.
Happy model building and peace!


No comments:
Post a Comment