Greetings model builders!
A little background on design of this ship...
The Romulan Bird of Prey, as first seen in Star Trek in the original episode, 'Balance Of Terror' as the guest ship in that episode. It is fabled that in early drafts of the episode that the Romulans stole a Federation ship or a Federation design and had a big bright bird painted on the underside of the hull. That said, when looking at the main hull and another 'renegade' or stolen ship, it's hard not to un-see this...
 |
| USS Reliant on the left, Romulan BOP on the right |
I've often wondered if the design of the Reliant was influenced but the BOP, hard to say but the original design (apart from reusing the Refit Enterprise and relabelling it as shown in early storyboards) had the nacelles above the main hull, much like the BOP. I digress, onto the build!
The beginning...
Each time I build a model, I always start with a bath!

All plastic model kits are created from a mold and with every mold, there is a release agent that is coated in the mold so the plastic ejects easily. This mold release can interfere with both paint and glue, so a good wash with dish soap and water deals well with this.

The BOP has a very simple assembly as seen below.

And here are all of the kit parts (including optional parts)

So, here is the Romulan Bird of Prey with all of its major sections glued up in sub assemblies.

main hull, wings (port/starboard), nacelles (port/starboard), tail
Below is the BOP, mocked up. Simple model, eh? (Don't mind me, I'm Canadian, lol)

So then I moved on to filling and sanding the sub assemblies, starting with the wings, or pylons if were a Federation ship.

Once I got that squared away, I glued them both to the main hull.

Here's my 'poor man's rig' with painters tape. This is how I learned to build models as a kid and it works effectively.
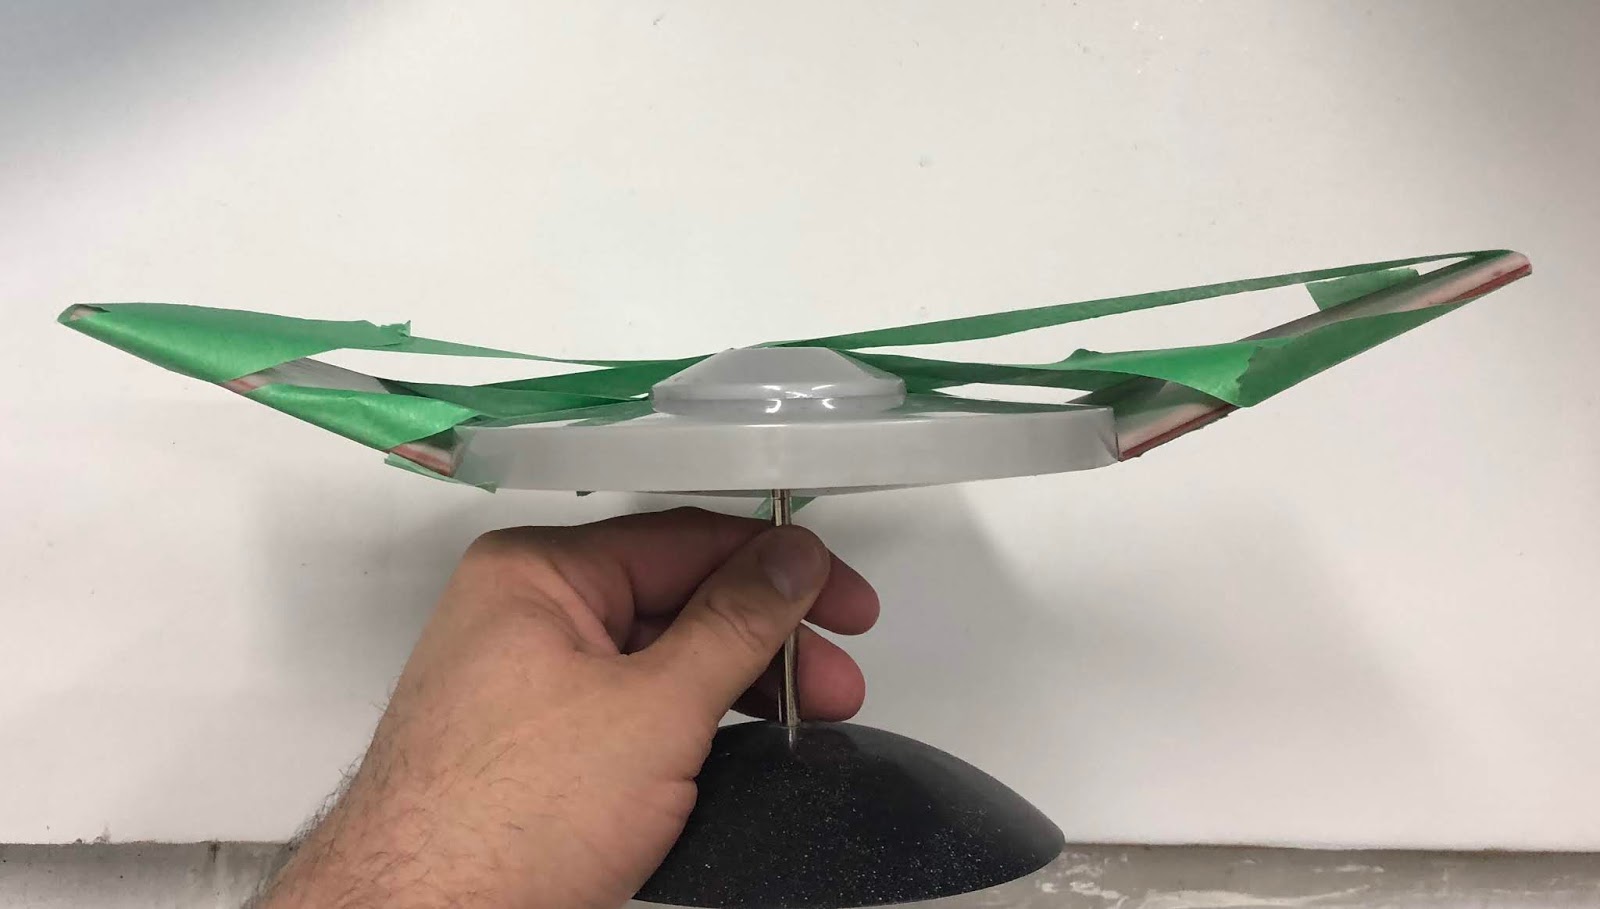

Once the wings set, I put the nacelles on, to see their alignment.


As you can see, the nacelles aren't parallel with the main hull,

and the after portion of the nacelle is what will make this noticeable
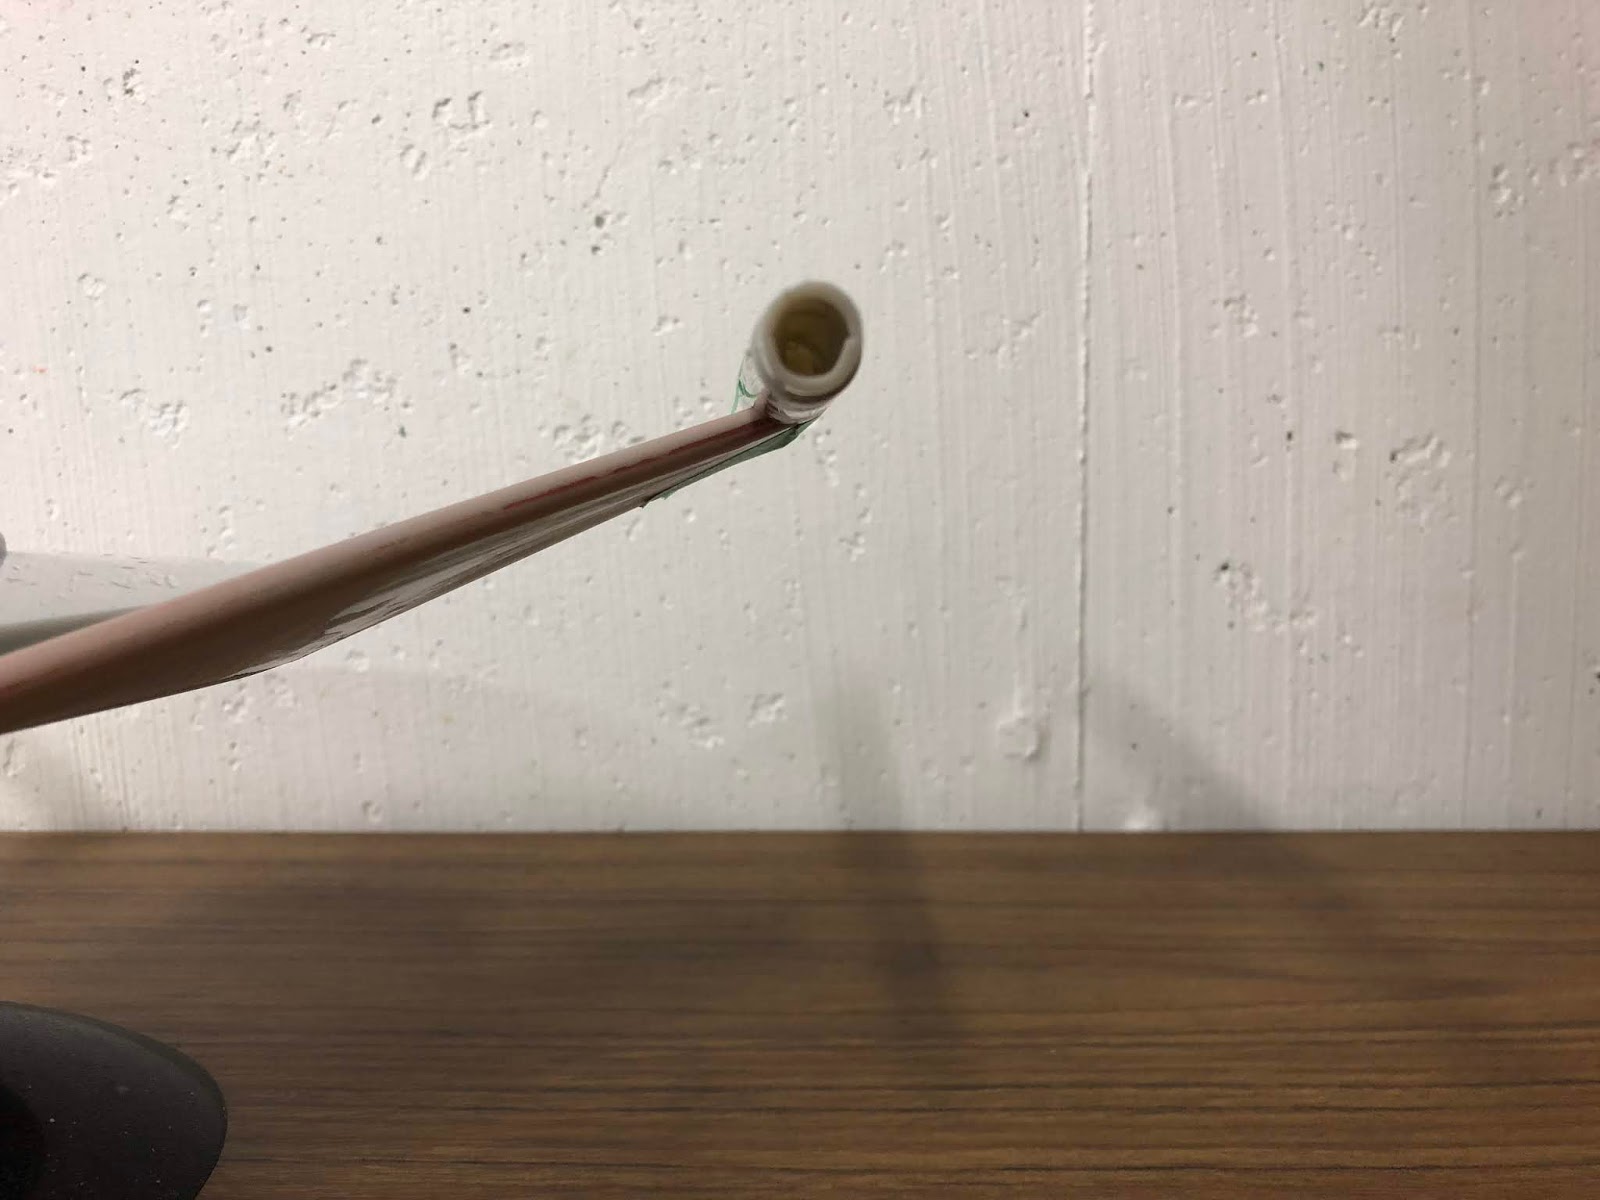
Next step for me was to deal with the hollowness of the model. The leading edge didn't quite meet between the two halves of the main hull (or saucer for lack of a better term). This means I can't fill the gap without the filler popping out as the hull can flex. My solution was to drill out the bridge section and use the hold to drizzle 15 min epoxy into the cavity.


I rolled the model around to coat the interior with the epoxy. I did this in 4 passes: bow, stern, starboard and port sides.

Once the epoxy cured it was time to move onto the filling of the gap along the main hull.
 \
\
For larger gaps where there can be flexing, I use a metal glaze by 'Evercoat'. It comes as a two-part solution and like any chemical product, you should always use safety precautions protecting your hands with gloves, eyes with eye protection and use in a well ventilated respirator.


Next pass is to add primer, and then using Bondo spot putty to clean up the edge.


Yet again another pass. I find it usually takes several (up to 3 to 4) passes of evaluate, putty, sand, prime, 'rinse and repeat'.
Racing stripes??
No, the light coloured areas are basic plastic that was masked off where the nacelles and tail fin attach to. Plastic adheres best to plastic, rather than glues.

To plug the hole, I drilled out a plug from a sheet of styrene and epoxied it in.
 '
'
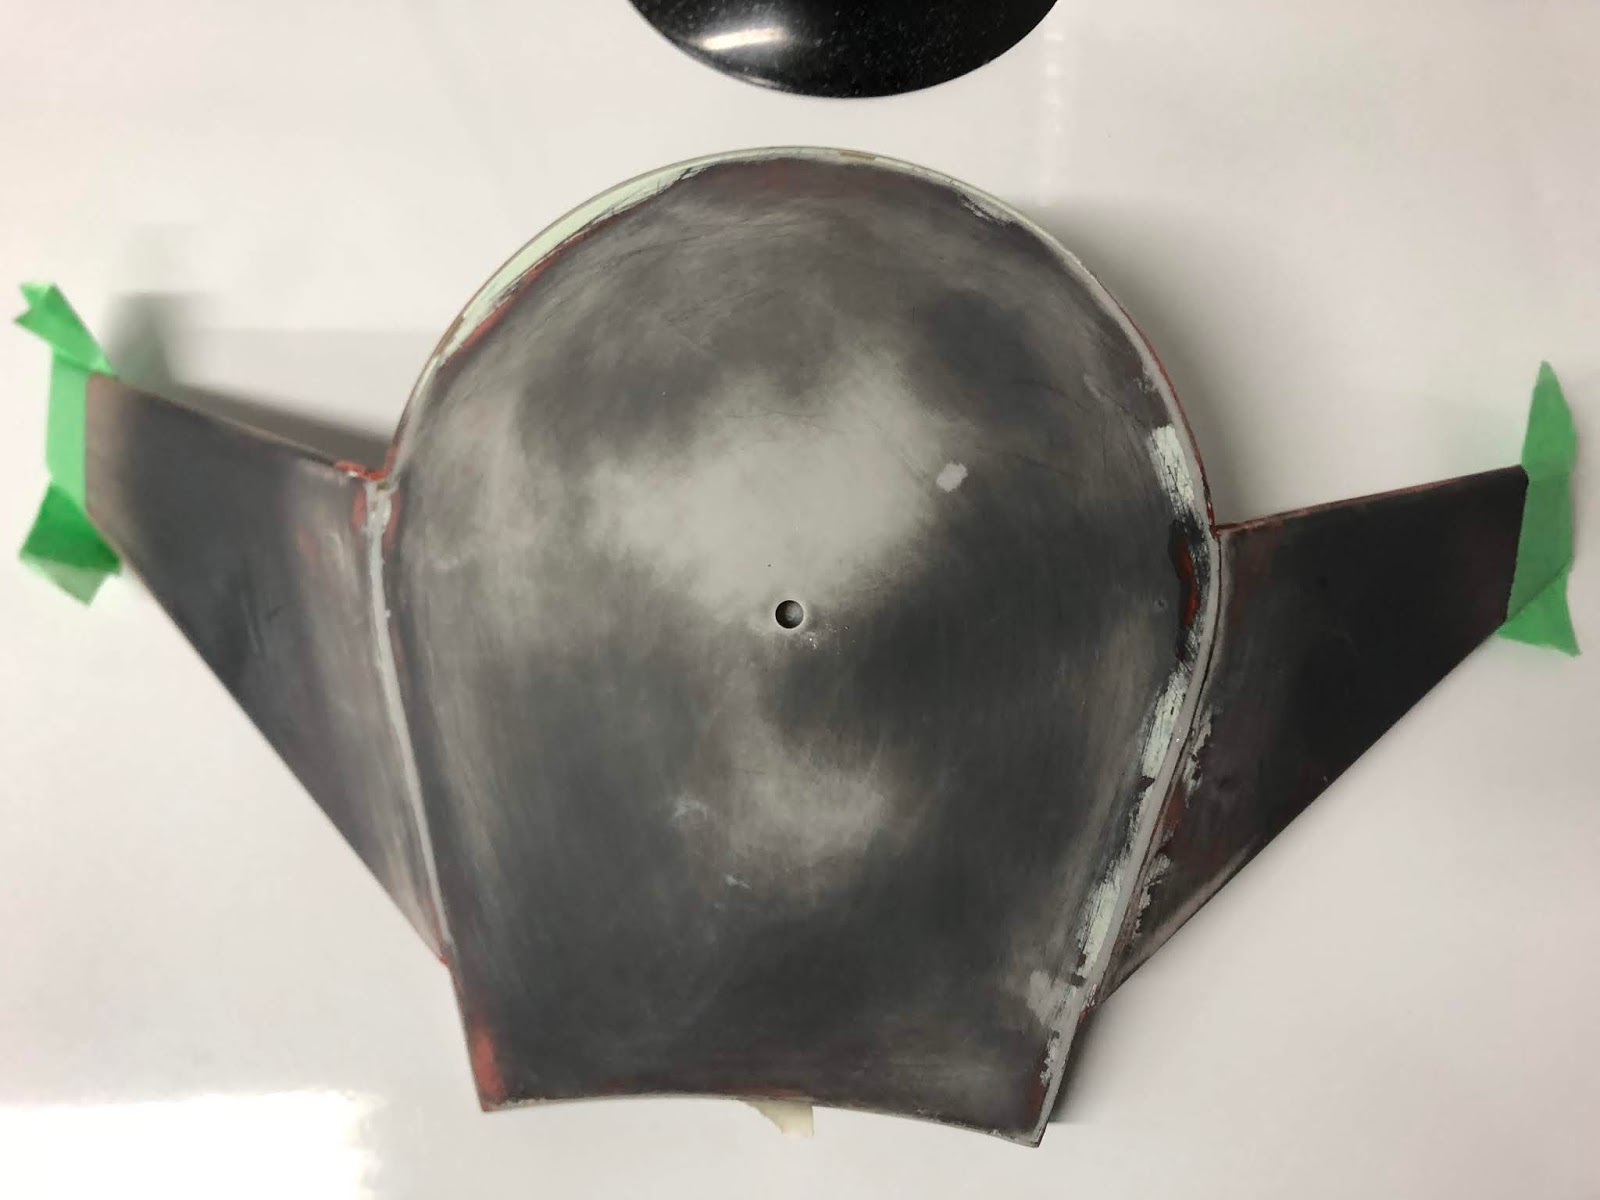
I ended up opening the stand hole in the bottom of the model and then drizzled more epoxy through it. The painter's tape is to protect the model. This hole will get plugged, but gets covered by the massive orange bird decal. I've been using the Round 2 Dome Base stand to paint the model in the interim.

When I attached the tail fin, like many of these older models, I had to make a jig to keep it perpendicular to the hull as both halves of the tail aren't exactly even with each other.
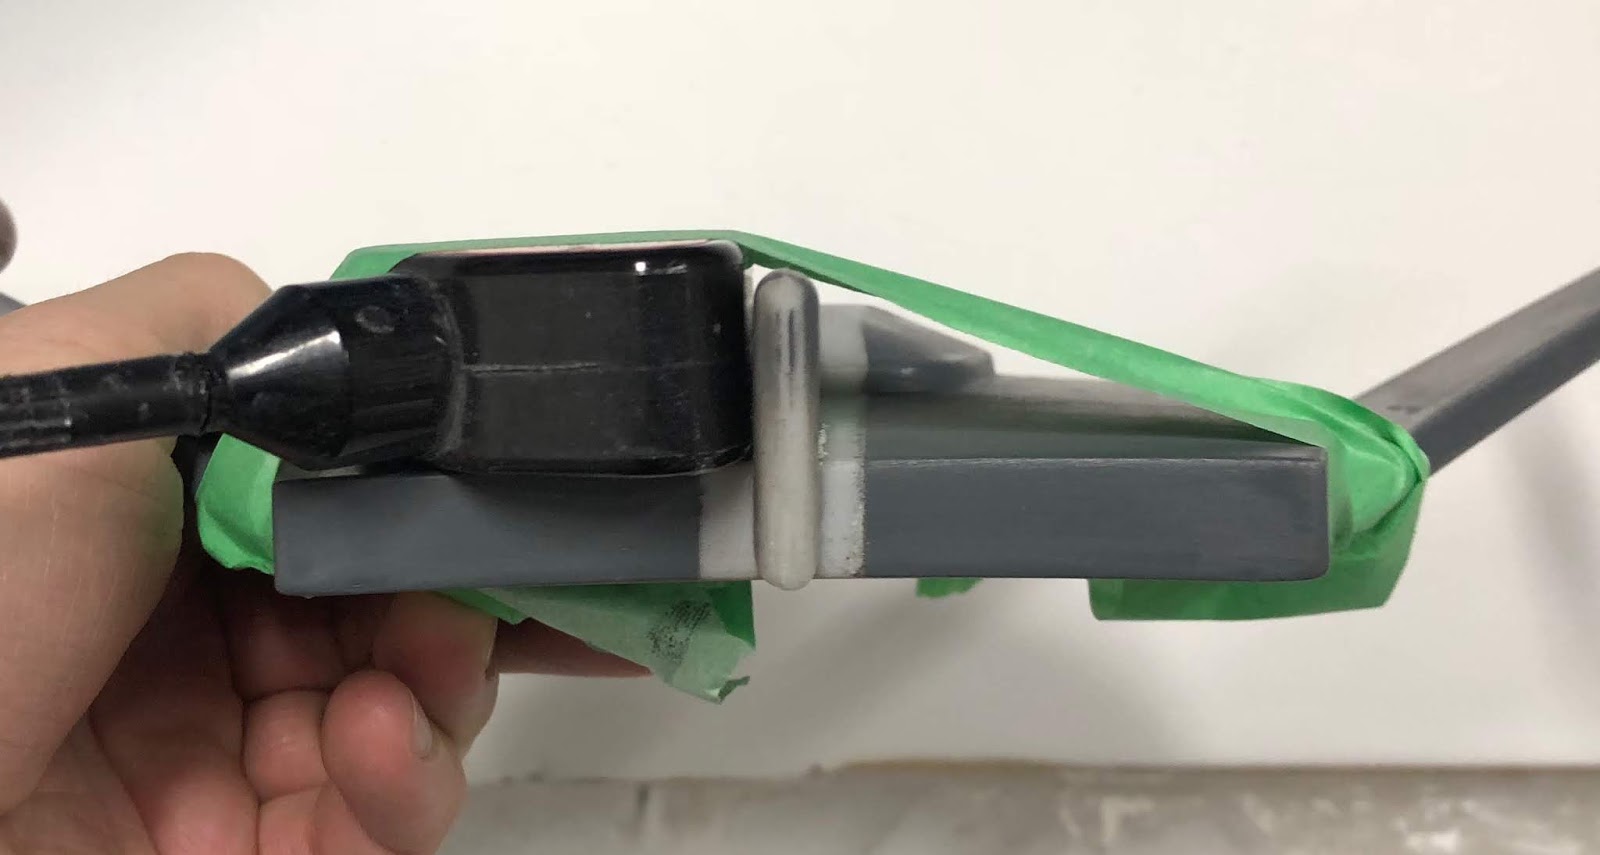 |
| one might recognize this as a Testor's liquid glue. |

To fill all the gaps (not shown) around the tail, I used Evercoat Metal Glaze on it.

That about wraps up this entry. Below is a link to the previous entry, something I'm going to start doing on these blogs.
https://fordosmodels.blogspot.com/2018/11/romulan-bird-of-prey-1650-vintage.html
Star Trek and all related marks, logos and characters are solely owned by CBS Studios Inc. This fan blog (production) is not endorsed by, sponsored by, nor affiliated with CBS, Paramount Pictures, or any other Star Trek franchise, and is a non-commercial fan-made blog intended for recreational use. No commercial exhibition or distribution is permitted. No alleged independent rights will be asserted against CBS or Paramount Pictures.
No comments:
Post a Comment