Showing posts with label Star Trek. Show all posts

Sunday, 26 January 2020

Damage Control - USS Constellation NCC-1017 1/1600 Scale - A 15 Minute Project


Greetings and Happy New Years!!

(It's still ok to say that, 25 days later?)

In the world of models, this one is more of a different type of entry, this is an annoying repair job.

My last entry was 100th Log Entry https://fordosmodels.blogspot.com/2019/12/100th-log-entry.html on this blog site.  I listed all of my models entries of completed builds that were published, ones that were not published and works in progress.  One of my models, 'Star Trek Space Ship Set - AMT 1/1600 Scale', the tiny 7" USS Constitution took a fall back in the Fall of 2019.


The only way to really fix this is to drill out a tiny hole in the pylon.  I'm using a Tamiya Handy Drill here.  I'm using a piece of spare brass rod for the pin.


The trick is to align the drill with the other side at the correct angle.


For this, I used 2-part 5 min Epoxy Resin. This stuff bonds almost anything.


Because the surface area is so small, you only need a tiny bit on the part.


To line it up I taped both nacelles to the work surface and the end of an airbrush cleaning brush (looks like an oversized toothbrush) to support the saucer section.

It may not look true, but it is.  The saucer leans to one side, something I just recently noticed and tried to correct when it took a fall in the Fall.


10 min later, I applied a little bit of CA Super 'T' Glue along the seam.

As well as Insta-Set Accelerator.


And voila!  The nacelle/pylon is glued back in place.  Unfortunately a little bit of touch up is required at the seam.


I had to dig around, I built this before I got an airbrush.  The paint was from Lowe's, brand is Val-Spar and it is called 'Smoke'.


For touching up, I spray a little bit on a piece of card stock and brush in the colour in thin coats, then use Tamiya Dull Spray as a finish.
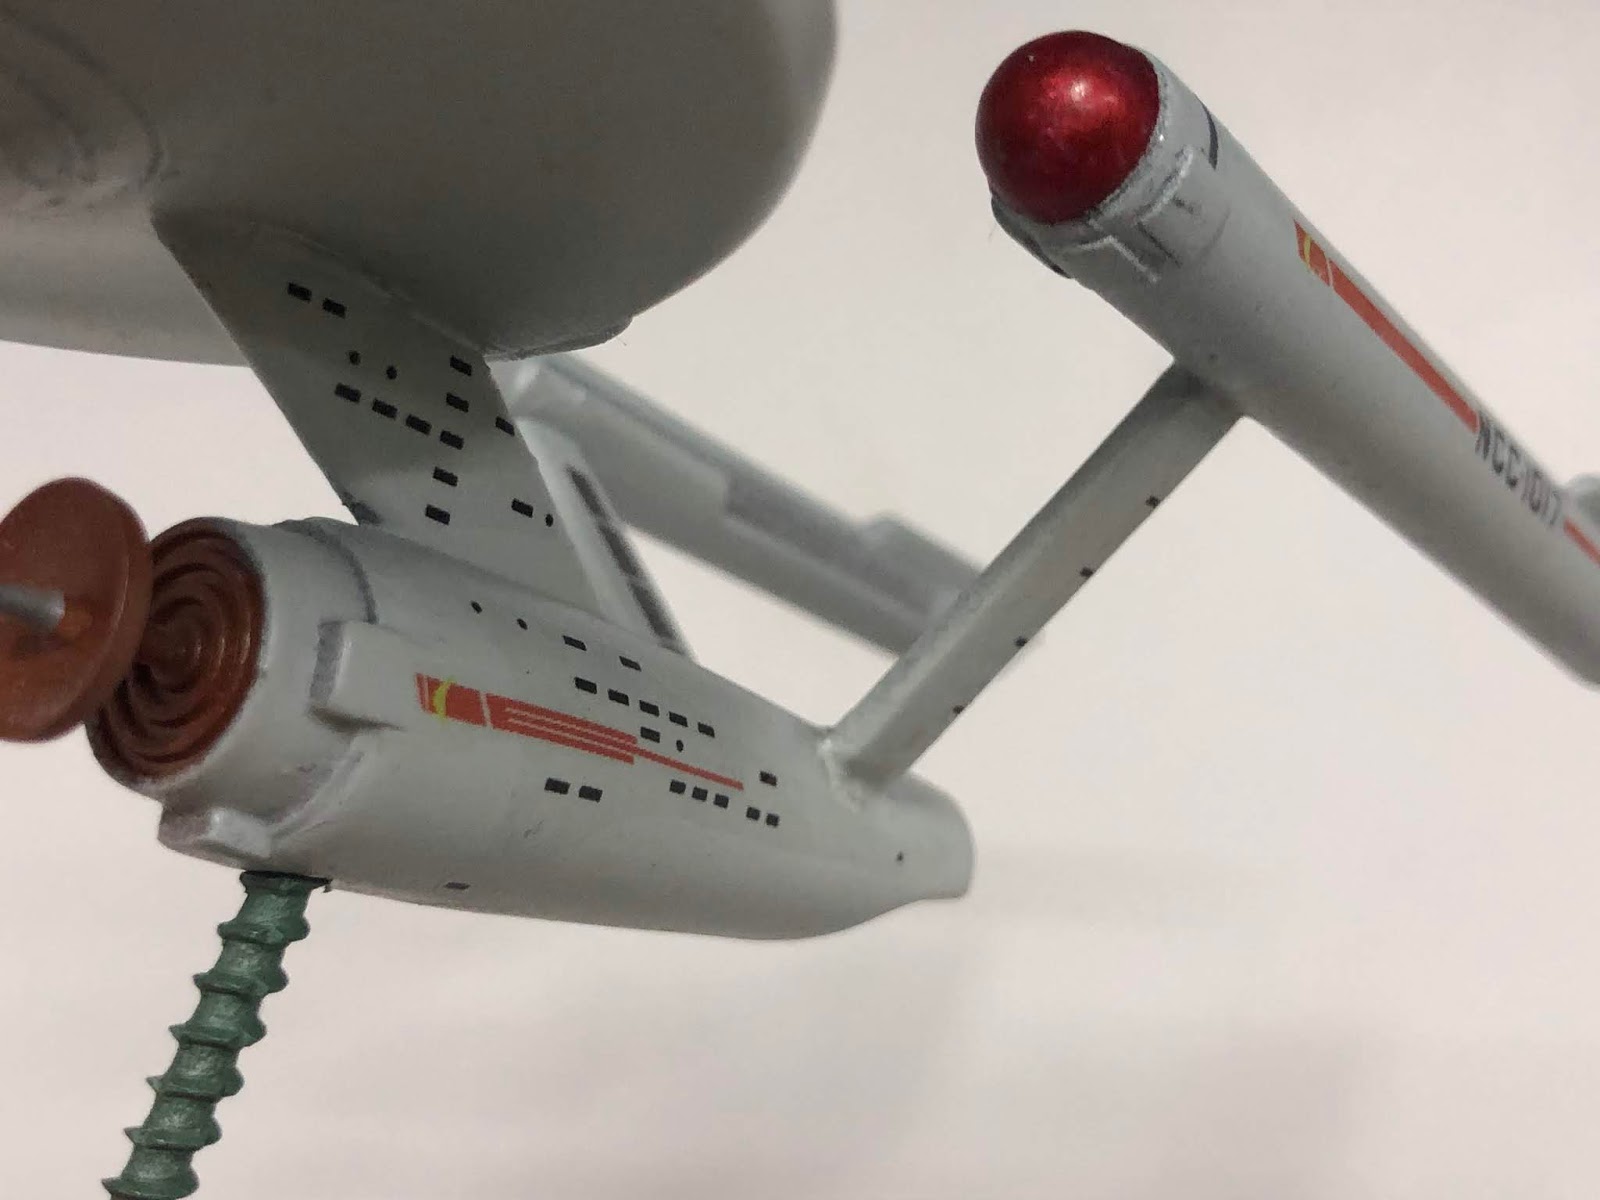


That's a wrap on damage control.  Below is a link to the original finished entry for this model kit.

https://fordosmodels.blogspot.com/2014/12/star-trek-space-ship-set-amt-11600_31.html


Happy Model Building!

Star Trek and all related marks, logos and characters are solely owned by CBS Studios Inc. This fan blog (production) is not endorsed by, sponsored by, nor affiliated with CBS, Paramount Pictures, or any other Star Trek franchise, and is a non-commercial fan-made blog intended for recreational use.  No commercial exhibition or distribution is permitted. No alleged independent rights will be asserted against CBS or Paramount Pictures.

Friday, 28 June 2019

Romulan Bird of Prey - 1/650 Vintage Recreation Display: Build Log #6

Greetings model builders!

Continuing on with the Bird of Prey...


After the last entry, I was in the process of my 'victory celebration' getting the model close to completion when I dropped it 4 times over the winter holidays, end of 2018.  After much work, here is the BOP finally ready for her decals!


This is where the nacelle popped off!


And the broken seam with the wing.  Next build, I will be using metal pins to lock the wings in as an armature.


The ventral side, good to go!


This model has only markings for the 'bird', but omits any window decals. In my opinion, Round 2 should have made them, like they did for the 1/1000 version of the kit.


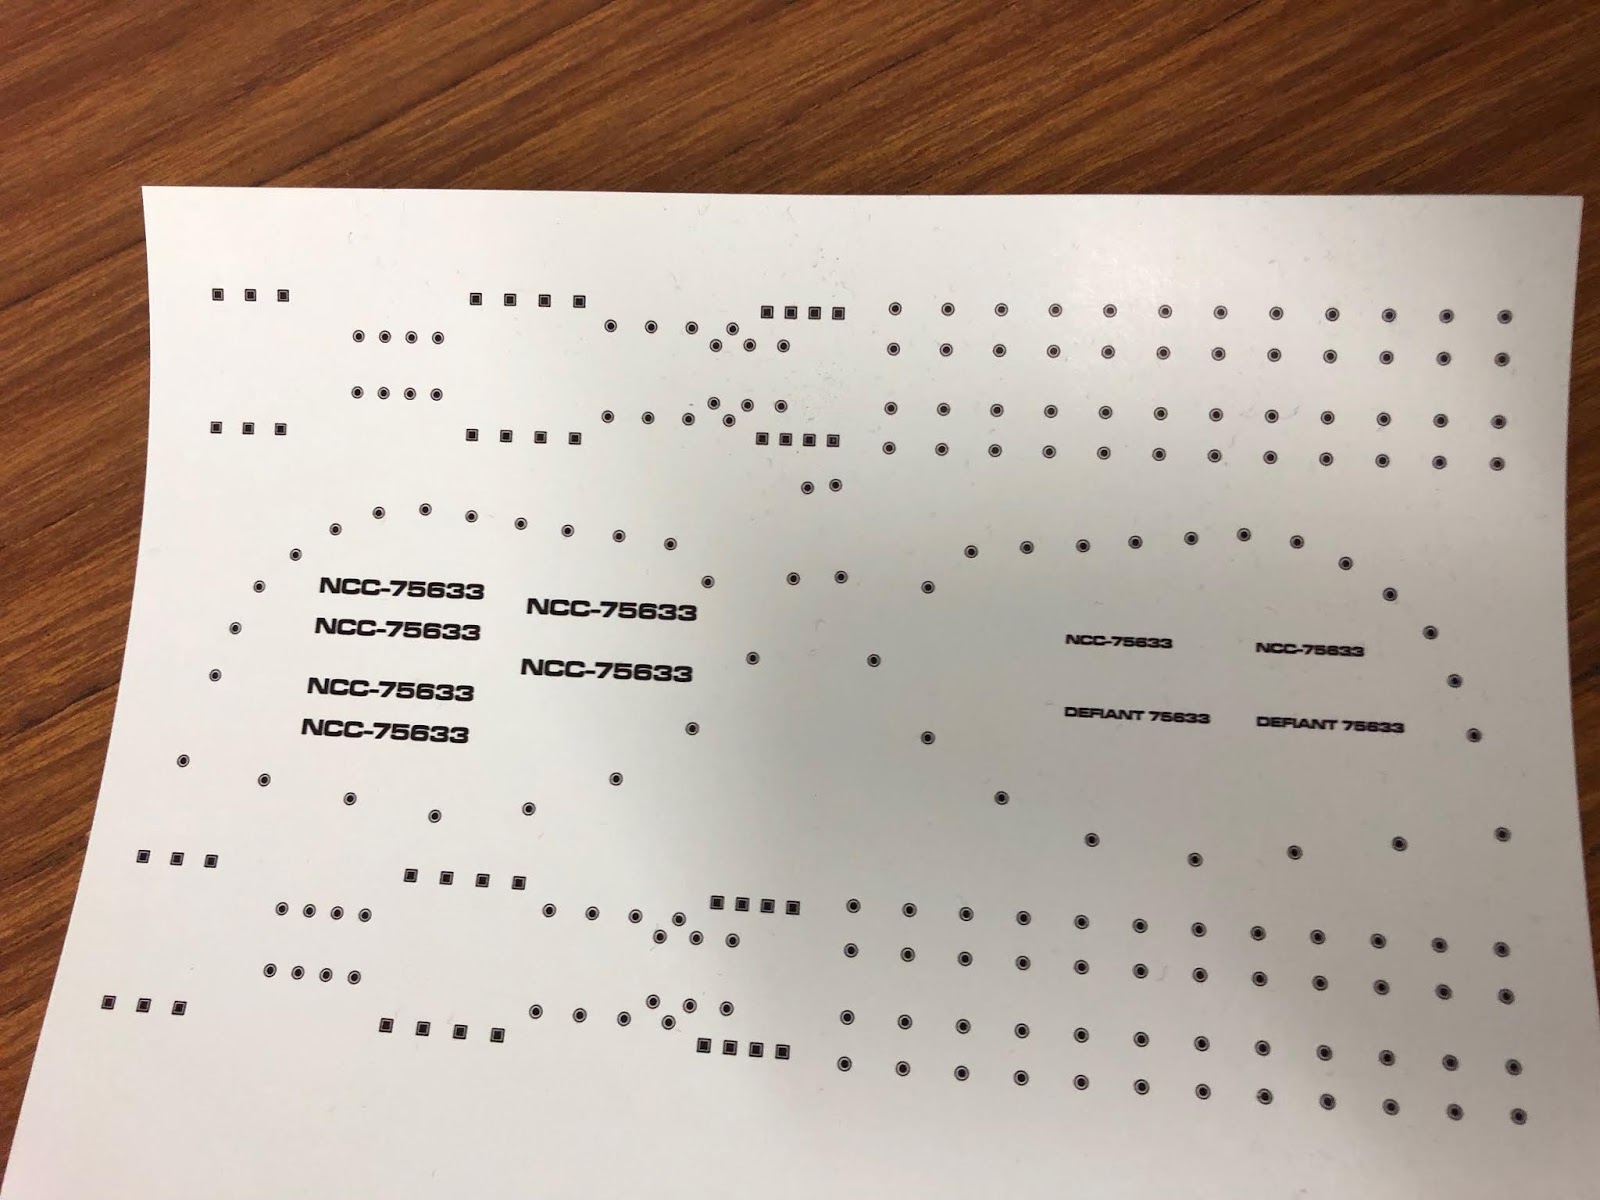
So I took the window decals from this smaller kit and made my own to scale in Photoshop.


I also made my own window decals, taking a 'rubbing' on trace paper of my 2nd BOP kit.

(The NCC markings are for another build, I just like to use up the sheet with future builds.)
Here are the finished decals, sprayed with Decal Bonder on transparent decal film.


Since the Roman BOP, much like all the Star Trek ships of this era have no physical markings on them, I have to make my own guides, this time using trim tape.


A comparison of the other kit and this model.  It's fortunate I have 2 model kits - I often have a backup just in case for parts or decals.


The unfinished model kit helped me align where to place the rubbing transfer.


All marked up, ready to decal!!


I cut each decal window in to smaller sections for ease of placement vs. one lone strip, which usually tears.


The smaller strip is to go on the bridge section.


The first of the marking decals which in this case are the orange wing patterns.


Unfortunately, trying to trim the excess edge, the decal tore and had to be removed.  Good thing I have that second kit!


As I continue to decal this model, I use a combination of both Micro Set and Micro Sol to soften the decals so they look painted on.


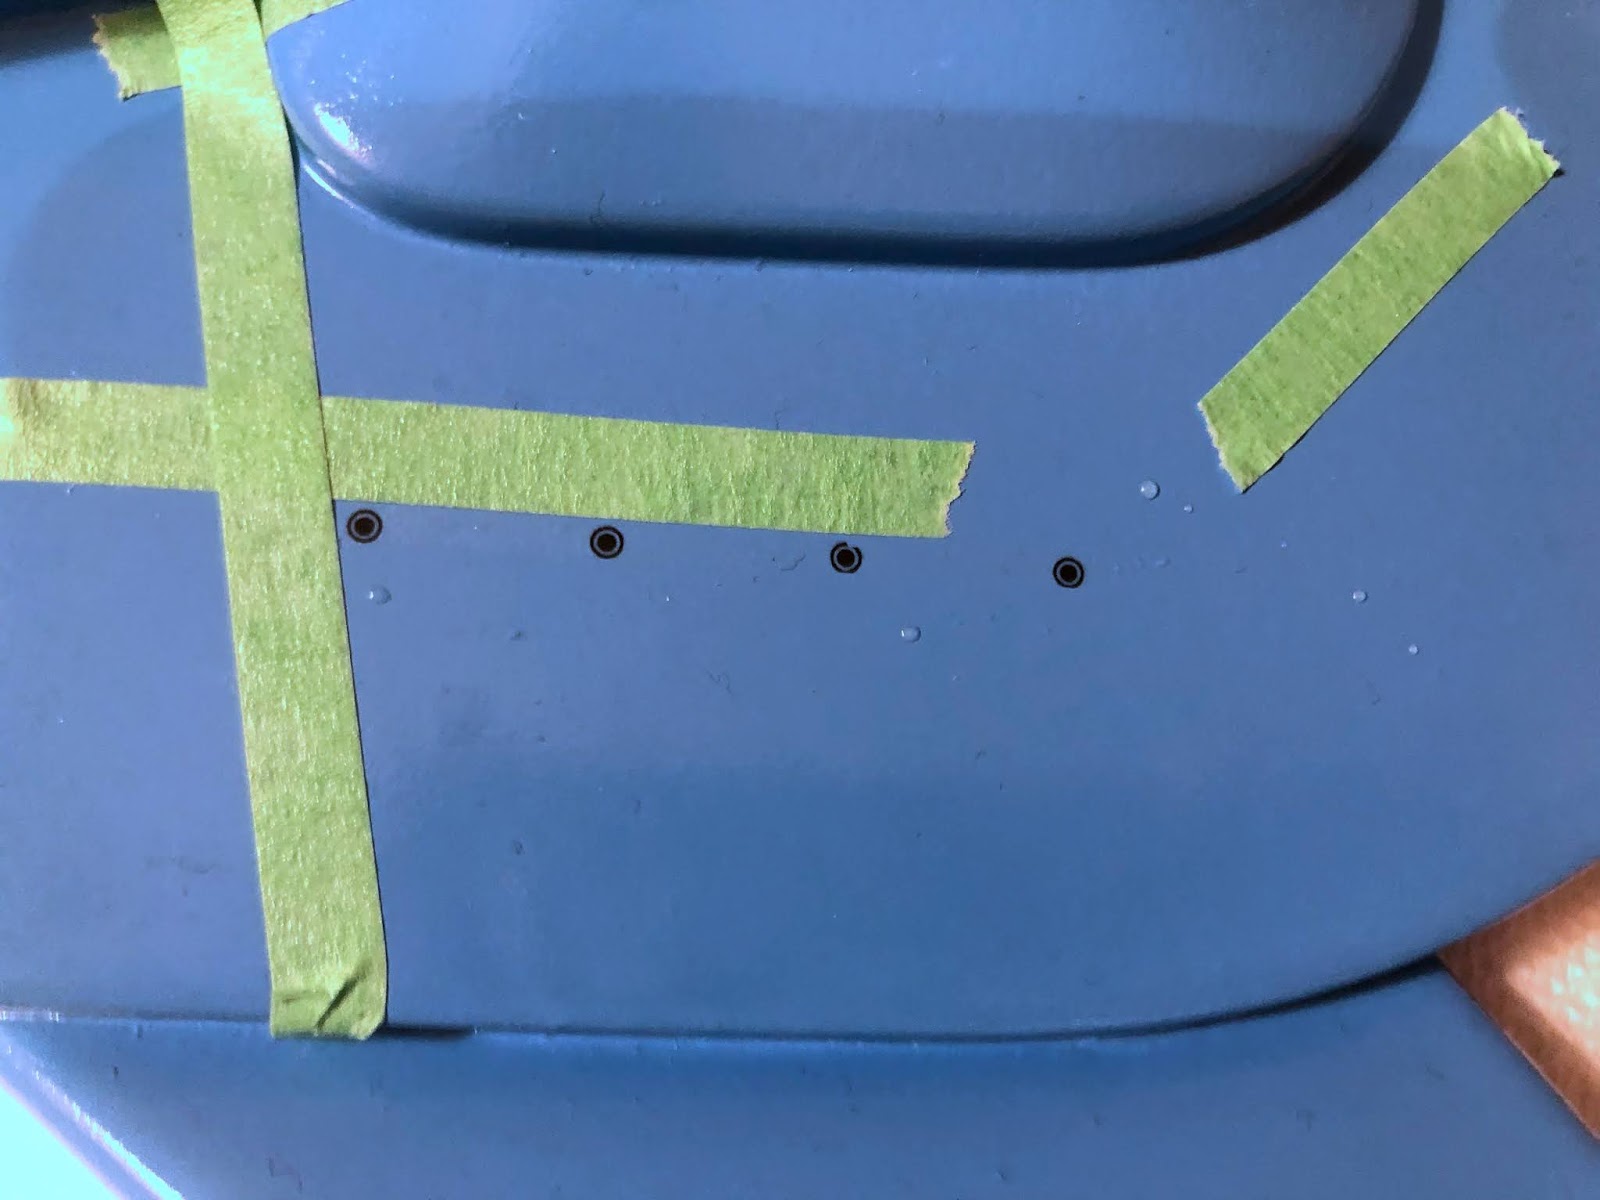
In moving forward with the rim windows, I did the same thing and cut them down to individual pieces.


And here are the results!


Once the decals were allowed to dry overnight, I then sprayed the top side with a Tamiya Clear Coat to seal them and protect them.


Now is the time to fill the hole for the stand and have a smooth bottom on the ventral side of the model.  At first, I though the plug,  as seen here, might do the job.


Way too small.  The plug is designed to be used if you're hanging this model.


The trusty base that served so well during construction.  It will get used on another model.


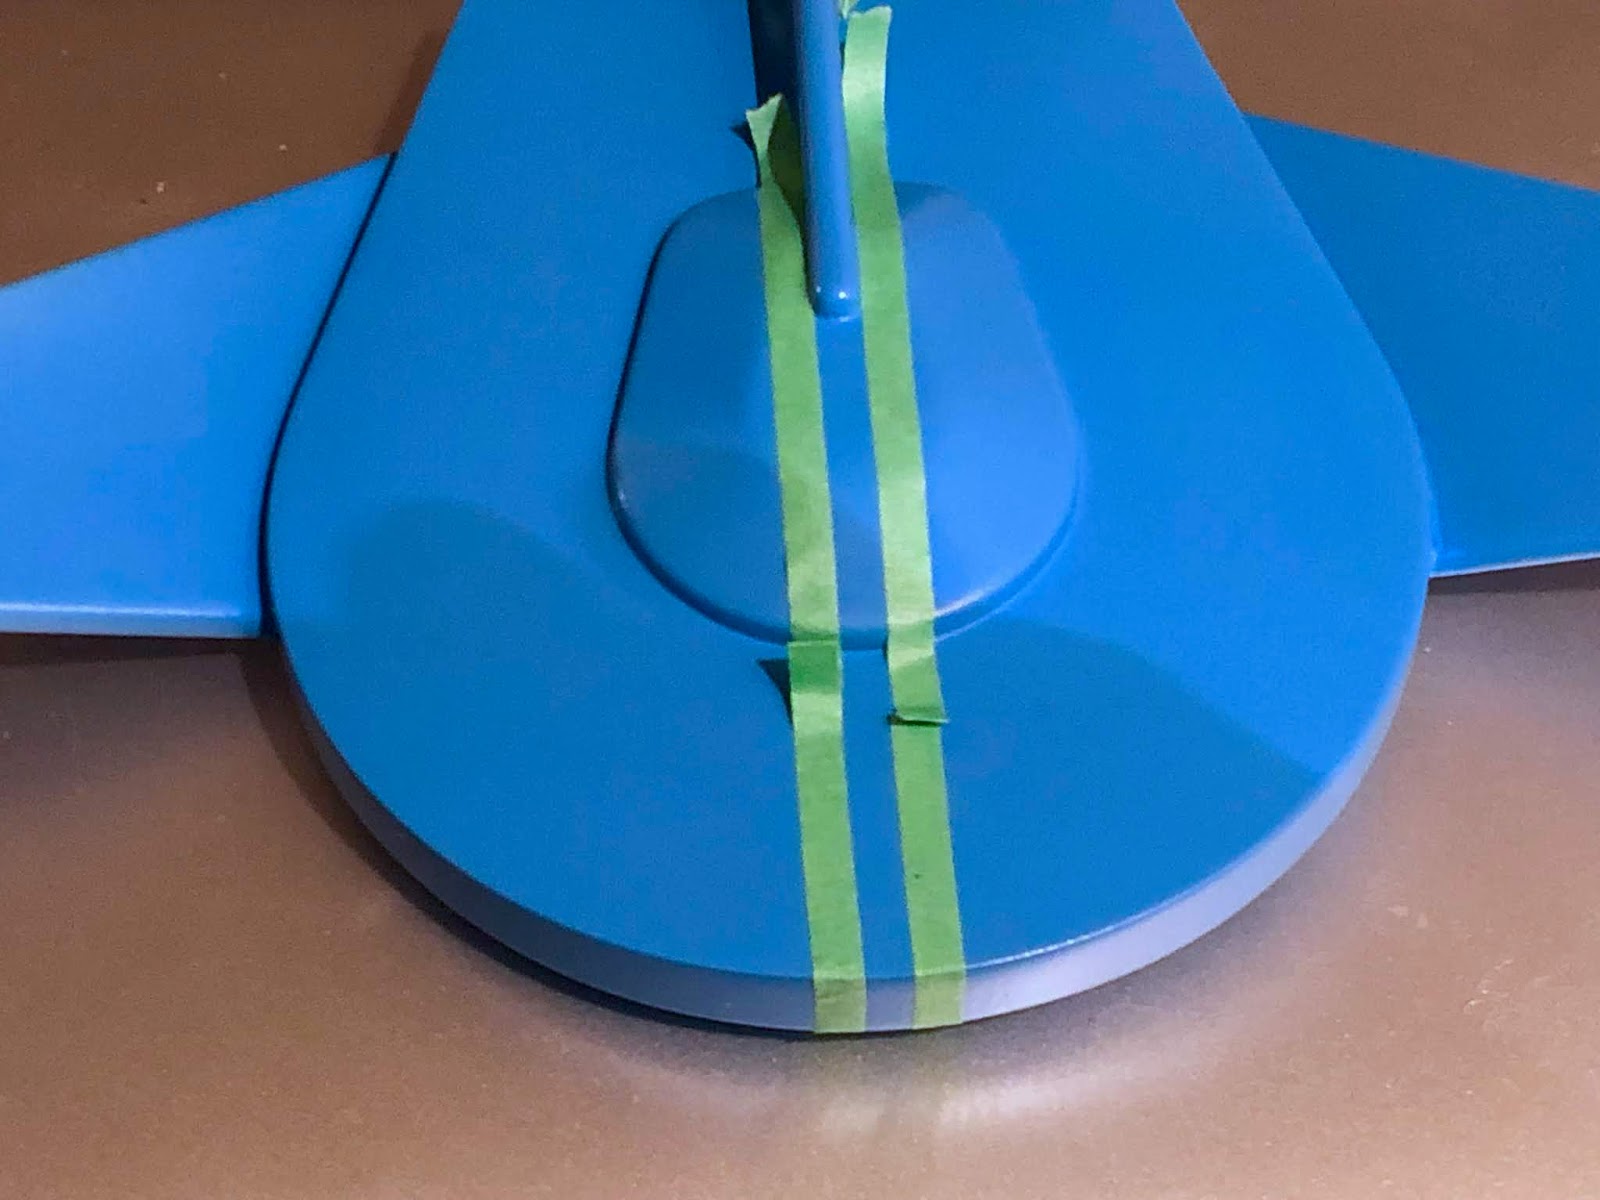
I ended up finding a piece of sprue to plug the hole.  The green tape is to isolate the area that needs to be filled and sanded.


Once cut smooth, red putty and a bit of sanding.


Priming...


More sanding...


And voila!  A blue patch that doesn't match the rest of the model??  Damn!


I ended up lightly coating the whole under side with this new paint, to blend in the repaired spot.  It the end it really doesn't matter as this will be covered by a large decal of the painted bird.


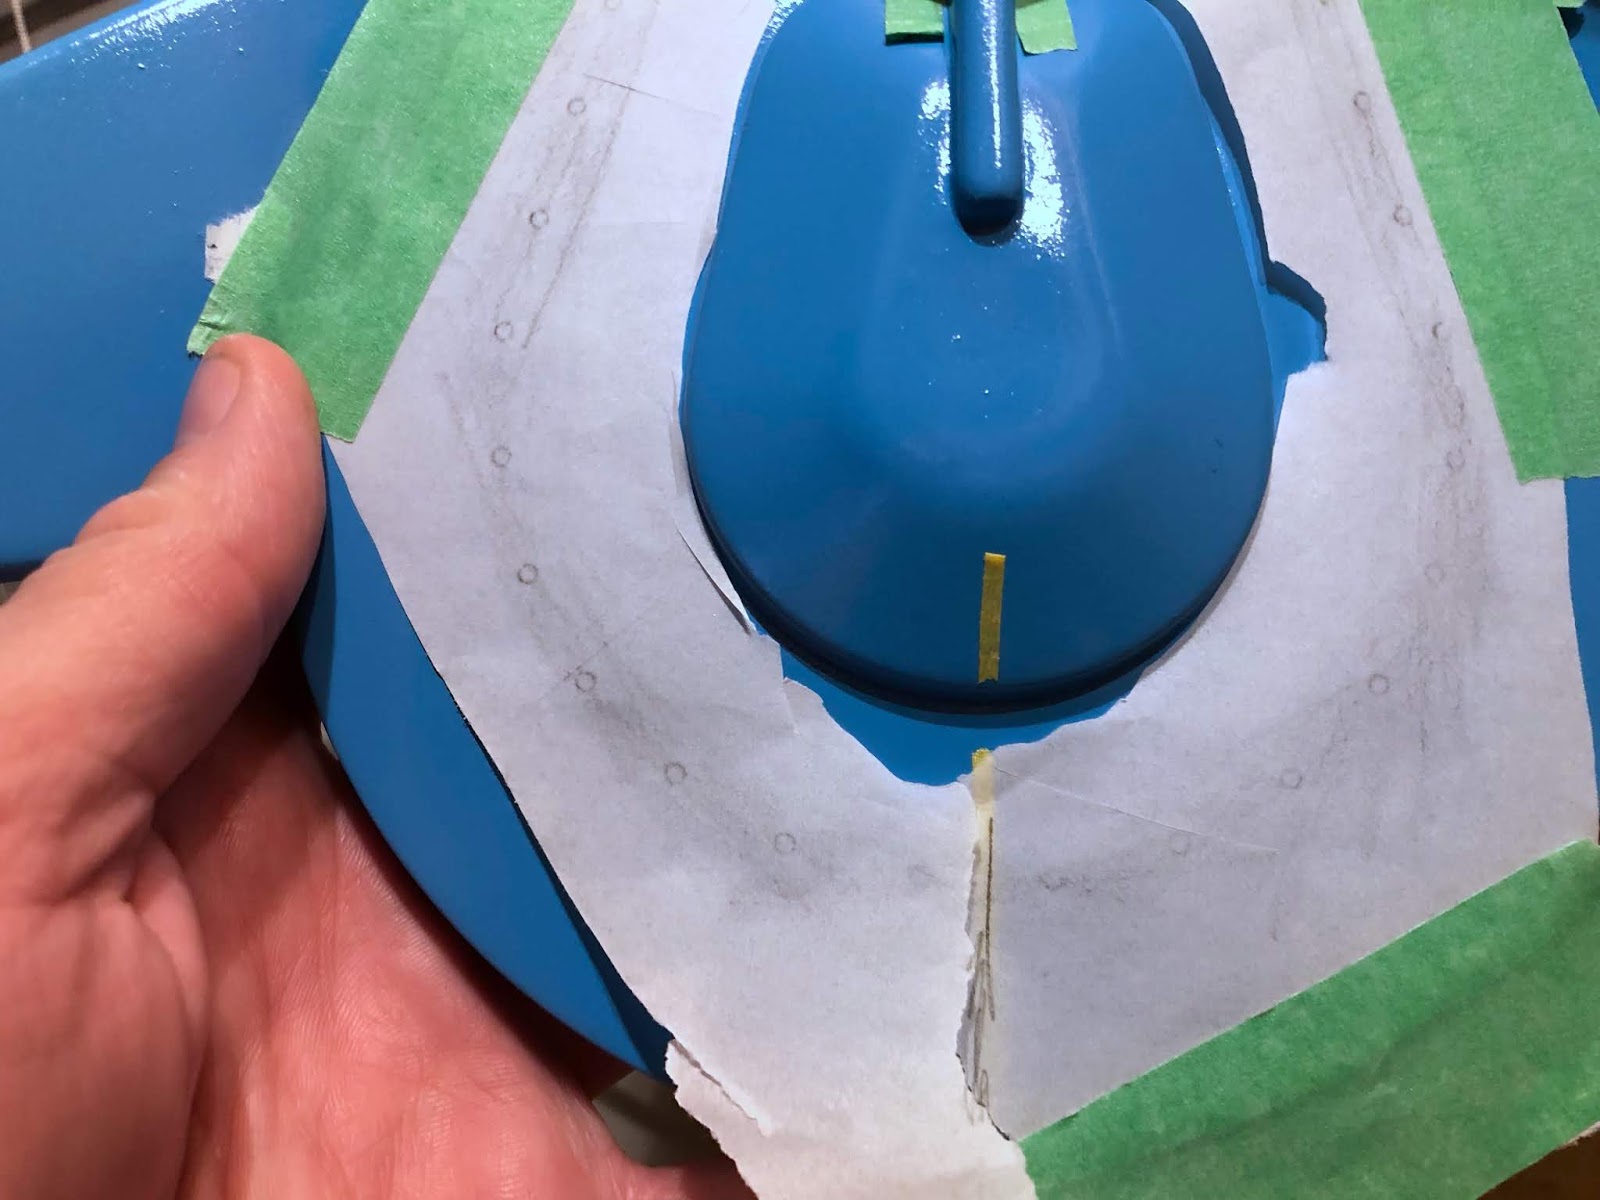
When I had the model marked up from before, I had placement marks on the bottom of the hull.


With such a large decal, I figured the easiest way was to cut up the decal in smaller pieces.
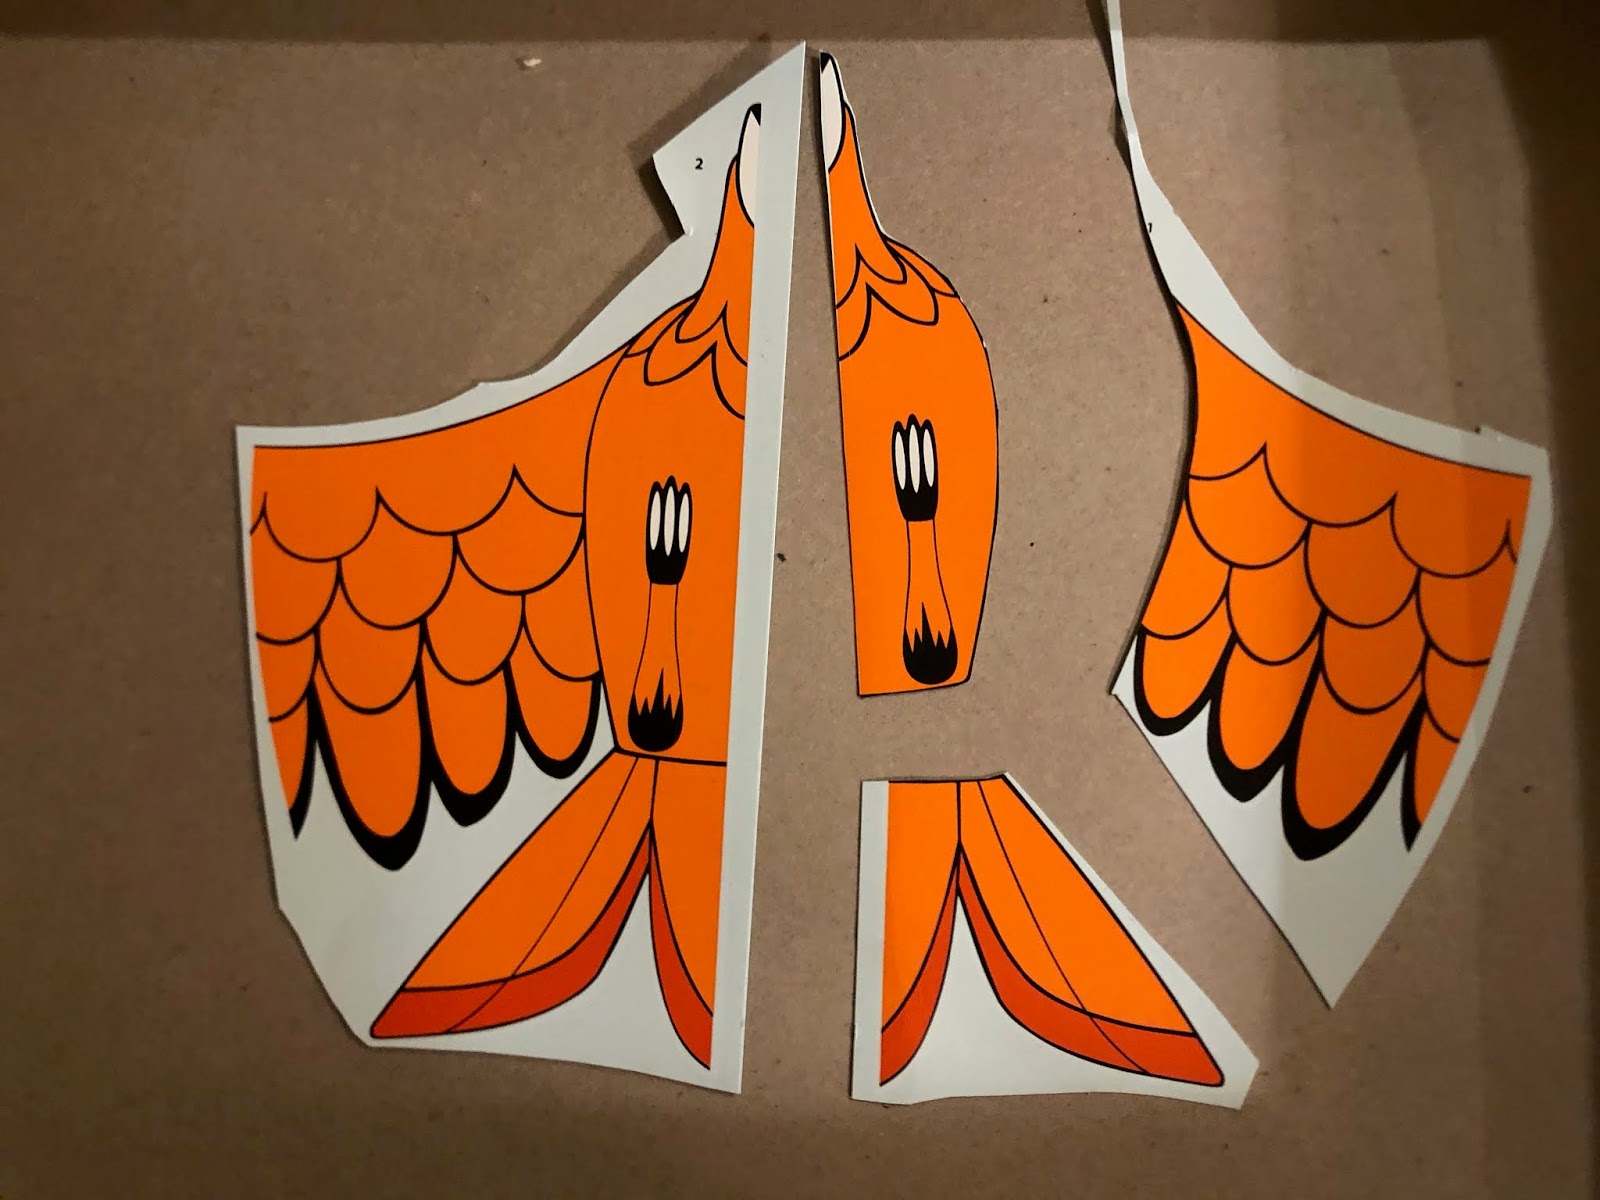

First section went on, ok.  But then I got to the other side of the decal...


And started to notice the decal breaking up!


To my horror, the 2nd decal from the other kit shredded once it hit the warm water.  You should have to coat factory made decals with decal bonder but this kit is about 9 years old or so.  Lesson learned.

I did try to see if I could order a new decal sheet from Round 2 but the kit is too old.  So back to the drawing boards!

That about wraps up this entry.  Below is a link to the previous entry, part 5.
Happy Model Building!

Star Trek and all related marks, logos and characters are solely owned by CBS Studios Inc. This fan blog (production) is not endorsed by, sponsored by, nor affiliated with CBS, Paramount Pictures, or any other Star Trek franchise, and is a non-commercial fan-made blog intended for recreational use.  No commercial exhibition or distribution is permitted. No alleged independent rights will be asserted against CBS or Paramount Pictures.