Monday, 2 June 2014

RETRO BUILD: AMT/ERTL Galaxy Class Tesla (Enterprise-D) Part 2 ** UPDATED

Greetings,

When I was building this model, it was an educational experience.  I elevated myself as a modeler to the next level by watch youtube channels of other fine modelers, learning new techniques and learning from my mistakes and I made many of them on this build.  That said, let's get started.

TO LIGHT OR NOT TO LIGHT...

After seeing so many builds with lighting in them I decided to light this model...that said, I knew I wasn't going to drill 1000 little windows but to just light the main sections (Warp Engines, Nav Deflector, Impulse Engines, Nav Lights).  At one of the many electronic shops in Toronto, they sell LEDs for cheap (sometimes 20 cents each!) and LED tape in many colours at Active Surplus as well as Warm Wight Double density LEDs tape at Lee Valley Tools.  That kind of accessibility allowed me to get creative with this model vs. ordering online (which I do a lot of nowadays).  When I built my previous USS Enterprise-D models, the warp nacelles were extremely spotty as they were solely lit with 'grain of wheat' bulbs and the blue warp glow always had a greenish hue.  Here is y first test:


That works for me!  Next step testing the 'red domes' (AKA Bussard Collectors).  On Star Trek The Next Generation these appeared static but towards the base seemed orange and at the tip red.  A few days ago, I watched some of the Blu-Ray extras and apparently they were animated.  Future builds I will include this.  For now you get to see my test of the Bussard Collectors.


 The domes need to be frosted - what I would do now is use steel wool.  At the time I used 400 Grit Wet Sandpaper.


In both the schematics for the Ent-D and from what you can see on the show, there are 2 sources of light in each Bussard.  What I did was tint 2 LEDs Tamiya Orange and on the tips (later on) red.  the light block I used 'hammered paint' to hopefully disperse the light.


 STRUCTURAL INTEGRITY SYSTEM

Fancy way of saying armature.  I toyed around having multiple mount points at one point but the logical choice is on the lowest deck.  The armature is a solid (and thick) brass lamp rod.  I thought about using elements or even making the saucer detachable - too advanced for my skill level at the time.  I bent the rod using a table vise and had the fore thought to make 2 of them (clear Ent-D down the road...)

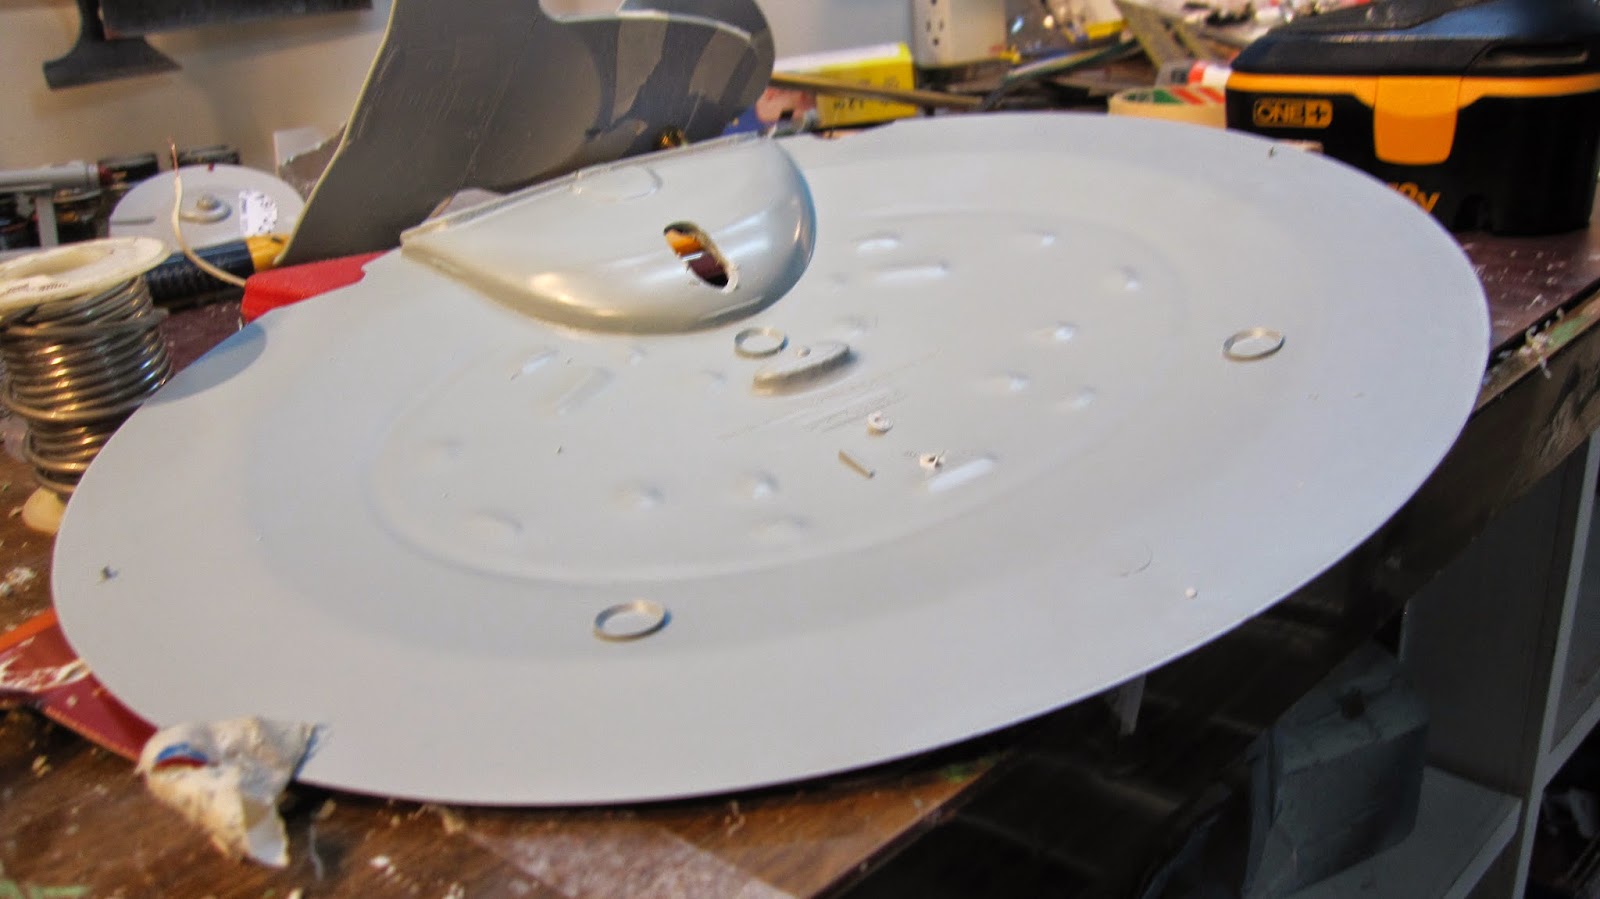


This model ain't separating.


If this was the clear model, this would be perfect!

And for the nacelle section...


In future, I wouldn't have glued it all together at once.  This will come back to haunt me...

A note, the base here is a left over piece of 2x8 used in a recent construct project - it will become the final base down the road.  I also found a scrap piece I currently use as a temporary base.

'THEY'RE CARVING US UP LIKE A ROAST' - Riker, 'Q Who'

My biggest concern was building the nacelles and having them warp - a warp ship shouldn't warp!  What I did was take a note out of how the studio model was built.  The lower engine hull has the nacelle pylons molded to it in one piece and the weakest point is where the curve begins.  So, I cut that off.


Having built this model, this was a smart decision!  It also makes lighting that much easier.  I can easily attach the nacelles at the correct angle and then add the lower hull.  If it bends, the nacelles don't and having recently seen this model finished,  The nacelles are as straight as when I built it.

Now, that wasn't the only thing I cut off, I cut off the section between the phaser bank and the Nav Deflector.  The reason I cut it off was for this reason:  the deflector is a poor fit in the model and I wanted a way to adjust it when the top and bottom pieces are together by pushing from behind.  Again I took the idea from the 6' model.  The only thing I would do differently would be making my incision line down the middle of the phaser bank and order the brass etched phaser banks from Don's Light and Magic.


Next step, remove the raised aztec lines.  The 6' model was SMOOTH!  The 4' model was SMOOTH too except for raised aztec's by primer not ridges!  Some people go head over heals when the TOS Enterprise is misrepresented, especially as the 1/350 has scribed grid lines.  Well, the TNG Enterprise was SMOOTH, except for it's lightly scribed grid lines.  So, let's sand down this unnecessary detail...


The 'decal' is a modified one...it's the Serbian 2-headed eagle instead of the chevron and elliptical shield.  I've seen many builds of Star Trek models follow cultural heroes or even all female crews, why not Serbian??  or Canadian, my country - and I've seen a "Canadian Star Ship" build before too.  I digress.  The theme of this model is Serbian as my friend is Serbian.  Also why it's called 'Tesla' not to mention the godfather of electricity should be honoured in the fictional 24th C.  The series Enterprise touched on this with still having naval ships named 'HMS'...  I digress.

Some of these following pics are a bit blurry, my bad...Removing inaccurate detail.


Stay tuned for the next retro update and the update on the 'Space Seed' diorama.

Cheers!!  Happy modelling!

ADDENDUM - THE ARMATURE

When I built this model last summer, I had two of the same lamp parts, which I bent on a vise at the same time.  Admittedly, I never measured with a tape measure or ruler but transferred the marks from the hull.  The better of the two I used in this build, the 'Tesla'.  This is the 2nd armature compared to my clear Enterprise D...


The yellow tape represents the area on both sections which needs to be bored out, although not right to the edge.


This is the alignment on the neck.  There is a subtle cure to the spine of the 'D' but it is generally bent 45 degrees from the plane of the saucer.


I bent the metal rod at the following points from the thread outwards:

1 5/16" (33.3 mm)
1 3/16" (30.2 mm)
9 1/2" (241.3 mm)

Each bend was bent at 45 degrees.


Here is the layout of this metal part:


Even if the degrees are a bit off from 45, the most important part is having a proper right angle so the saucer will be parallel to the base.

To attach the armature to the rod from the base, I use a coupler.


Locating the hole to cut in the lower engineering hull was sort of tricky.  When I decided to make the downward bend, I knew I wanted the hole to be somewhere between the phaser strip, and not to interfere with the decal.  When I was locating it, I printed off/photocopied the pennant decal as a reference.  I held the whole model (engineering hull halves, battle head and only 1 half of the neck and lower saucer) with masking tape to find exactly where the hole would go.  I have to admit, I was of by fractions of an inch (or a few millimetres) and had to use additional bracing of styrene.


Another option would be to use bits of sprue.  I save most of my sprue from my models since the 90's.


For the armature for the nacelle pylon, I used a flat piece of aluminium stock, available from Lowes.  Hobby stores may sell either aluminium or brass, I used the lighter (and cheaper) option.

The exact dimensions of this piece I no longer have.  I cut it down with a hack saw and drilled out the hole on a drill press.  The same could be accomplished by using a drill and stepping up the sizes from a smaller opening to a larger opening.  What I did to secure it to the main armature after locating the correct position (by eye) and a small level was to sandwich it between washers and lamp nuts and using hot glue to lock it down.


Finally, the last thing to mention is the wiring.  I had a main cable run through the hollow tube to the saucer.  The remaining wires were re-routed back through additional holes in the neck of the 'Tesla'.   I would do this much differently now.

Happy Modelling!!

Sunday, 1 June 2014

RETRO BUILD: AMT/ERTL Galaxy Class Tesla (Enterprise-D) Part 1

Greetings,

This series of entries catalog a build I started last year in April, finishing in August of an old AMT USS Enterprise-D model, released around the time of "Star Trek: Generations" which is about 20 years ago.  I bought the model in 2000 when ERTL gave up the licensing of their Star Trek line of models.  At the time I wasn't really building them but down the road I might do it again, which I'm doing now so I bought as many kits as I could which include 2 Enterprise-D models, 2 USS Reliant models, Klingon Bird of Prey, 2 USS Yamaguchi models (molded in clear with a light rig), USS Excelsior, Deep Space Nine, a Klingon Vorcha Battlecruiser from TNG and a 22-inch USS Enterprise Cutaway model.  I paid next to nothing for these models, some as cheap as $15 each!  I digress, now the build!

Before I decided to build this model for a friend, I mocked up the model using tape to hold it together so I could really study it and compare it to reference pictures available online.  Here are my shots...


Right away there are some accuracy issues with this model and a few other things.  I built many of these models when I was a kid and teen.  The first couple I built as a kid were, well how kid would build them, sloppy glue, hand painted, no lights and glorified toys.  The last 2 I built back-to-back had simple lights in them, painted to the best of my ability.  One of them was the regular issue kit the other the fiber optic kit released around the time of Star Trek Generations.  That kit required you to glue the saucer to the engineering section and drill holes for lighting.  The only thing with that model, by about 1999 it fell apart from being way too top heavy and unbalanced.  It is in a landfill somewhere but a few of the parts which fell off I kept which includes the deflector dish in the above photo set.

Some accuracy issues I corrected when building this model:
  • remove raised Aztec lines and softly molded lifeboat hatches
  • increased the the thickness of the warp pylons
  • rescribe soft panel lines
  • scribe corrected panel lines on the upper engineering hull
  • add the spine which runs down the back of the upper engineering hull from the main impulse engine to the aft torpedo launcher
Other things I chose not to fix because of time to give this a gift:
  • correct the location of impulse engine and 2 smaller shuttle bays
  • correct the shape of the main shuttle bay and shuttle bay door
  • rescribe the panel lines on the saucer - most of them don't line up.
The only thing I could not fix in the inverse camber of the saucer (the rows of windows slope down towards the edge as opposed to being parallel).

And the most important thing is give this model it's own armature so it doesn't collapse under it's own weight like my fiber optic model.

Let the games begin and I will post soon on how I started building this model.

Happy modelling! 


Friday, 30 May 2014

Polar Lights/Round 2 USS Enterprise - Space Seed Edition - Update #5

Another quick update but some significant progress...

At this point I'm closing in on getting the sub assemblies ready for final assembly.

PRIMARY HULL/SAUCER

This was basically done the other day but a few hairs and bits got on the surface and where I painted with Tulip, it looked blotchy.  So another pass of 400 grit sandpaper followed by 0000 steel wool and I got an acceptable surface.  I also noticed in going through some online reference pictures of the USS Enterprise before the 1991 Smithsonian restoration (I'm not as bothered by the weathering but more happy the correct 'Bussard Collectors' and correct Deflector dish were fabricated vs. the crap which was installed on it back in the 70's) I noticed there is one accent colour on the topside of the saucer I never noticed before...the 'bump' which is supposed to be the turbolift/elevator is dark gray, same as the rest of the accent colours.


The clear dome stills needs some close up detailing/clean-up from where the mask was.  Considering the 'turbolift' is about 1/8" in diameter, not bad for neatness.

The gray strip along the back of the saucer is bare plastic to make it easier for gluing the rectangular section along the saucer (in reality it is a bolt cover on the 11' model).


ENGINEERING/NACELLES SECTION

So this is the big update, at least for me.  I got a smooth surface on the Secondary Hull and painted it.  When it was dry to the touch I attached the nacelles to the starboard side.

Next step, wiring...

I pre-made a wiring harness using 24 gauge telephone wire (it's solid vs. stranded and is more than enough for this wiring situation) soldered to a 'bus-bar' (this is something I outlined in one of my Avro Arrow builds and started doing on my Galaxy Class build I did last year for a dear friend of mine who works in the film business, like me.  Also from some electrician training I had early in my career I learned about how distribution boxes work) made from 14 gauge solid copper wire.  The rest of the wiring is made with magnetic wire which is very strong, thin, flexible and to strip all you need is a Bic lighter.  Bic lighter are also great for creating lenses on fiber optic strands....


A note on bus-bars, in distribution boxes they are often open-air only separated by distance.  In my builds I encase them with hot glue from a glue gun which not only cements them in place but also insulates the the +ve from the -ve.  I also sometimes use liquid electricians tape but the curing time is 24 hrs.

Finally closed up.  I will leave this at least 24 hours to let this cure, then red putty to fill the seams and gaps.


SS BOTANY BAY

(...Never told you how the Enterprise picked up the Botany Bay, lost in space from the year 1996 with myself and the ship's company in cryogenic freeze?...Khan, Star Trek II: The Wrath of Khan)

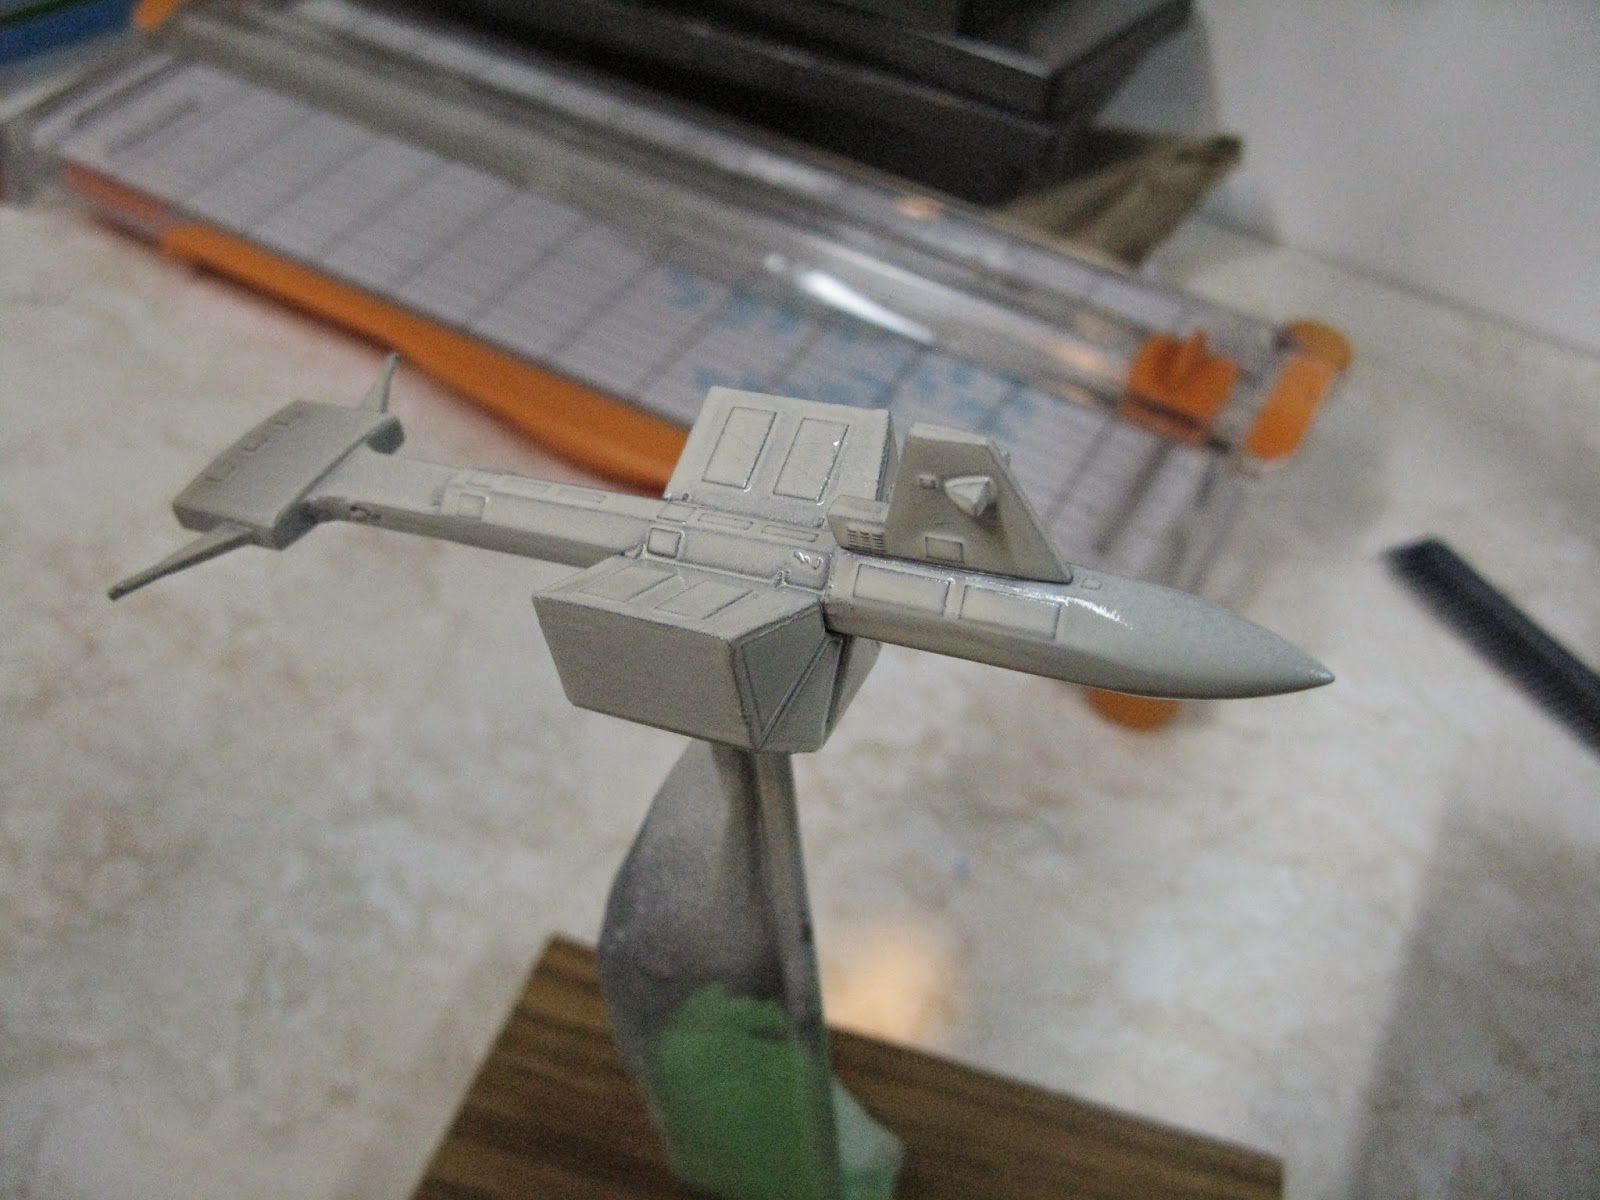
That's me geeking out.  This is why I bought this 1/1000 scale model, I wanted a licensed SS Botany Bay model, which I was willing to give it away as a Christmas gift...that didn't work out...back to the model.

I realized this evening I really need to weather this little ship so I came up with a plan.  I used 100 grit sand paper and a blunt X-Acto knife to make pit marks in the hull.  I also finally came around to attaching the 'conning tower' (for lack of a better term - take away the engines, the cargo modules, it looks like a submarine).


I primed the model in standard grey, then in a tan rattle can made by Valspar, I used this same paint I used on the unnamed Galaxy Class Starship I made last year for a close friend (I will name it and my reasoning for it when I post it...think 'Alternating Current' as the inspiration). What I found at the time this paint was slow to dry/cure, surface tension broke around the edges (showed the undercoat at the edges). For me watching the original episode of 'Space Seed' it looked grey vs. the molded orangy/redish tones.  Since the ship is supposed to be 270 years old (as per the Canon Star Trek timeline, the original series took place between 2265 & 2270 and the first season was 2266 where the Enterprise  discovered Khan and his crew escaped Earth in 1996), I will heavily weather this.


The thin paint brings out panel lines...that was my goal.  Lots of weathering to come.
Cheers!!!