Wednesday, 4 March 2015

Columbia & Challenger...the NX-Class Sisters UPDATE #5

Greetings!

This is only going to be a Challenger update.  As I said previously, I finished Columbia.

This model has been a 'donor' kit to all the missing pieces on my Columbia build.  And it too was missing one piece, the deflector dish spike for the secondary hull.  Still figuring out a replacement.  So this means I've had to either re-cast parts or scratch build sections.  This is making for a unique build.  

On reflection, I think I might build this kit again, but take it a step further to fill in the grid lines, remove the saucer deflector, and sand down the details to leave the surface 'clean' like the TOS USS Enterprise.  On to the build!

NACELLES


As of the last build, they were perfect!!


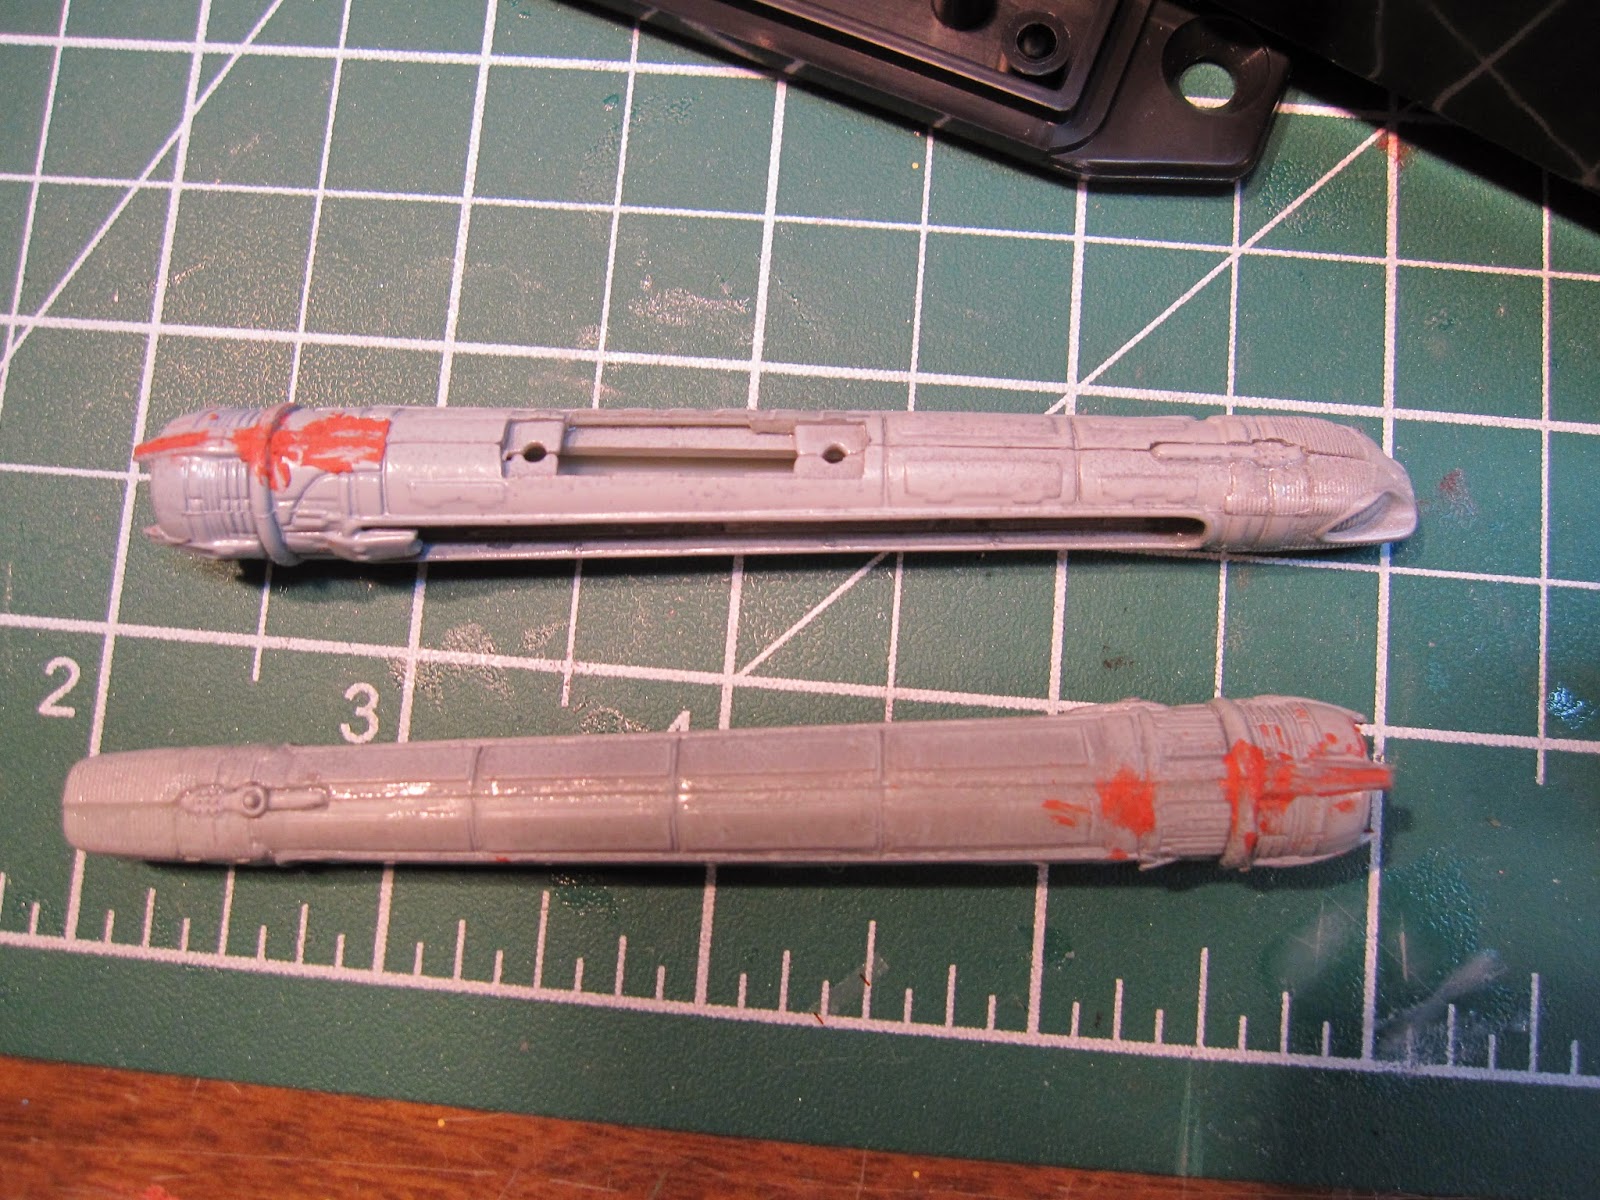
I think I was in a rush to attach the Bussard spikes. The port nacelle rolled off my table to the floor on my anti-fatigue mat.  When I picked it up, the spike was bent and breaking off.  I tried to use a drop of liquid cement and the whole thing broke off.  I tried to drill out the centre of the base of the spike and made a big mess.  So I'm contemplating three options: 1) bore out the centre and insert a metal spike; 2) remove the spike entirely and us a TOS spike instead (they aren't glued in); 3) cut my loses and leave it be.  Let's see what happens...

SECONDARY HULL


This was complete as of the last build report.


So I applied Rustoleum's Clear Gloss and it had a very bad reaction to the paint on the port side of the  model.  The clear coat rippled.  I didn't have the heart to take pictures...I ended up repaint the whole thing.  After much work, it looks again like what is seen above, with a new gloss coat.  It's weird when that happens.  Just remember, when a model you have laboured on breaks, the paint fouls up, etc. - it's just plastic and it can be fixed.  Or re-purposed (example my Constitution Class USS Excelsior with a broken nacelle pylon will be a part of a space battle diorama).

PRIMARY HULL


When I last reported, I applied a final coat of red putty to the nacelle pylons and had a perfect paint job otherwise.  Here is the result:


Part of the reason I had issues with the nacelle pylons was I used to heavy of a grip with a strong liquid glue.  The details melted.  On my Columbia build I had to repeatedly re-glue seams.  Next time I will used masking tape with that glue...I digress.

Since this paint job is an homage to the TOS Enterprise, I figured it needs to have a 'rust ring'.  It's part of the weathering pattern on the Enterprise.


Since there is a prominent gridline pattern, this was easy to map out.


I sprayed the section very lightly with copper paint by Rustoleum.  I did it as light as possible.


A bit dark, I used the base colour in light coats to tone it down.  My Enterprise model saucer/primary hull is covered in a very fine wallpaper decal with gridlines and rust ring.  Could be darker for my taste.


For the remaining parts on the Primary Hull to be painted, I masked off as much as I could in one pass.  It's easier to do this and uses less tape.  I coverd up the parts per which colour I'm painting.


The first colour I'm painting is 'Winter Gray' by Rustoleum.  (Despite recently getting an airbrush, all of my TOS models have been painted with sprays and I haven't gone out to buy more paint.  Also, I do most of model building in the evening hours.  Using a compressor wouldn't be appropriate until the weekend.)


Now the first coat of gloss aluminum on the bridge dome, dome on the shuttle bay and the forward dome sections on the upper hull.


I toned everything down with Tamiya Pearl White.  It's translucent paint.


Now the gold sections which are identical to the Columbia.


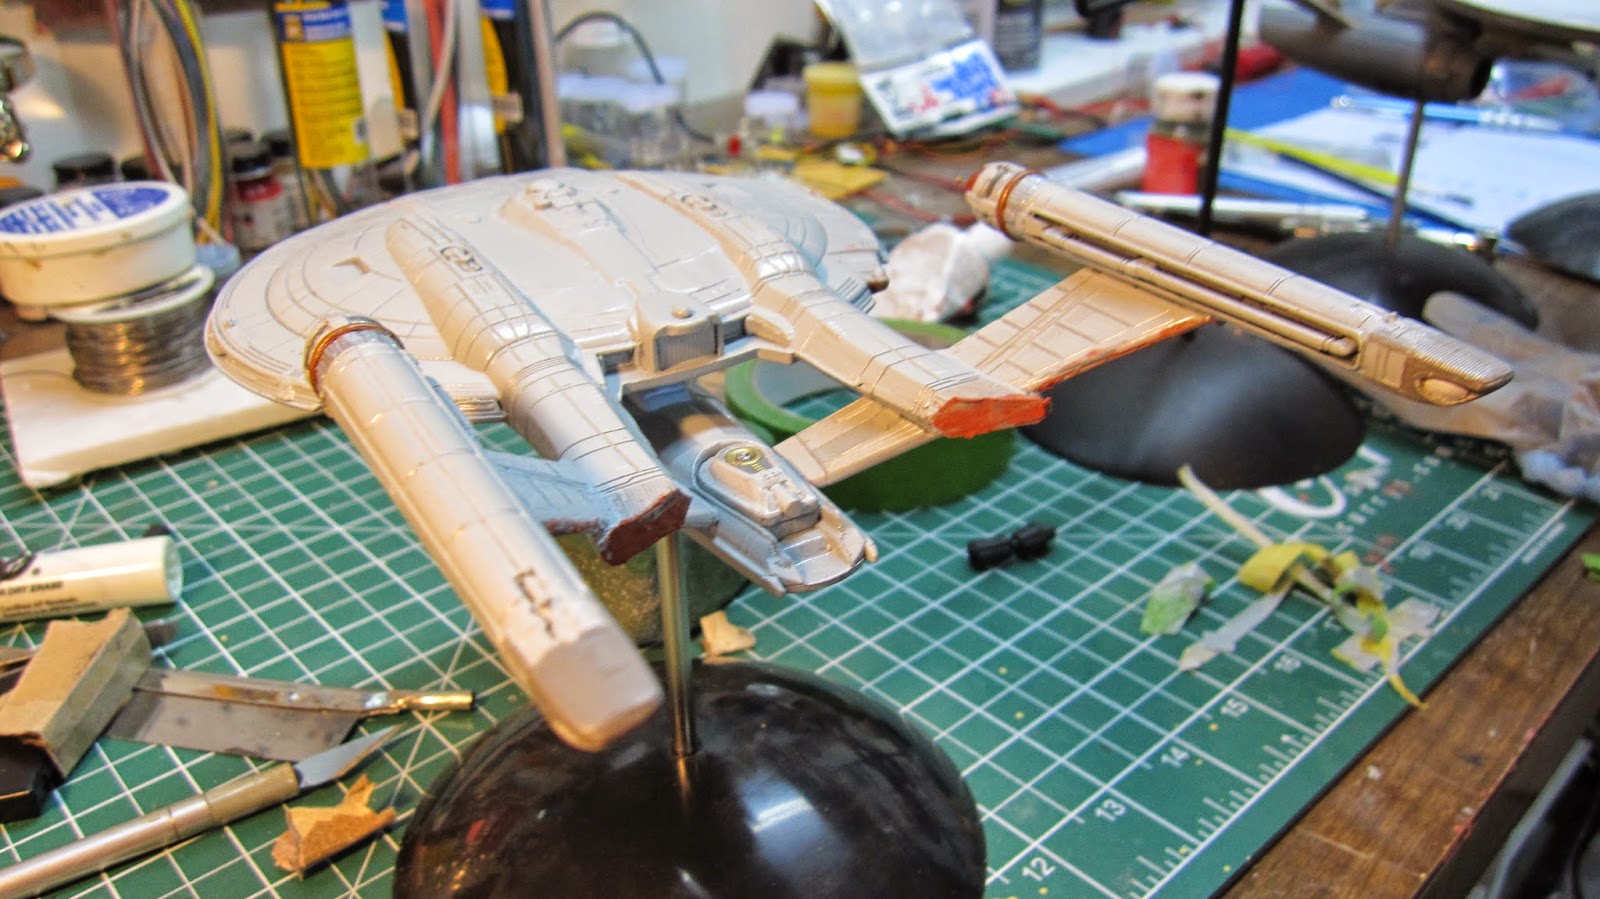
And now the reveal...


Unfortunately the gold ran...not a big deal, I will fix that along with any other touch-ups.


I was hoping to finish this update with a completely painted model but I have a events to go to over the next few days and few other responsibilities.  So I will probably have one more update before the reveal.

BRATTAIN UPDATE!!


As I'm working away on the Challenger, I have downtime between letting paint or putty drying.  So I here is some basic work on the Brattain as a bonus.  Since this is a snap-fit model, I have to remove the attachment snaps on the bridge and lower sensor platform, then fill in the openings.


I used scrap plastic to fill in the holes and will fill the external side with Evercoat.  Note, I masked off all of the surfaces that will mate with the lower hull.  Plastic rarely bonds well with paint or primer.  


A bit of light blocking with black primer.


That's it for this update.  Stay tuned for the next update and soon the final reveal.  Until then, LLAP! (for the next while, I think this might be my sign off...RIP Mr. Nimoy).

Saturday, 28 February 2015

R.I.P. (lived long, and prospered)... Leonard Nimoy 1931-2015

No model news in this post, just one of reflection...

It saddens me to hear the death of Leonard Nimoy, also known as Mr. Spock.  But at the same time, this talented man, lesser known for his other works, as what sometimes happens with a popular role, not unlike James Bond, or Luke Skywalker, has given the world so much, not only as an actor, but a role model, a community leader and an inspiration to millions.  Mr. Nimoy was an artist in the truest sense.  Some may know about his career as a director, but he always a photographer and a poet.  Some of his last words he tweeted were 'awesome' in the true meaning of that word.

As much as it sad to see a childhood hero pass away, we should rejoice in the work Mr. Nimoy shared with the world and be appreciative of how he made it a better place.  He was certainly an inspiration to me to get involved in a career in film.


"I can't help wondering about the friend I leave behind. 'There are always possibilities' Spock said. And if Genesis is indeed 'Life from death', I must return to this place again." - Admiral Kirk, Star Trek II: The Wrath of Khan

"Remember..."


Thursday, 26 February 2015

Columbia & Challenger...the NX-Class Sisters UPDATE #4

Greetings!

Boy that last post took a while to compose, it felt like a mini novel...lol.  I digress.

I've been busy with my USS Enterprise 1701-A wiring harnesses.  I was going to start the USS Brattain wiring harnesses

This post is all 'Challenger NX-03'.  Columbia is complete and on my desk!

To review, Challenger is several sub-assemblies.  Primary hull, Secondary Hull, Struts, Warp Core and Nacelles.  A conscious decision I made was to paint this like the original USS Enterprise from the pilot.


NACELLES

As of the last update on this series, I had recently just assembled the warp nacelles.  I've started to pre-primer or even pre-paint certain parts.  Even though we have to often fill seams and joints with putty, it's easy enough to isolate using tape and blend a touch-up in, especially with panelling.  The fit on the nacelle halves are crappy.


Since I'm going for a TOS look on this model, I needed to paint the domes at the aft end of the nacelles.  To be accurate to the Pilot Version, it should have been flat...next time.  The dome appeared often as white or even illuminated in the original Star Trek series.

(USS Enterprise - 'Star Trek: The Immunity Syndrome')

Supposedly those domes are supposed to be hull coloured.  I usually do them that way.

This is my 1/1000 USS Enterprise from Space Seed.  

I can assure you the domes are the same colour as the hull.  The lightness of them is an optical illusion.  On this model, I decided to paint them Pearl White (Tamiya Spray Paint).


I never noticed this on the show, 'Enterprise', but this is actually a canon marking.  It was extremely subtle.  On my build, I'm making it pronounced.  This dark 'undercut' is on the original series Enterprise.

1/1000 USS Enterprise


Ready to paint more details.


The 'end caps' are getting the same tone of paint job present on the TOS Enterprise.


 The forward grey 'ring' corresponds to the series of rings on the TOS Enterprise.  The copper ring is canon to the NX Class.  There is a 'greebly' section behind the copper ring which I decided to paint aluminum.  It reminds a bit of an old WWII engine.  (Please note this is still raw and require touch-ups).


The 'Bussard Collectors' (forward facing domes) have a a hole in the centre to allow a golden spike just like the 'Pilot' Enterprise.


(from Star Trek: The Cage - unaired pilot)
note the blue neck

The finished nacelles


SHUTTLE BAY

Something occurred to me, the neck of the secondary hull connects exactly where the launch bay is on the NX-01.


Shuttle pods are the primary method of planetside travel during this era.


(Screen shots from 'Star Trek: Enterprise')

So I decided this ship needs a new shuttle bay.  And since I lost a part to the Columbia which I donated from this model from the shuttle section, I decided to scratch build my own.

First step was to remove material off the back of the ship.


I have sheet styrene with grooves cut about 1/16 of an inch lengthwise, so that will be my shuttle door.  The door is roughly the size of the TOS Enterprise clamshell doors.


Then I trimmed it out with styrene plastic on either side and blended the whole thing to the hull.


I also flattened out the rest of this section of the ship; there was a raised ridge.  I'm replacing it with two red pinstripes (decal) which will run straight back from the shuttle doors to the bridge, another homage to the TOS Enterprise.

On the underside I filled in the launch bay doors with red putty (3M Glazing Compound).


And I also added the 'triangular' markings on the lower section.  They are identical in size to the Enterprise 1701.


These are supposed to be landing legs.  In an emergency, the saucer can separate from the rest of the ship as it houses most of the living quarters with it's own engine.  This was a feature the USS Enterprise NCC-1701-D, first introduced in the pilot episode, 'Encounter At Farpoint', except this feature was more standard than it was during Kirk's time.  The landing legs hinted that the saucer could land on a planet.  The third leg was supposedly hidden in the neck.  On the Refit Enterprise (and Reliant, plus Excelsior/Ent-B) there are four grey rectangular sections which perform the same function.  I digress, back to this build...

I made a bit of a goof on this build, since I had to recast the Impulse Engines since I lost a set (which I donated to the Columbia build), I did them twice.  That was several months ago (I usually will cast multiple parts at a time so as not to waste resin).  When I went to glue them into the openings, I used CA (superglue).  There were noticeable gaps and looked like crap!  So I decided to sand them flat and fill them with Ever Coat.


Then I found these...


Far from perfect, but they would have worked dammit!

So my resolve is to fill them flush and use a TOS styled black rectangle to represent each engine.  I am trying to make this ship appear as more of a bridge between Enterprise NX-01 and Enterprise NCC-1701.

For the overall primary hull I've painted in the same colour as the Pilot version of the Enterprise which is a Krylon spray can and the paint is called 'pewter'.


For the saucer deflector dish housing, (resin re-cast) I painted it copper vs. illuminated blue.


WARP CORE

This is a simple four-piece part which attaches to the top of the secondary hull.  On the old version of the NX-01/02 release, this was molded as part of the upper main main hull.  This pod is a part of the 'governor wing' as it is referred to.  With this kit, the wing is a separate piece which only get used if you build the model as a regular NX-Class ship.

I decided to use the same paint scheme as I used on the Columbia NX-02.  In most renderings I've seen of the NX-Refit, most of the gold and copper colours are muted or hull coloured.  For me I figure the technology might dictate what materials are used.  So here it is.


Keen observers will note the gold section looks striking a lot like this:


It is one of many homages to other starships named Enterprise.

ADDITIONAL STRUTS


Since I'm not Aztecing this ship, I decided some accents would be appropriate.  These parts snap into both the primary and secondary hull.


SECONDARY HULL

This part of the ship had been complete for some time.  What I did was paint the additional details and repair some paint scrapes.


Here is the Secondary Hull Assembly, together (snap fit) so I can still do additional painting.


So here is Challenger as it stands right now.  (snap fit)


I figure there will be one more update prior to final reveal on this project.

BONUS


As I've been working on the wire harnesses for my 1/1000 USS Enterprise-A an Brattain build, I pushed forward with more work.  Here are some broad strokes:


That's it for now, happy model building my friends!!

Cheers!