Greetings, I couldn't think of any other way to start this blog but to introduce a slew of smaller projects I'm working on. My goal is to really devote one entry per project vs. a big entry (which despite good intentions, there are breaks in it due to life and work). My original goal after completing the USS Defiant Tholian Web Edition was to immediately do the USS Defiant as pictured from Deep Space Nine, released by Round 2. That's coming but that project among many others requires clear parts, and that's where some mild making comes into play.
There are some ethical thoughts about making molds off of existing parts, as there many people including a garage industry who do this and there are some fantastic aftermarket parts for a lot of the Star Trek kits. For me, I have a large inventory, or at least I think, of unbuilt kits, some in various states of build-up. I've lost some parts over time and inevitably, I have to replace them. The best replacement in my opinion is to buy a new model kit and use those parts but that's not always feasible. So this entry is to introduce the next few builds and show my mould making process. Let's get started.
First off, I am a novice at this. I have successfully made parts for my USS Defiant NCC-1764 Tholian Web edition model and a few parts for my 1/350 USS Enterprise which is in moth balls at this point in time. I currently use a product called 'Mold Builder' which is available from art stores.
It's easy to use, lay down wax paper to a flat surface and glue (hot glue) your part to it.
A key to making a good mold is not to have any 'undercuts', in other words, where the part will either overhang itself relative to the mold plane or the as one can see where I built up extra plastic above to prevent that.
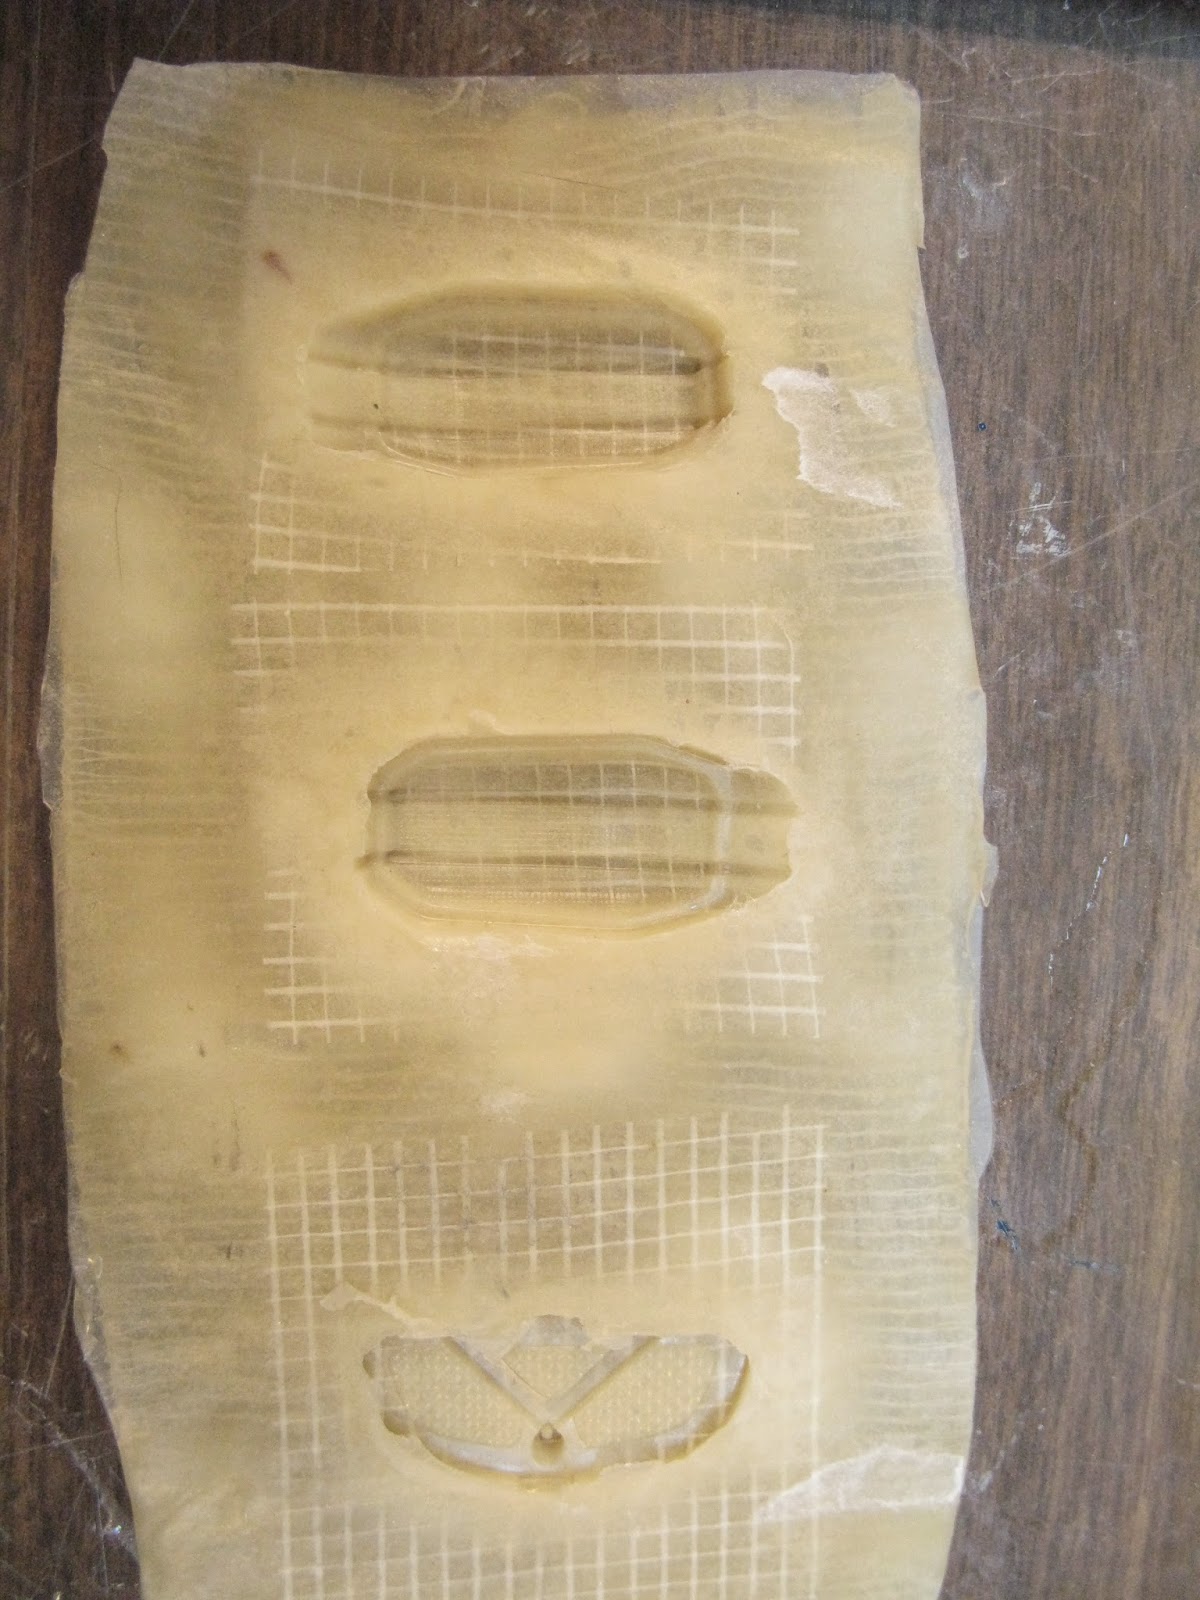
The next step is to paint the latex mold product onto the part layer by layer, starting with a thin coat.
As you apply each coat, the product builds up on the part. At around the 5th coat, I will use a cotton bandage soaked in this product and use it to bandage the mold around the part to give it strength. I start with something light weight and then apply more coats and eventually using drywall fiber tape to give it strength.
Kinda gross looking but it works very effectively.
USS Defiant NX-74205 (Star Trek Deep Space Nine)
This kit is a re-release of the original AMT kit available in the late 90's and nothing has changed except for a new base. Would have been nice if clear parts were included but, no. There are aftermarket translucent parts available, but come tinted. I've decided to cast my own.
NX-CLASS
As pictured above, I needed to cast several parts for both the 1/350 which were opaque and missing parts for my NX-Refit model 1/1000 scale. For this reason alone, casting was the right decision.
Klingon Vor'cha
This model comes with clear...RED parts. I hate tinted parts. It makes the model look like a toy in my opinion. A skilled modeller can tint their own parts and for me, I like my models to look dark when powered down (exception is the USS Defiant Tholian build as the part was translucent, I painted the Bussard Collectors clear red with a silver spike pattern underneath). I can live with this model being this way but there are 2 parts which glow yellowish in the show which were cast in red. I lost one so, as opposed to making a mold of the part, I made a model of the section.
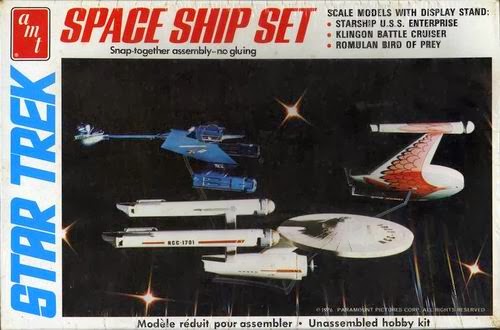
Star Trek Space Ship Set
Not only is this kit out of print (although Round 2 has a 1/2500 version of it), but I had 3 of them at one point. I gifted one unbuilt to a friend and started one back in 2000 or so. I slapped one together, in the process, missing a few parts. The successful model which survived was the Enterprise model I named USS Farragut
The biggest problem with this model was with the Klingon model, the undercut was poorly done as the 'boom' or 'copra head' section was moulded as halves, length wise. Very soft details. In 2000, I cut the 'top hat' or bridge section off and tried to fix it but lost the part.
The 3rd and final model was still on it's trees.
I decided it was time to build this model kit as my latest one which meant I could cast new parts for the Klingon D7 cruiser. Here's the rough 'top hat' (bridge section)
After some refining with putty and paint, this is what I got.
Already for casting...
That will do it for me. The next 2 builds will be the Space Ship Set which I will get into further details and the 2 NX-Class 1/1000 starships.
Take care and Happy Model Building!!
A personal journal of someone rediscovering their childhood hobby from the perspective of a film professional, working in the business since the end of the 20th Century. Mostly the subject is science fiction, especially Star Trek.
Monday, 13 October 2014
Sunday, 12 October 2014
RETRO BUILD: AMT/ERTL Galaxy Class Tesla (Enterprise-D) Part 8 (final reveal)
Greetings! This is the final entry on this project which was gifted about a year ago. Ironically, it has taken me roughly the same length of time to report on it than it did to build. That's mostly due to a busy schedule...Let's check out this model!
First off, I really rushed in taking the pictures, unlike my other "future" builds using a green screen. I also shot it with a DSLR on too dark of a setting and have had to compensate in Photoshop. Unlike the last couple of 'reveals' where I used a few small studio lights and a a green screen, this was done under florescent lighting. A note on the finishing is I decided to pencil in all the windows as 'off' after experimenting with painted 'lit' windows. The 2' studio model of the USS Enterprise from TNG didn't have internal lighting for the windows but used reflective tape. I tried that too and it looked like...well...keeping it family oriented content, the windows looked bad.
Here it is in all of its glory.
I hope everyone who has followed this post enjoyed it and keep following to see the next build.
Happy Model Building!! Cheers!
AMT/ROUND 2 USS DEFIANT as seen in 'THOLIAN WEB' 1/650 scale Update #4 FINAL REVEAL
Finally at long last, this build is complete!!
Greetings, it's been a busy summer and looks like a busy fall too. This build I finished a while back but haven't had the time to properly post about it. This model came together fast as soon as the remaining decals were in place, plus weathering. Here is the result with the stand.
Just with the internal lights...
Internal and black light
The Tholian Spinners
Finally, in daylight.
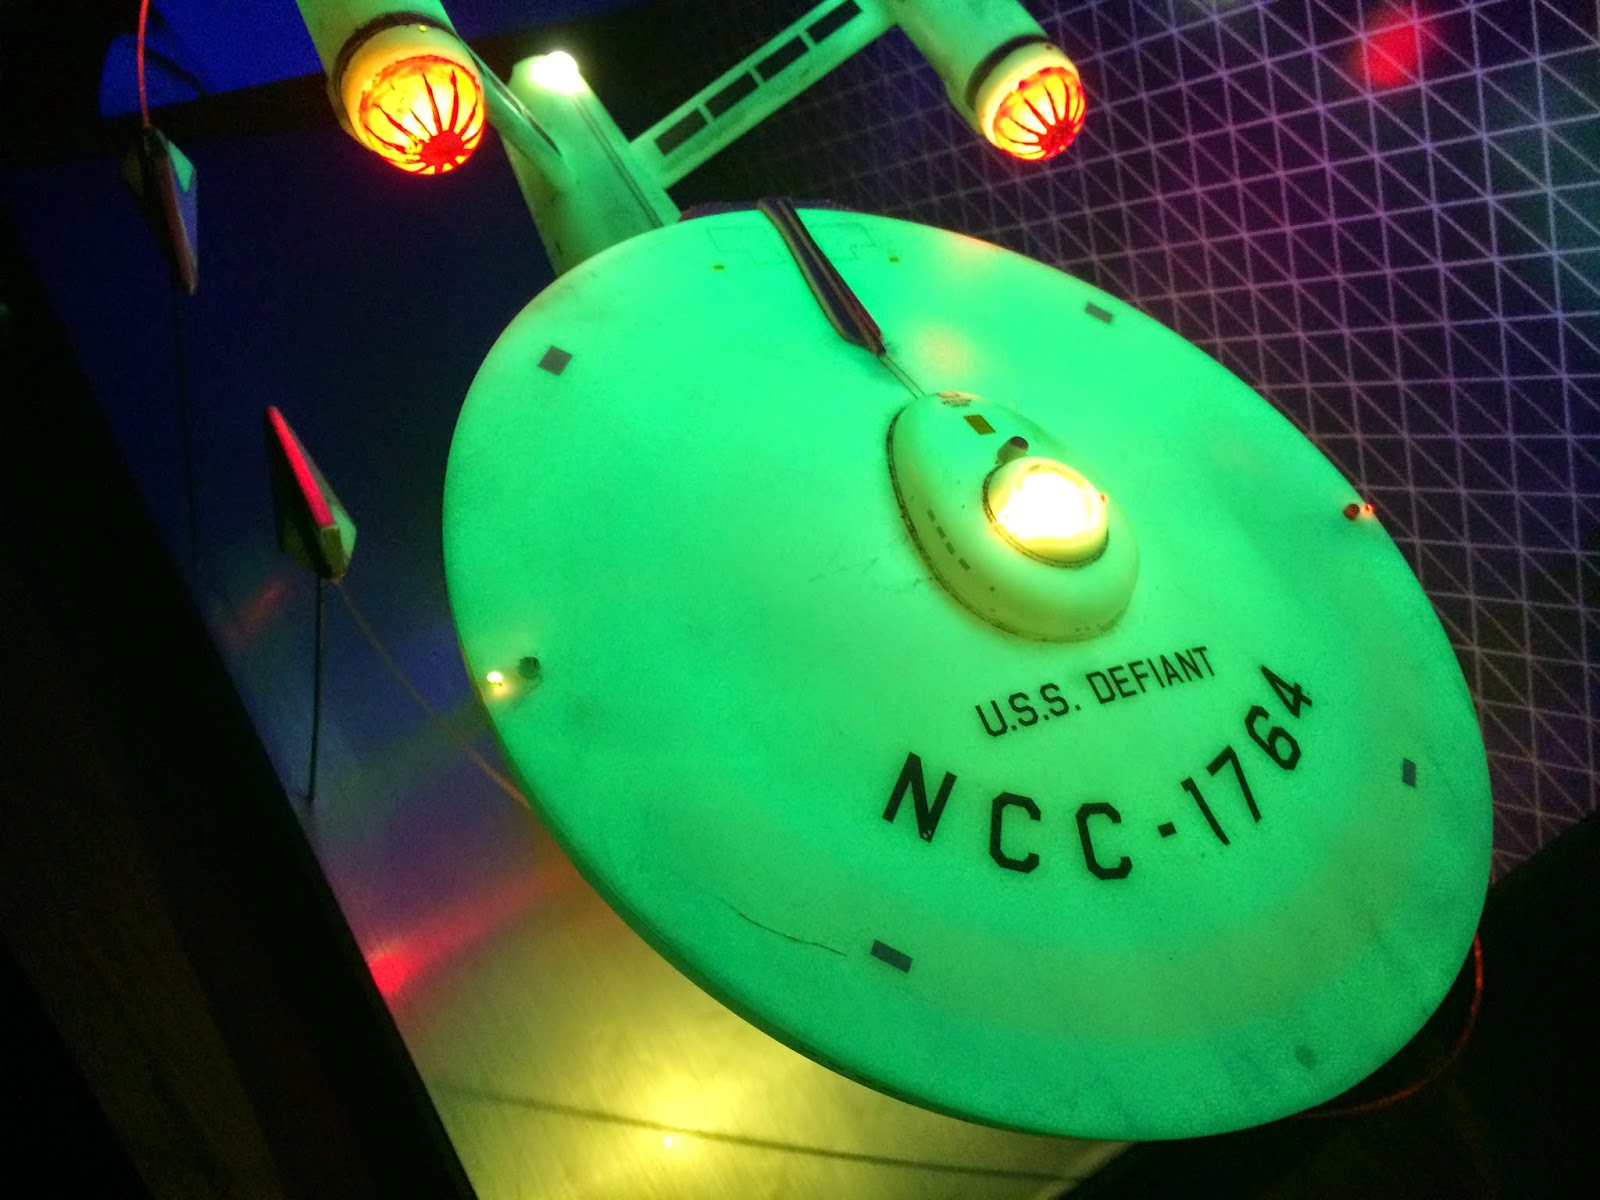
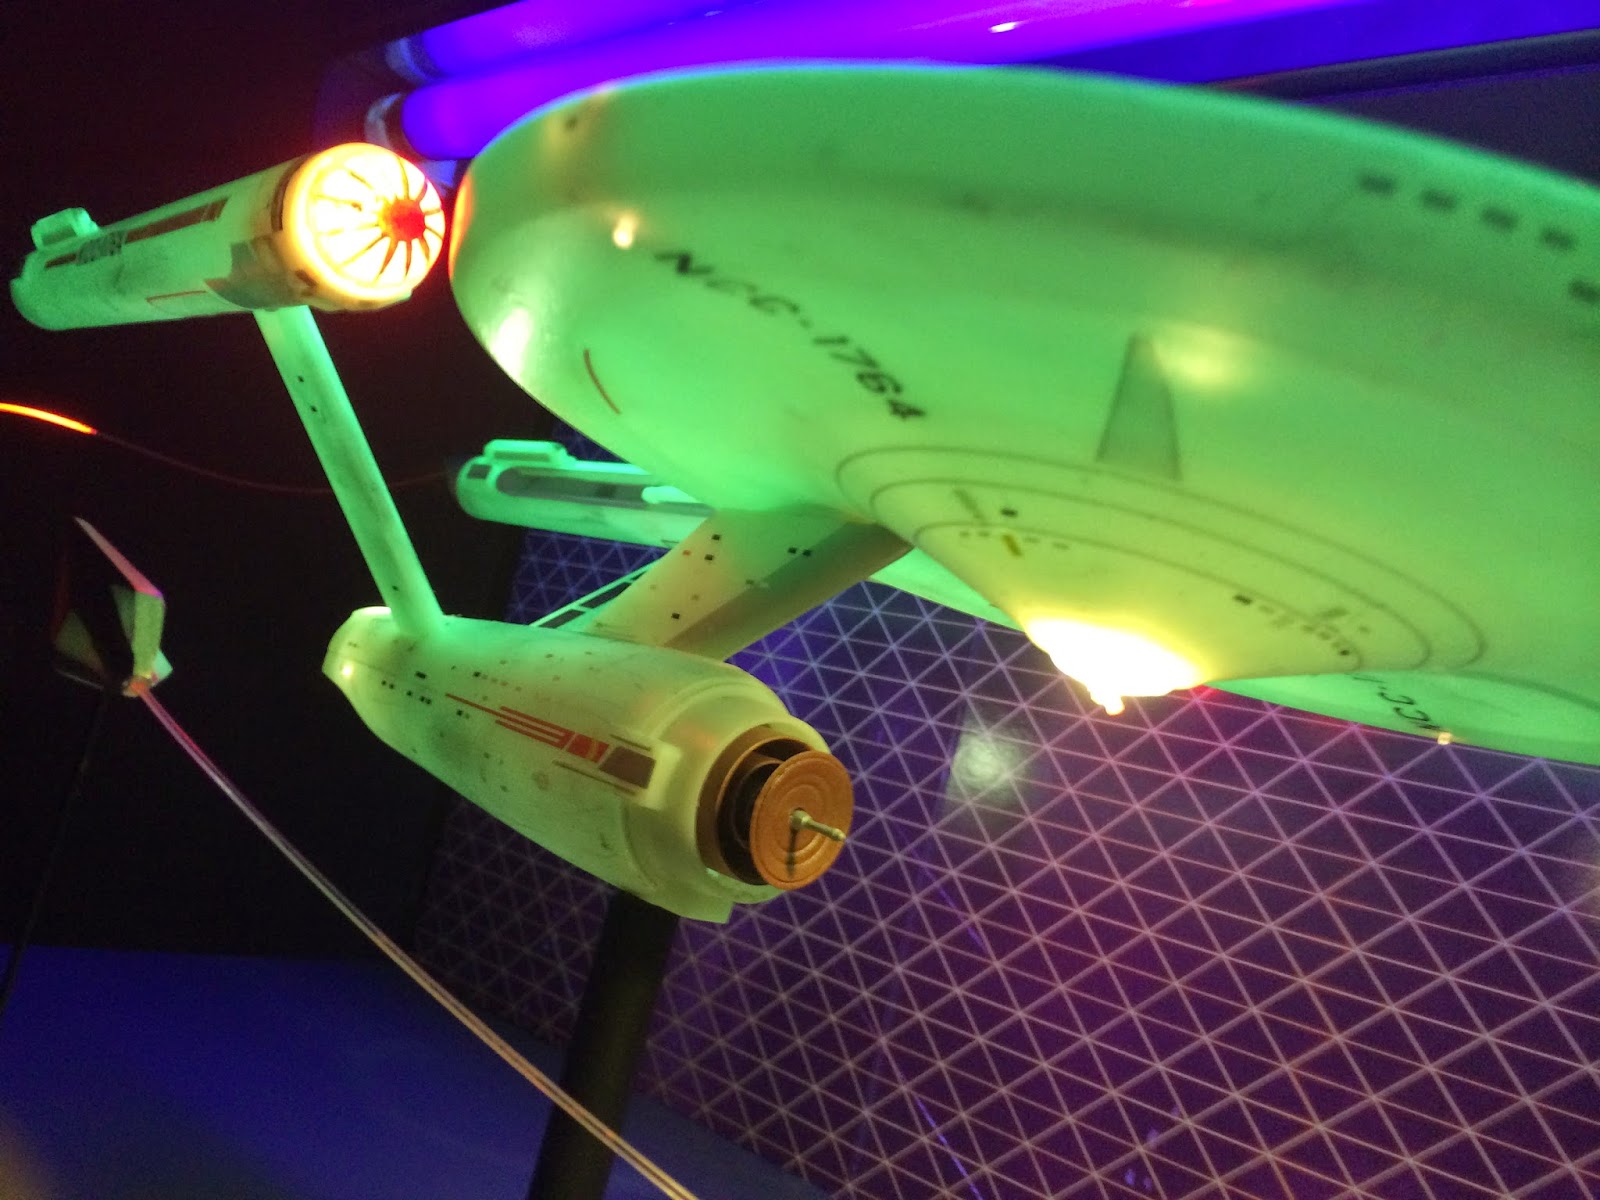
In putting the decals on, I chose to add a few extra touches such as docking ports, different window arrangements on the saucer rim, and extra markings with the name Defiant and NCC-1764. I rationalize being 1764 vs. 1701 there could be a few upgrades. Here is just the Defiant on her own.
(This shot reminds me of the box art on the original AMT 18" Long Box kit released in the 70's...a collector's item now)
That wraps up this project. I will soon be wrapping up my retro Tesla blog too and have already started new project.
Happy model building!!
(...and for my Canadian friends, Happy Thanksgiving!!)
Wednesday, 8 October 2014
RETRO BUILD: AMT/ERTL Galaxy Class Tesla (Enterprise-D) Part 7
Greetings!
To get things started, I'm going to talk about the stand first.
I actually started this process very early on. I made the stand out of dimensional lumber, 2x8 to be exact. The reason I did this was I had it left over from another project. I used the best piece for the stand and a less perfect piece as a temp stand I've used throughout this build.
Here is the pristine lumber:
I then used a router to sculpt the edges with a simple relief and used wood stain to make it look something like a dark oak.
I chose to make a dedication plaque for this in the blank space. I took a 1 mm piece of styrene, sanded it in one direction and painted it gold. I drilled out the four corners so I could use brass screws to attach it. I make a custom decal in Photoshop. Since the recipient of this gift has a Serbian background, the markings are Serbian in nature. Just another part of the 'multiverse' ;)
Finishing the Stardrive section
What I really like about this model is how there are very few points to blend the saucer halves together which makes this ideal to build in sections. For the star drive section, I took this time to finish adding the remaining decals.
The marking decals were part the original decals, part custom marking decals(SFS Tesla vs. USS Enterprise, EN-56515 vs, NCC-1701-D) window decals (made from scans of the model compared in scale to the Ed Whitefire's blueprints which are available online and a decal set I downloaded from Starshipmodeler.com which is freely available.
Mating the lower saucer with the rest of the ship.
This was pretty straight forward after a lot of test fitting. I had to use bit of styrene to glue the lower saucer to the armature. I bonded that with hot glue. The main wiring connection for the model are in the lower saucer. I didn't take the time to photograph every step but here is the result:
For the saucer impulse engines, I used a piece of clear styrene sprue, polished it, and it successfully bends the light in a horizontal fashion to provide even illumination, and then tinted with both clear orange and clear red paints. I also used foil duct tape to reflect the light better.
Attaching the upper saucer to the lower saucer was somewhat simple. I laid the upper saucer on the engines while I made the final connections and fed the fiber optics to the right locations. Here is a test fit with illumination.
Clamping down the saucer halves were tricky as I used bulky wiring vs. what I now use, thin magnet wire.
DECALS and more DECALS...
Once everything was together and I tinted each of the running lights to their appropriate colour, the next task was finishing the remaining decals off. I jumped the gun a bit putting the upper saucer registry on, but that's ok.
Here are a few supplies I use to do custom decals. Decal bonder, letter sized decals paper and I use a few drops of white glue to promote decal adhesion in the water. Works every time.
The rest of the windows I filled in with a very fine pencil. I made window decals which were missing from the model.
That's going to wrap up this post, next one will be the final reveal.
Cheers and happy model building!!
Subscribe to:
Comments (Atom)


