Showing posts with label MicroSet. Show all posts

Sunday, 19 February 2017

Constitution Class Refit USS OLYMPIA Polar Lights 1/350 scale UPDATE #19 - Finishing the Saucer: Part 7

Greetings!

This will be the last entry, I promise on this saucer section as a separate entity.

When I last left off, I thought the saucer was basically done (it is, except for those extra details/decals).  I also was not happy with the way the pinstriping around the B/C deck was looking, so I removed it.


I went through one set of decals from one kit regarding the pinstriping, I didn't want to waste a second set, so I decided to use the ones I previously made.  There's a bit of bleed, but it will look consistent.  If there's one type of decal I hate doing, it's pinstriping.  They easily tear.


ELECTRICAL SYSTEM


Since I am finding that the decals tear so easily, I decided now would be a good time to test the lighting system one more time.  From the saucer, there is a main trunk of wiring (9 leads) and a secondary set for the impulse deflection crystal.  The following are pictures from early in the build...

(main wiring from the saucer)
(mains joined together, before sealing the saucer) 
(feeding the wiring through) 
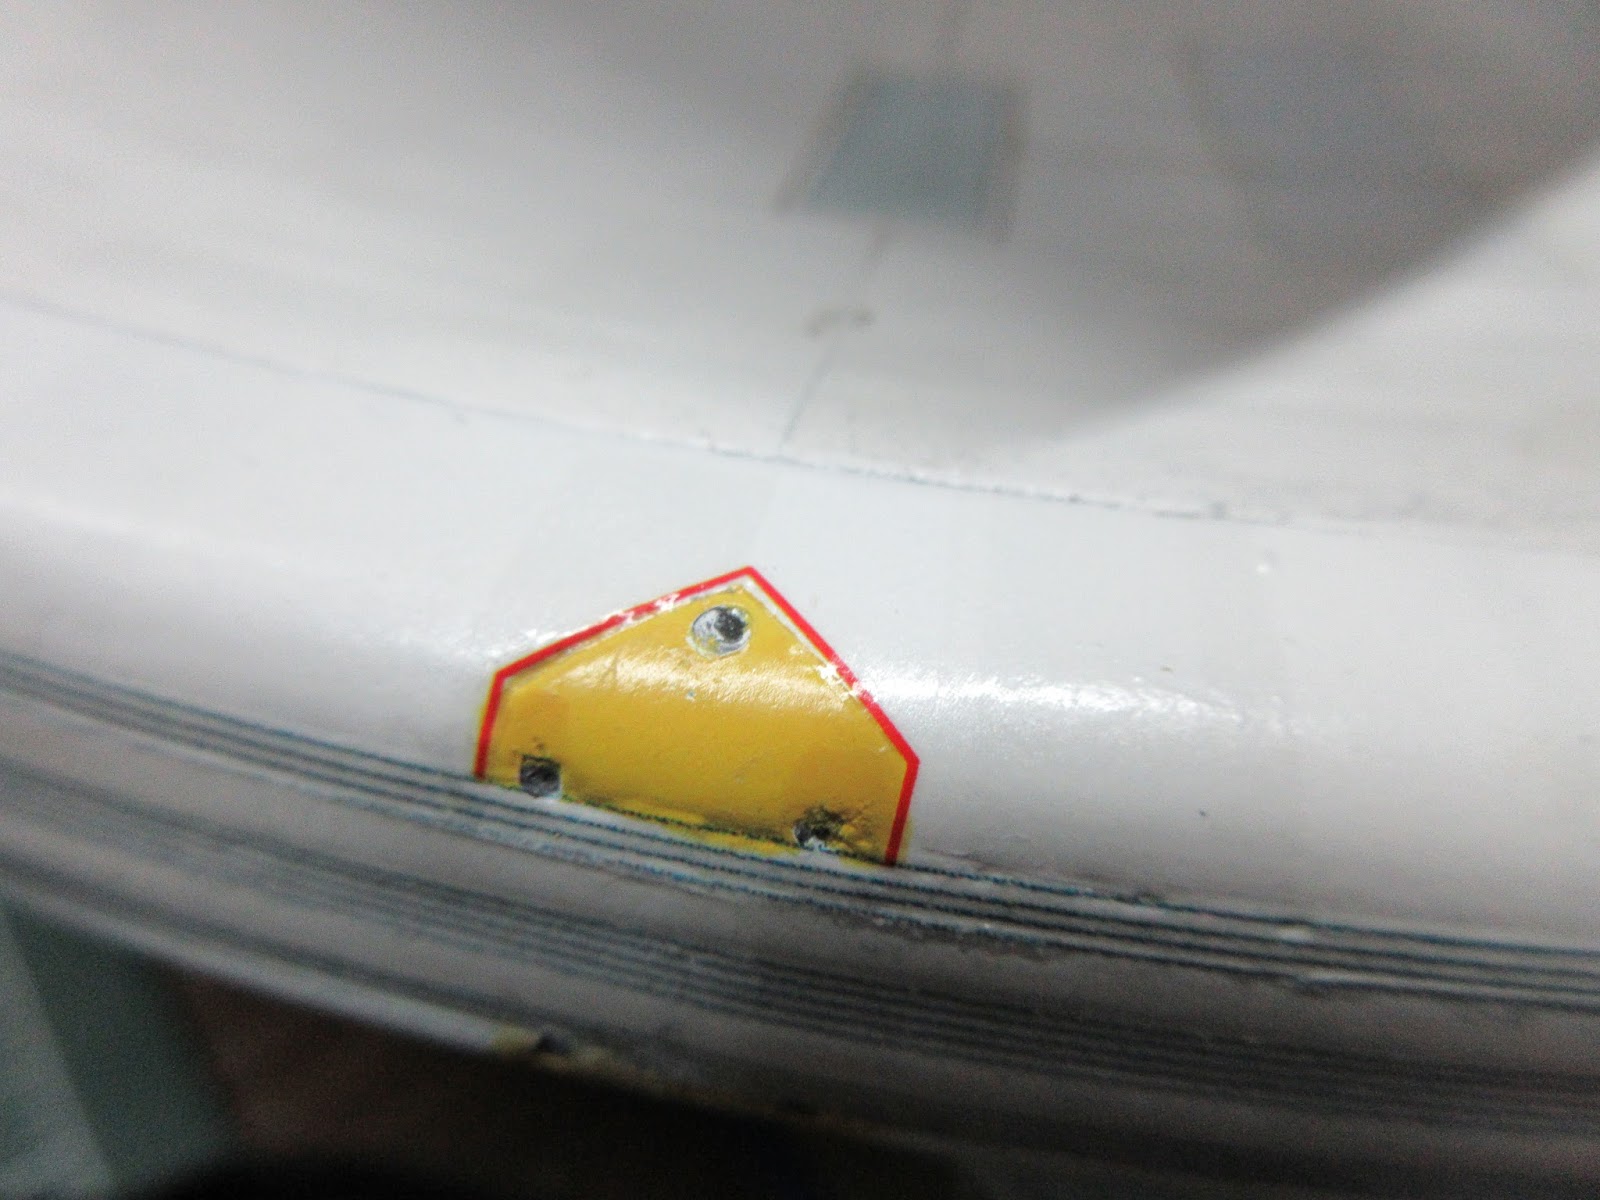
(secondary wires - impulse deflection crystal)
(as installed)
Also in this bundle are the lights for the neck...that plus overspray on the wires makes it difficult to tell which wire does what (also I lost my notes, or they got absorbed in my messy work bench).  So I've had to figure out each wire separately.  I have many black wires (return current), but the switching of the different functions are colour coded.  Red does the main lights, yellow lights the spot lights, green the RCS, etc.  What I couldn't remember was the flashers, so some sleuthing through my pictures and using low voltage  (just in case, everything is resistored to 12V DC), I found them!!


I lit flashing lights surrounding the impulse engine area with red flashers, much like the Reliant is lit in Star Trek II: The Wrath of Khan.  On the studio model, these are warm white or tungsten (probably lit with grain of wheat bulbs, common at the time).


And from below.  Despite my efforts, the green doesn't show as well.  The 'bulbs' are actually hot glue, formed from when I glued the bulbs in place.  Paint doesn't stick well to them, but then again, neither did bits of tape I used.


With a bit more investigation, I found the leads to photon torpedo launchers broke off.  I am going to leave this until I'm ready for final assembly.  I don't want them to break again.


BACK TO DECALS


Placing the pinstripes around the B/C deck for a third time, I took my time.


In the interim, I made more decals, this time, details for the neck and more geometric shapes.


These details are specifically for the neck.


And more pinstripes.  The red hash tags are to go around the innermost ring of the upper saucer.


Then I added the rectangular markings on all of the access panels on the lower saucer.


And seperation markings on the lower docking port doors.  In Star Trek The Motion Picture, both Spock and Kirk emerged from the portside door to gain access to V'Ger in a space walk.  The soundtrack calls it 'Spock Walk'


Here are the red hash tags on the upper saucer.  Just an interesting detail featured on the Reliant, I chose to duplicate here.


I used a pencil to draw in the gridlines, but it tore a few decals.  I was prepared to paste in new ones, but I came up with the idea of using a fine black Sharpie marker to fill in the tears in the decals.


One final detail, I used a sharp pencil to outline the B/C deck to show some weathering and filled in the markings around the bridge with an ultra fine pen.  It just helps to define the recesses.


I have since clear coated this model so the decals won't tear or fall off.  I didn't take a picture of that, or that I added some more geometric shapes to the B/C deck to blend it in to the surrounding area.

That wraps up this entry and more importantly the saucer.  Ready for connection to stardrive section Number One!!

Happy Model Building!

Star Trek and all related marks, logos and characters are solely owned by CBS Studios Inc. This fan blog (production) is not endorsed by, sponsored by, nor affiliated with CBS, Paramount Pictures, or any other Star Trek franchise, and is a non-commercial fan-made blog intended for recreational use.  No commercial exhibition or distribution is permitted. No alleged independent rights will be asserted against CBS or Paramount Pictures.

Thursday, 26 January 2017

Constitution Class Refit USS OLYMPIA Polar Lights 1/350 scale UPDATE #18 - Finishing the Saucer: Part 6

Greetings!

This entry will cover the remaining decals to be applied to the saucer of USS Olympia.  This is where I was at in my last entry.

What happened previously was a tear in one of the pie-shaped aztec decals that radiate from the centre of the saucer to the rim.  You can see I put down every other pie-shaped wedge, then go back and fill in the rest.


My solution to the torn decal was this:


I didn't buy a new kit, rather I opened up an existing kit I have (had still in it's packaging).  I was very careful to remove only the 5 page decal sheet bag and leave the rest of the model intact.  This will be either part of a future kit bash (always wanted to do either Federation Battleship or USS Stargazer from TNG) or it will be a proper TMP Enterprise Refit reproduction with the 5 tone aztecs that will be painted on.

Once I found the pie slice I needed, I sprayed it with Decal Bonder to prevent tearing.


Once I had my pie wedge of decal bonded, I cut it up like before.  New decal on bottom, older one on top.


I alternated the decal and subdivided it to randomly blend into the hull, in case the dye in it doesn't match what has been laid down before.  When you put the decals down, they are so fine in colour its very hard to tell where the pattern is.  I wear prescription glasses and even with that it is very hard to tell.


Next area to tackle is the outer edge of the saucer.  I saved this to the end, mostly because I don't want  the edge to be worn too much.


The decals dry darker.  When they are first applied its hard to tell where the lines are.


Then I moved on to putting all of the pinstripes around the phaser banks.  I cut the centre so the decal can easily got around the protrusions.


The bow light on the Enterprise-A version has a blue area surrounding the light, in addition to the red pinstripe.  I decided to replicate that on this build.


And finally the pinstripes around the RCS thrusters.


Next step was to start adding the geometric detailing around the lower planetary sensor on the bottom of the saucer.  This area is hyper detailed on the studio model and I rarely see this in most models of this ship, so I'm going to take it on.


There are 7 basic shapes: an equilateral triangle, a circle, a square, 2 dashes, 3 dashes, a long rectangle, and a trapezoid.  Each shape was printed on decal paper and individually applied.


Here is the finished product.


And a reference picture of the studio model.


While I had the saucer upside-down, I tackled the in between bits on the walls of the saucer.  I cut up the decal, eliminating the saucer bands and applied them randomly between the windows.


Finally, the time to add the markings.  The starboard side gets a decal that says:

STARSHIP U.S.S. OLYMPIA ・ UNITED FEDERATION OF PLANETS

Apparently this marking was designed to go on the neck at the separation line.  When Douglas Trumbull took over on Star Trek The Motion Picture he added it to the pendant on either side of the secondary hull, and this has been carried over on all Federation ships (Reliant, Excelsior, Stargazer, Enterprise-B, Enterprise-C, Enterprise-E, etc.), except for the TNG ships designed for TV and the prequel series and the new 'Kelvin' timeline of the new movies.


Here is the port side with the gangway port.


Next, I turned my attention to the upper saucer, applying the same geometric decals around the B/C deck.


Once I finished that I moved on to the rim on the saucer.


The next bit of repetitive decal application are the 20 squares that go along the saucer.  These bits are painted silver.  These red squares actually contain very fine text saying 'warning'.  These are personnel hatches.  Kirk, Spock, McCoy, Decker and the Ilia Probe used one of these in Star Trek The Motion Picture to walk to heart of V'ger (to find Voyager 6).  This feature is on all of the TMP-era starships (Reliant, Stargazer, Excelsior, Enterprise-B, etc.)


The next thing I decided to do was to add extra detail.  On the Reliant studio model, there are tiny red and black squares on the model, so I decided to add more detail to the ship.  I figure this is the best time to do it when its easier to flip the saucer around.


The saucer is 97% complete I'd say.


That wraps up this entry...more decalling on the way!

Happy Model Building!

Star Trek and all related marks, logos and characters are solely owned by CBS Studios Inc. This fan blog (production) is not endorsed by, sponsored by, nor affiliated with CBS, Paramount Pictures, or any other Star Trek franchise, and is a non-commercial fan-made blog intended for recreational use.  No commercial exhibition or distribution is permitted. No alleged independent rights will be asserted against CBS or Paramount Pictures.