This has been a longer journey than expected...
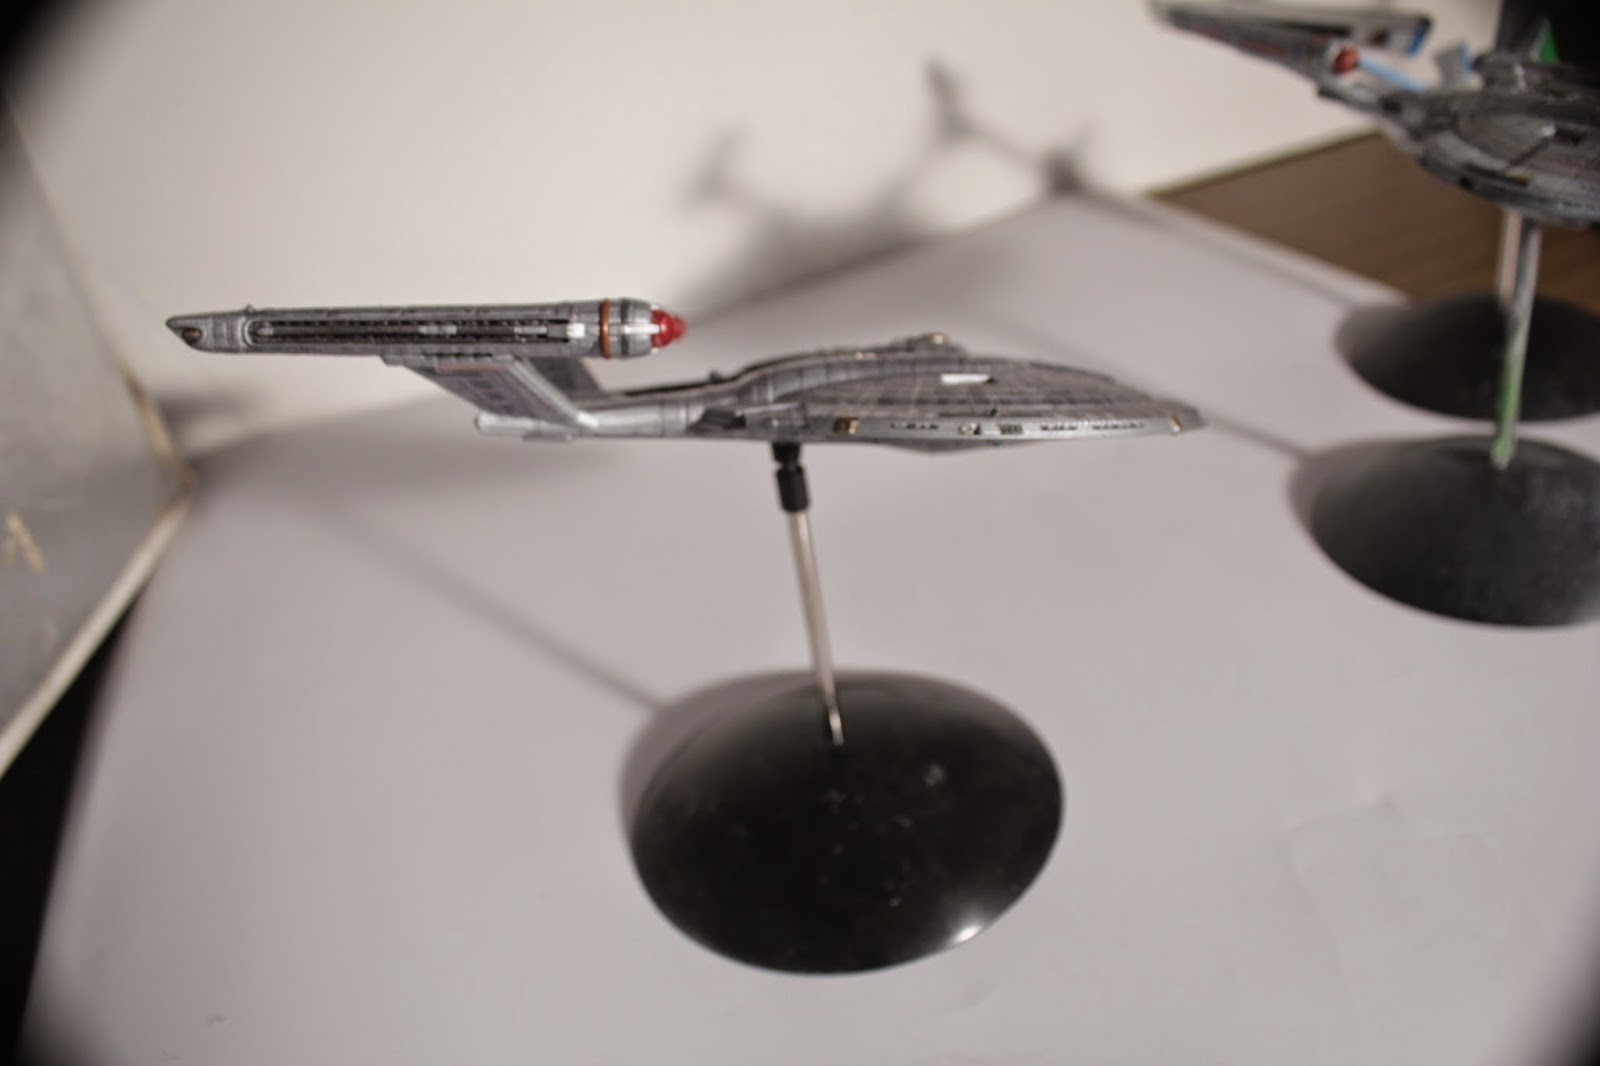
SS Columbia NX-02


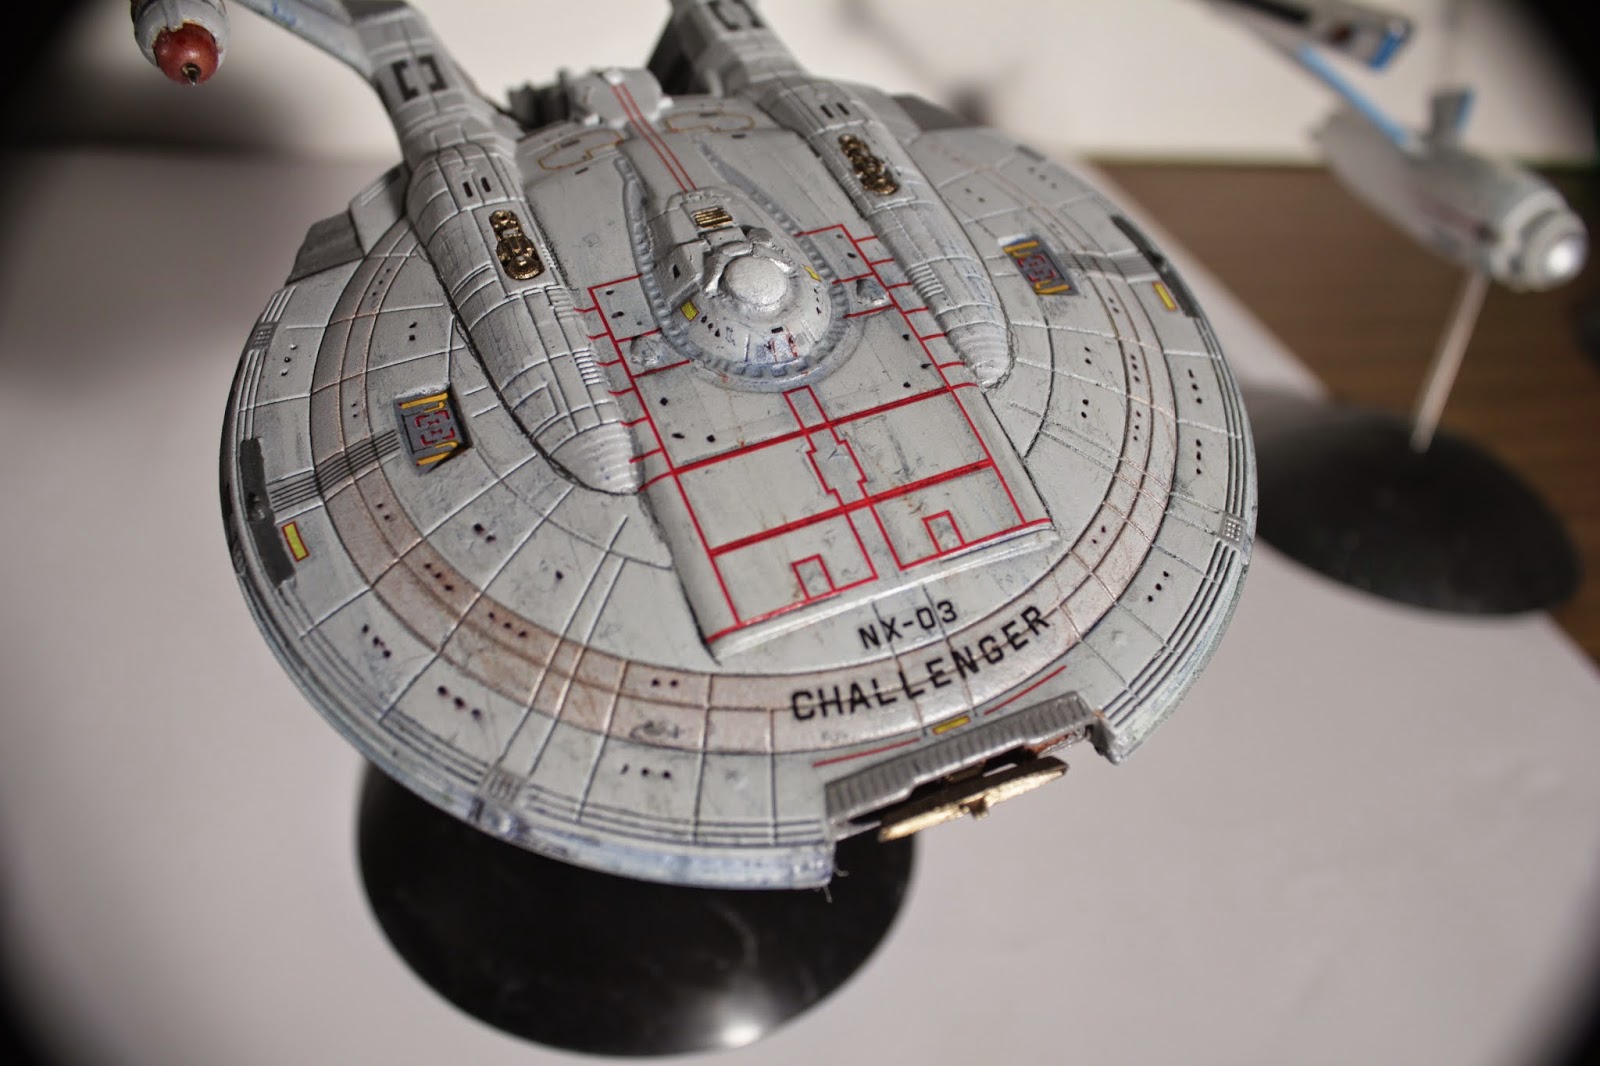
SS Challenger NX-03


COMPARISONS
These ships are of the same class and certainly sister ships, but like all siblings, I took effort to make NX-03 Challenger different from Columbia. Columbia is different (subtly from NX-01 Enterprise which I won't get into here).
As I was painting Challenger, I noticed the window markings on the rim of the saucer were so soft compared to the original Polar Lights Kit released in 2005(?), I knew if I drew them in with a Sharpie, like I did Columbia, I would spend more time touching them off so I left them off. Down the road I might use a few TOS rim decals but I'm happy to leave it for now.

As I previously stated, the aft end along the center-line of the NX-Class houses the shuttle bay. I just changed the launch doors on the Refit as the neck from the secondary hull connects where the launch doors are. (note the same markings as seen on the TOS Enterprise...)


And how it looks untouched.

The big differences are cosmetic, though those differences are in attempt to match the NX-03 Refit with the TOS Enterprise. If the NX-03 lit up, I would have cast a clear bridge dome (the 1/350 version it is clear).

On the lower side of the saucer on all TOS versions of the Enterprise, the registry is in opposite directions:

When the series went into production they decals were turned around as seen above on my model. The reason was so the viewer could see 'NCC-1701' from the front as it was only ever photographed from the starboard side. Originally it looked like this from my USS Farragut build:


For the NX Class, both registries faced forward. For my NX-Refit, I chose to do them like the USS Farragut as model as seen above, which is the TV Pilot configuration. Also note, the neck is 'duck egg blue', same colour I painted on the neck of the NX-Refit.

I also added some TOS windows as well to the NX-03.

FLEET SHOT
Just an homage to a few classic Enterprise encounters:

(Doomsday Machine: Enterprise & Challenger under tow)

(Doomsday Machine: Challenger & Columbia under tow)

(The Wrath of...'Columbia')
Here's my growing 1/1000 fleet of ships:

(Starships which pass in the night...)
L-R Excelsior, Columbia, Challenger, Enterprise
L-R Excelsior, Columbia, Challenger, Enterprise
The USS Excelsior, is a reference to a ship named in the Starfleet Technical Manual which was released in 1975 by author Franz Joseph. This ship and registry was listed as a Constitution Class. I gave it a similar refit to what was seen in early publicity shots with a TOS bridge/B/C Deck and simple lower sensor dome.


With extra pin striping, and markings similar to the final version. I digress on that but thought I'd explain why it doesn't look like a regular Refit Enterprise.
Clockwise from 12 o'clock: USS Enterprise NCC-1701 Constitution Class, SS Challenger NX-03 NX Class Refit, SS Columbia NX-02 NX Class, USS Excelsior NCC-1718 Constitution Class Refit.

So there you have it! All done and I still am working on more 1/1000 scale models. I have to admit, its a fun scale to work in, Round 2 has done a very decent job with these models, and they are perfect for a bookshelf. Personally I'd love to see a 1/1000 Galaxy Class or Sovereign Class (compared to the 1/1400 scale kits from AMT/ERTL originally). I digress.
One lesson I learned with this project is not to repeat rushing it, and always use fresh rattle cans as when they sit, they glob up. I pre-bought a lot of paint for future builds...oh well, I will probably be using my airbrush for the Enterprise/Brattain build.
Thank you for checking out my builds and stay tuned for my first official update for Enterprise-A/Brattain build.
Happy Model Building!!!


