The 1/1000 USS Enterprise Space Seed Edition was planned as a gift (and still is) but due to schedules and a busy work load, I will be seeing this person later in the month and will finish it after the Arrow Project is done.


(the little saucer is the 1/1000 saucer sitting atop the 1/350 saucer. I can't wait to get started on that project :) )
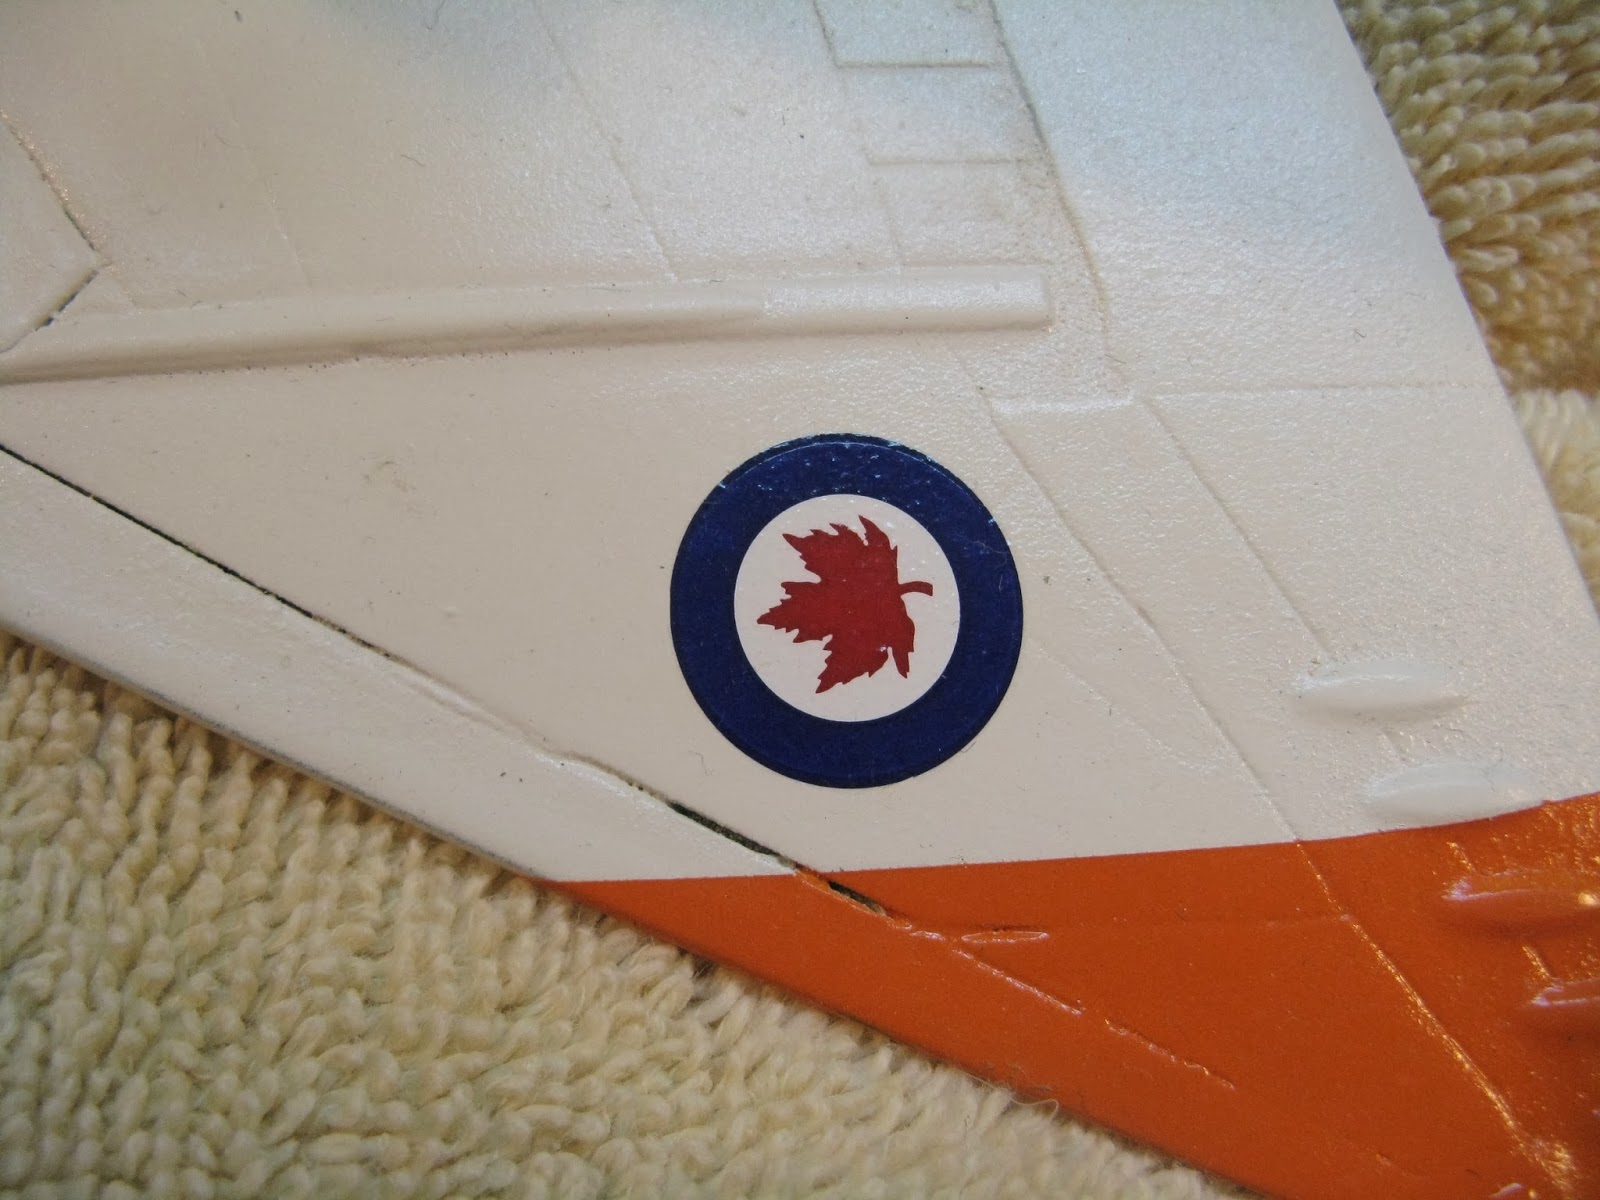
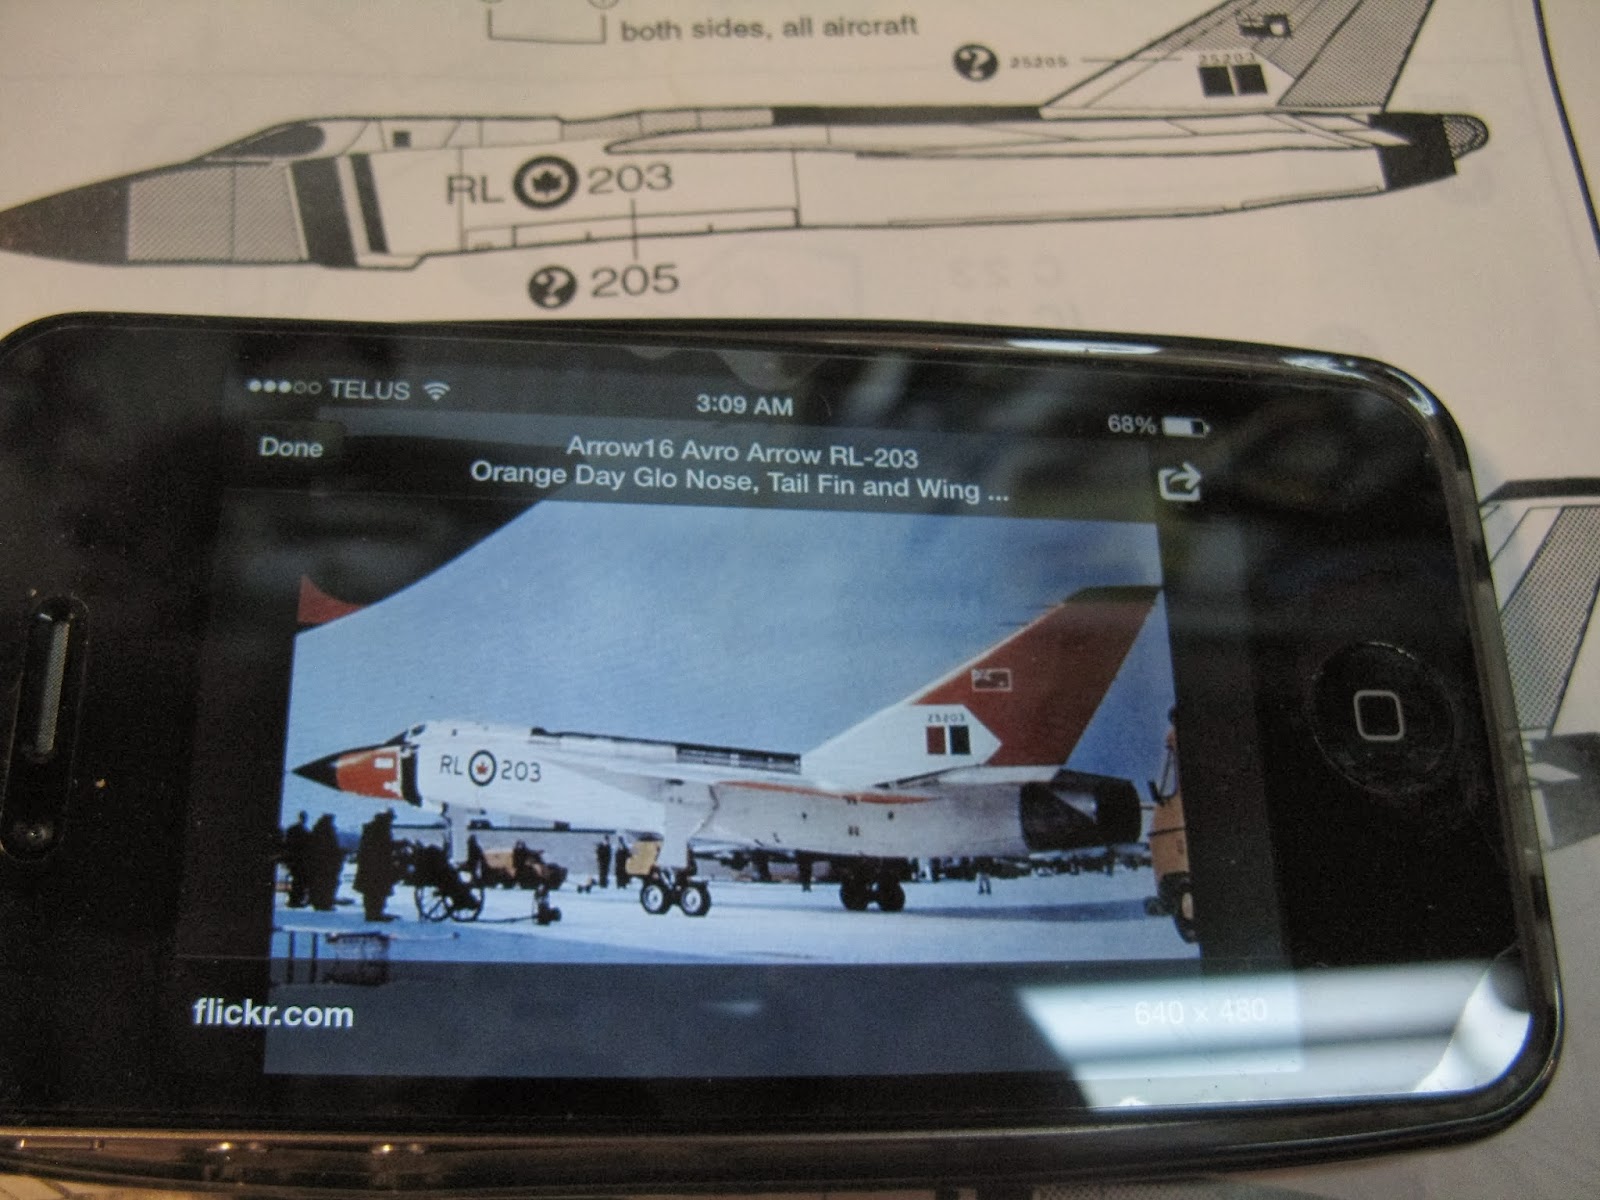
THE AVRO ARROW
I had a number of setbacks with the painting (as previously posted in update #7) so I was decalling the model on Christmas Eve.
First thing I always do is spray the entire model with a clear gloss coat. This allows the decal to sit flat on the model and stops air pockets from forming which is known as 'silvering'.


Here are my tools for doing decals:

- Bowl of warm, clean water to soak the decals
- white craft glue - I use a couple of drops in the water. I find it helps decal adhesion.
- Sharp scissors and hobby knife with a sharp blade to cut out the decals.
- tweezers to hold the decals in the water
- tooth pics to use as a 'picker' to manipulate the decal
- Microscale Industries MicrosSet and MicroSol. I apply MicroSol to the model with a Q-Tip, then put the decal down. Use the paper towel to wipe up excess moisture. Then I smooth out the decal with a dry Q-Tip. After it sets up for a bit, I then use the MicroSol to help 'take down' or dissolve the decal film to give it a 'painted on' look.


I added ribs on the socket. I weakened the socket by enlarging the hole to accept a hollow tube vs the original solid metal rod.


On the top of the base I added evercoat to the growing crack, sanded it and primed it.

Here's a comparison between the Arrow base (left) and the unpainted USS Enterprise base (right).


I started this 1/1600 scale Original Series, Constitution Class model a long time ago and have just the decals to put on it (custom made). Hard to believe it's barely 6" long!


BROKEN MODELS
I built this 1/1000 Enterprise Refit model as variant as how it appeared in early promotional photos for Star Trek The Motion Picture and also gave it a different name: USS Excelsior NCC-1718. The name and registry comes from a Star Trek reference book from the 1970s and I've always liked the name.


Sadly this model had a break on it's port nacelle pylon (long story) and as a 'snap together' model, it often 'snaps apart'.

My plan is to put this in a diorama of with another model I recently found, but never finished a 1/1000 scale Klingon D-7 Battle Cruiser. I got this as a gift over a decade ago and never finished it (lost some parts was the main reason).


I have a 1/650 scale D-7 model and I will scan the the missing parts in and print off templates to build new ones. This should be a fun build.
After Boxing Day I went to my local hobby shop looking for a replacement for my broken 1/1000 refit model and found this on sale so I grabbed it!


Lots of stuff going on and will be posting (or try to post) at least once a week. Stay tuned and happy model building!!