Thursday 26 January 2017

Constitution Class Refit USS OLYMPIA Polar Lights 1/350 scale UPDATE #18 - Finishing the Saucer: Part 6

Greetings!

This entry will cover the remaining decals to be applied to the saucer of USS Olympia.  This is where I was at in my last entry.

What happened previously was a tear in one of the pie-shaped aztec decals that radiate from the centre of the saucer to the rim.  You can see I put down every other pie-shaped wedge, then go back and fill in the rest.


My solution to the torn decal was this:


I didn't buy a new kit, rather I opened up an existing kit I have (had still in it's packaging).  I was very careful to remove only the 5 page decal sheet bag and leave the rest of the model intact.  This will be either part of a future kit bash (always wanted to do either Federation Battleship or USS Stargazer from TNG) or it will be a proper TMP Enterprise Refit reproduction with the 5 tone aztecs that will be painted on.

Once I found the pie slice I needed, I sprayed it with Decal Bonder to prevent tearing.


Once I had my pie wedge of decal bonded, I cut it up like before.  New decal on bottom, older one on top.


I alternated the decal and subdivided it to randomly blend into the hull, in case the dye in it doesn't match what has been laid down before.  When you put the decals down, they are so fine in colour its very hard to tell where the pattern is.  I wear prescription glasses and even with that it is very hard to tell.


Next area to tackle is the outer edge of the saucer.  I saved this to the end, mostly because I don't want  the edge to be worn too much.


The decals dry darker.  When they are first applied its hard to tell where the lines are.


Then I moved on to putting all of the pinstripes around the phaser banks.  I cut the centre so the decal can easily got around the protrusions.


The bow light on the Enterprise-A version has a blue area surrounding the light, in addition to the red pinstripe.  I decided to replicate that on this build.


And finally the pinstripes around the RCS thrusters.


Next step was to start adding the geometric detailing around the lower planetary sensor on the bottom of the saucer.  This area is hyper detailed on the studio model and I rarely see this in most models of this ship, so I'm going to take it on.


There are 7 basic shapes: an equilateral triangle, a circle, a square, 2 dashes, 3 dashes, a long rectangle, and a trapezoid.  Each shape was printed on decal paper and individually applied.


Here is the finished product.


And a reference picture of the studio model.


While I had the saucer upside-down, I tackled the in between bits on the walls of the saucer.  I cut up the decal, eliminating the saucer bands and applied them randomly between the windows.


Finally, the time to add the markings.  The starboard side gets a decal that says:

STARSHIP U.S.S. OLYMPIA ・ UNITED FEDERATION OF PLANETS

Apparently this marking was designed to go on the neck at the separation line.  When Douglas Trumbull took over on Star Trek The Motion Picture he added it to the pendant on either side of the secondary hull, and this has been carried over on all Federation ships (Reliant, Excelsior, Stargazer, Enterprise-B, Enterprise-C, Enterprise-E, etc.), except for the TNG ships designed for TV and the prequel series and the new 'Kelvin' timeline of the new movies.


Here is the port side with the gangway port.


Next, I turned my attention to the upper saucer, applying the same geometric decals around the B/C deck.


Once I finished that I moved on to the rim on the saucer.


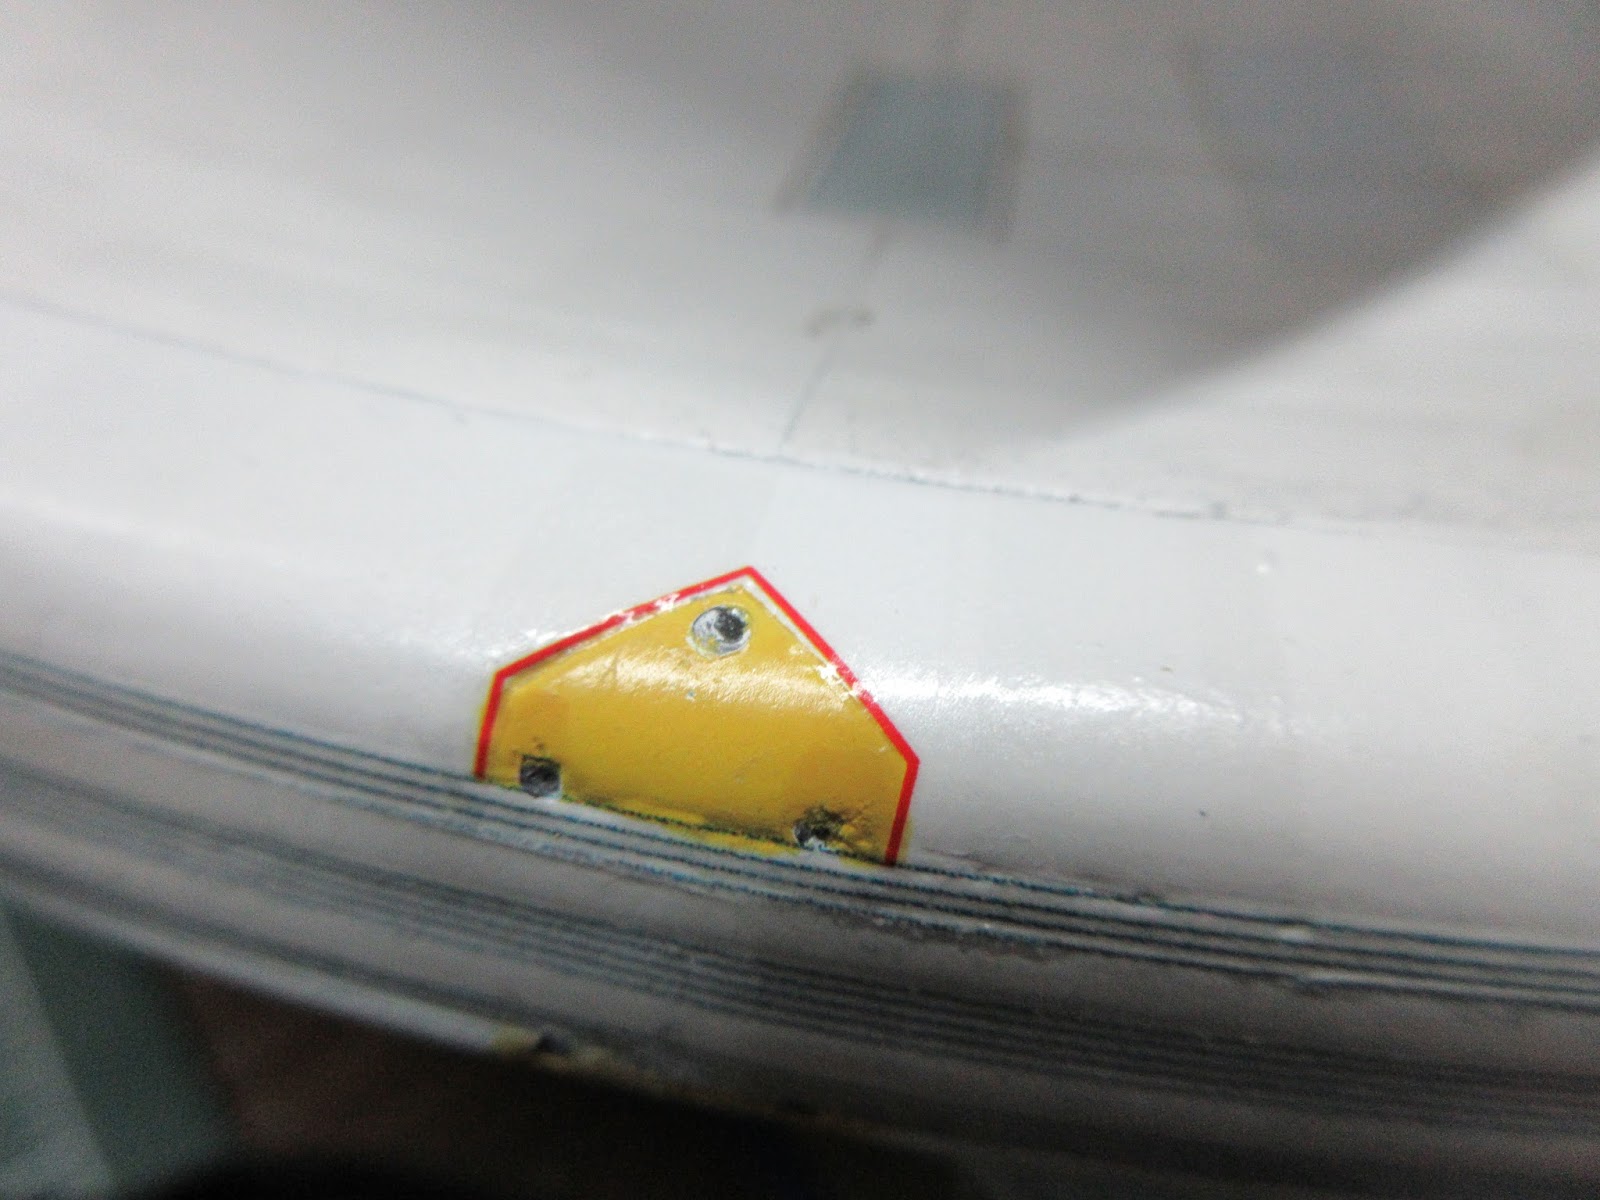
The next bit of repetitive decal application are the 20 squares that go along the saucer.  These bits are painted silver.  These red squares actually contain very fine text saying 'warning'.  These are personnel hatches.  Kirk, Spock, McCoy, Decker and the Ilia Probe used one of these in Star Trek The Motion Picture to walk to heart of V'ger (to find Voyager 6).  This feature is on all of the TMP-era starships (Reliant, Stargazer, Excelsior, Enterprise-B, etc.)


The next thing I decided to do was to add extra detail.  On the Reliant studio model, there are tiny red and black squares on the model, so I decided to add more detail to the ship.  I figure this is the best time to do it when its easier to flip the saucer around.


The saucer is 97% complete I'd say.


That wraps up this entry...more decalling on the way!

Happy Model Building!

Star Trek and all related marks, logos and characters are solely owned by CBS Studios Inc. This fan blog (production) is not endorsed by, sponsored by, nor affiliated with CBS, Paramount Pictures, or any other Star Trek franchise, and is a non-commercial fan-made blog intended for recreational use.  No commercial exhibition or distribution is permitted. No alleged independent rights will be asserted against CBS or Paramount Pictures.

Monday 2 January 2017

Retro Review: Vulcan Shuttlecraft

HAPPY NEW YEARS!!


Did you have a good New Years?  I did!  Thank goodness 2016 is over, time for a renewed sense of optimism for the future.  I shoulda known 2016 would be a challenging one with personally the worst New Years Eve celebration I've ever been to a year ago, but thank god that is over and so much so, the past...history...over!  2016 wasn't all bad, it's been the best professionally in years, and personally gratify too ;) (from February onwards)  and challenging in a good way with my coolest build to date, USS Olympia which I started back in December 2015.

So this is a bit different, it's not an update but a review of a kit I recently acquired, a 1979 Vintage Vulcan Shuttle from Star Trek The Motion Picture.  Earlier this year, I did a similar review of a 1986 Star Trek IV: The Voyage Home USS Enterprise NCC-1701-A model kit here.


Listed below are it's 'features':


And photos of the studio model


side box art
Although not stated, this is 1/187 scale, which is half of a 1/350 scale, or double depending on which way you would be looking to size up or down.  Good reference for anyone building a 1/350 Refit and wishing to sculpt a 1/350 Warp Shuttle to go with it. ;)  This particular kit is made by Matchbox, in conjunction with AMT, prior to AMT merging with Ertl the following year.  A dead giveaway that it's a Canadian release are the required by law English/Français language on the packaging and the dual measurements in both Imperial and Metric.  As a 'Canuck', I use both, mostly feet and inches for building material measurements (including models), and the metric system for everything else (temperature, weight, distance, etc.)


When you open up the model, this is what you get.  Yes, I opened up this originally sealed model.  I believe it was factory sealed as the condition of the plastic is really good.  If I didn't open it, it would hardly be a review.  Also, I look at these vintage kits as something that needs to be both honoured and used as intended.  I photograph all of my builds (I have been since I was a long-haired, guitar wielding teen), so that and my blog entries are how I document this.  At the end of the day, this is a hunk of plastic, in a cool form.  In terms of building this kit, I'm not sure what my plans are currently.

this is what you get when you open up the box 
Back in the day, AMT experimented with rub-down transfers vs. waterslide decals.


And 'rainbow effect' stickers.  These are actually cool in their own right.  Not appropriate for a studio accurate model.


FAST FORWARD TO...2009


In 2009, Round 2 re-released this classic kit, and would continue to each and every year release a classic vintage AMT or Polar Lights Star Trek kit as they acquired the license to reproduce these kits.  And they've done an amazing job largely speaking.  Their original kits, like the 1/350 TOS USS Enterprise is a work of art, as is Space 1999's 22" Eagle Transporter (both future builds on this blog).


1979 on the left, 30 years later, 2009 on the right

When you open up the primary bag in the kit and lay out all the parts, you get four 'trees'.  I'm comparing it with the 2009 kit which was moulded in mauve.  (There was a article on Round2's website called 'Pretty In Mauve' which detailed the assembly of this model.)

the original model was moulded in white; the new release moulded it in mauve (pink)
The first tree is identical which holds main body of the warp sled, the docking port and the 'burnisher' for the rub down transfers.

the new kit prints in ink the copyright info


this is the burnisher

which is broken off in the 2009 kit

Here is a direct comparison of the 2nd tree.


The old kit contained the 'standard base' of it's time, a triangular 2-piece base, vs. the 4 piece base with metal rod and articulating connection.


here is the new kit tree overlaid over the old
The 3rd tree has a modified part.  The newer kit uses a set of magnets to keep the crew cabin attached to the warp sled.


These are the indentation for the magnets.


The 4th and final trees.  At a glance these are the same.


On closer inspection, the old kit has soft details for the warp engines.  It looks like a re-sculpted part.
Looking a some studio references say the original may be more accurate that way.  It would have been nice to have a clear version, but that's what the aftermarket Trek modellers are for.


Looking a some studio references, the new version is a dramatic improvement.  It would have been nice to have a clear version to light it up, but that's what the aftermarket Trek modellers are for.

from Star Trek The Motion Picture

DECALS


Clearly the new sheets which come with the Round 2 repackaged model is considerably far more detailed than the original rub down transfers and stickers.


The new kit gives you names for three Vulcan shuttles: Surak, T'Pau and Sak Ar.


The original transfer only has the name for Surak.


 In addition to the Vulcan names, the newer kit also has Federation markings for shuttle Herschel and Hailey, from the Refit Enterprise.


When I built my Warp Shuttle in 2010, I named mine Shepard, after Alen B. Shepard who was one of the Mercury 7 astronauts and the first American to be launched into space.


INSTRUCTION SHEET


The instruction sheets back in the 70s were quite simple and standardized.


One thing I really liked it showed a layout of the model kit parts with callouts for each part number.


On the inside, it's quite primitive but straightforward.


There were no instructions for painting or decal placement as you referred to the studio model pictures on the box as a guide.


Comparing the two instruction sheets, I noticed that it appears Round 2 has basically photoshopped the original line drawings and adapted them to the new instructions.


Original on top, new on bottom

new instructions on top, old on bottom
Final assembly is quite similar - even the opening for the rod/peg is the same diameter, funny enough.  The original instructions gives you a suggestive 'thread' hanging display option.


And finally the instructions for the decals.  Very Detailed.


This is what you get with the original for decal placement and paint guide.


Overall, if you ever come across the original model kit, it builds a very nice kit.  You can get upgraded decals online from Starship Modeller in their download section and print off on decal paper.

Happy model building!

Star Trek and all related marks, logos and characters are solely owned by CBS Studios Inc. This fan blog (production) is not endorsed by, sponsored by, nor affiliated with CBS, Paramount Pictures, or any other Star Trek franchise, and is a non-commercial fan-made blog intended for recreational use.  No commercial exhibition or distribution is permitted. No alleged independent rights will be asserted against CBS or Paramount Pictures.  Any and all pictures, screen caps used are for educational uses under fair use.