As I build most models I assemble them in sub-assemblies - workable sections that I will fill, sand and prime. Might as well start off with the Cockpit.
As I previously mentioned this is a pretty crude cockpit with 2 figures, 2 seats and a floor.


I have added a LED at the front of the cockpit to simulate the glow from the controls and tinted the bulb with different shades of clear Tamiya paint.


AIR INTAKES:
A very small section of the model but gets added on last on this build. Unfortunately the thickness of the plastic is not consistent with each other so some filling will be required.


WINGS & TAIL
So these parts will have flashing markers on their tips which requires fiber optics. I get my fiber optics from a store called George's Trains in Markham. www.georgestrains.com

The wings seemed very simple until I built my first one. Essentially there is an upper wing and a lower wing but the as opposed to being two halfs, one fits inside the other on very tiny tabs.

And same goes for the doors for the landing gear. I had to reinforce that as well as add plastic around the perimeter of where the lower wing connects with the upper wing. I use spring clamps to glue the sections and leave it over night.
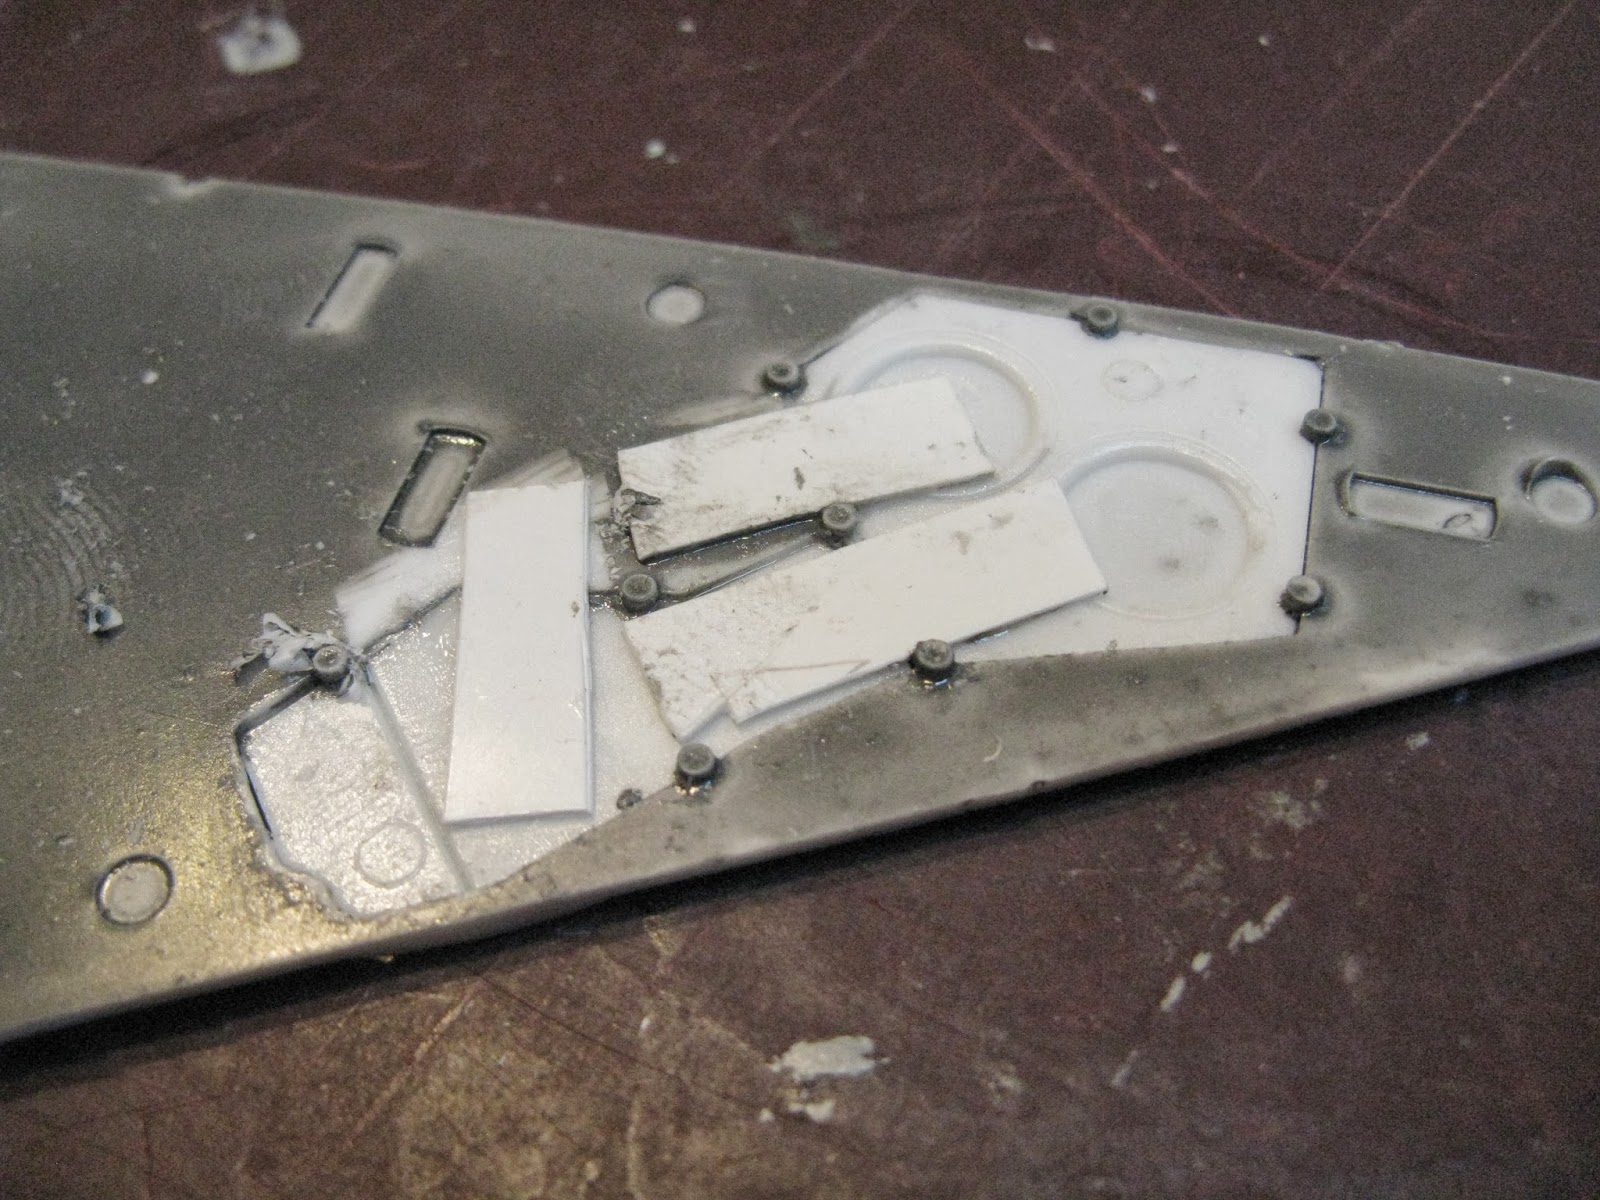


Working with fiber optic strands can be tricky. Most glues (especially CA or superglue) will melt the strand. Microscale Industries makes a product called: "Micro Kristal Klear" which has the consistency of white glue but dries clear and can even make windows over small openings! For a filler, I've started to use a Metal Glaze - 2 part polyester finishing and blending putty made by Evercoat. I got the idea to use this from watching many episodes of "Steve Neill's Garage" on Youtube. Excellent show on model building from a master model builder and 30+ year veteran of big budget Hollywood features.

The thing about using Evercoat is it set pretty fast but when using an applicator like a putty knife or a home made one out of toothpicks or popsicle sticks, it will go on incredible smooth.


In about five minutes or so the putty hardens enough to sculpt it with a knife to the basic shape you need. In 20 minutes it is fully cured and sand-able.

JET EXHAUST SECTION
This is actually only one part but because I'm lighting it up, it is now a small sub-assembly.


I ground down 2 orange water-clear LEDs to fit in the openings I made and painted the exhaust with aluminum. The LEDs throw a great deal of light.

Stay tuned for update # 3. Happy Modelling!
No comments:
Post a Comment