Greetings, a longer break than I expected, especially with this model which is now for me (vs. the original gift it was intended for). I started work on this again in March and throughout but between a few contracts and twisting my ankle, and a very bad flu bug, I haven't had much chance to do much in terms of updating or model building lately. So here it is...
SAUCER SECTION
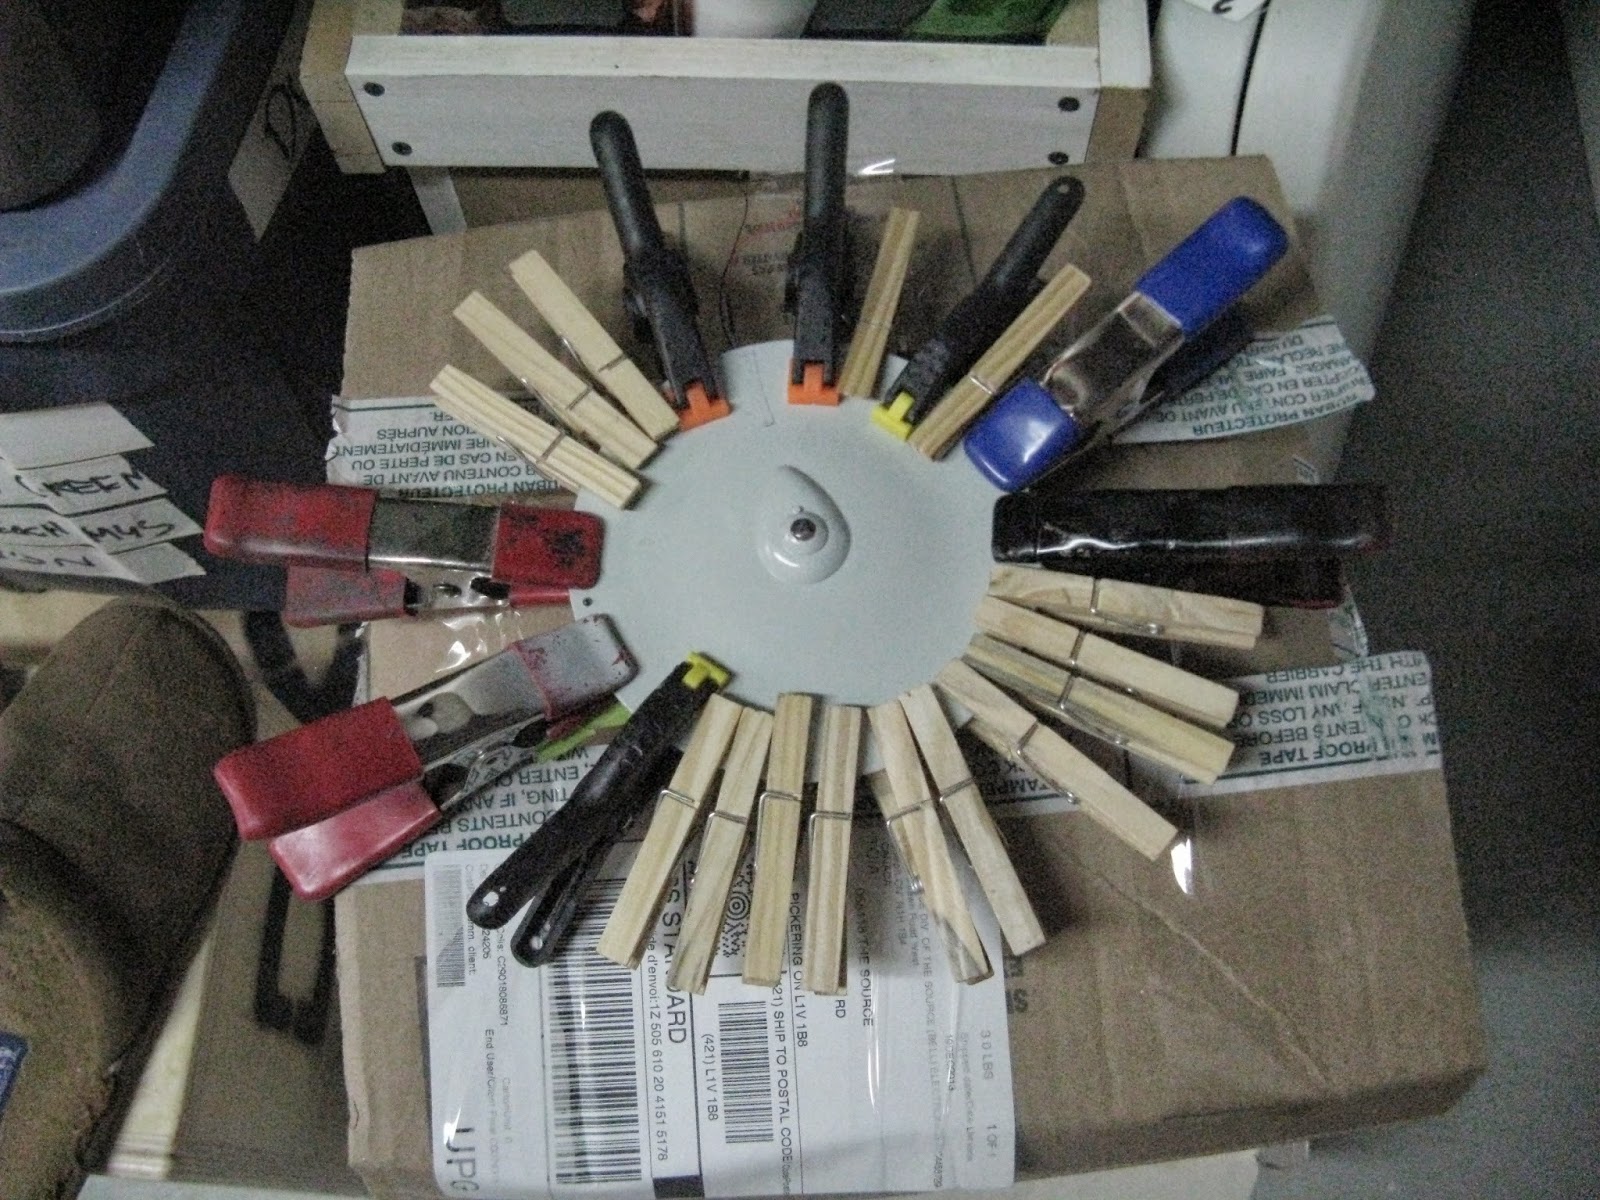
When I last left off the saucer was still in two pieces and a very poor fit. Partially that was due to the electronics but even still there was an even gap around the edge so I glued it down using liquid cement and clamped it down.
After leaving it for 24 hours or so, the damn thing came apart. So I used a Dremel tool, ground out the peg holes, ground down more material from inside the saucer to allow for more clearance for the lights. I used good old-fashion tube glue (I know a lot of professional modelers pan this but it works and it melts the plastic) and used heavier duty clamps.

I left this for a few days and it's permanently sealed. Next step was sanding down the upper saucer edge as it is larger than the lower saucer (something I don't remember in the original release of the kit). I used red putty to fix the gap between the two halves and a few scratches in paint from using spring clamps.


Some sanding a bit more putty and this model is ready to accept a coat of primer. I used (for my first time) a liquid mask made by Microscale Industries to coat the sensor domes on the upper and lower sides of the saucer as well the navigation lights.


Now for primer...I had the same problem again I had with the Avro Arrow build, I got a splotchy finish. Now that spring has finally come I can paint outside as opposed to having to do it inside.


ENGINEERING HULL
Not much has/can be done on this until the nacelles are complete. That said, it's built up as much as it can be. I also have ground out a wiring pass through. The designers of this model kit really made this section really strong.


I also drilled out tiny holes in the aft end for the running lights (going to leave them in the 'on' position as this is a bit of an after thought and in NO WAY do I want to open up the saucer to get access to the flasher LED. I used the decals as a reference for positioning.


NACELLES/PYLON ASSEMBLY
Where I last left off I had glued up the nacelle pylons (at this scale, I really like how they fit into the engineering hull) and made one Bussard lighting rigs (the glowing domes at the front of the engines).
The pylons required a lot of filling and sanding and were primed. Next, attach the two inner halves of the nacelles to the pylons so I can work on the wiring inside as opposed to gluing the two halves together first.
I used the engineering hull half as a reference guide to for alignment.


Now for the Bussard Collectors:
I had to replicate another one, three months after I made the first one and had to spend time to figure it out. I came up with better solution to using heat shrink to collect the fiber optics (as heat melts fibers very quickly), brass and aluminum tubing.


Next, the 'fan blades'. On the 11' filming model, the spinning effect was created by rotating a 12 segment fan over blinking Christmas lights. There is a provided kit part to represent this but there is no real way at this scale to have a rotating part (at least I can't make one, although I have seen it done before). To create the effect I used tiny strips of aluminum tape normally used in duct work to seal joints. I used 0000 steel wool to frost the dome.

I installed both of these lighting units into the nacelle halves and here is the result.


Final step is to close up the nacelles and like the saucer, the fit is poor. I glued them one at a time and used clamps to secure them.

This is where I'm at now, the seams are red-puttied and await sanding.

BOTANY BAY SHIP
I started building this tiny little model. It's really cool and is one of the main reasons I bought this kit, to create the iconic shot from 'Space Seed'.
The Botany Bay is designed as a snap together kit but upon further inspection there is a signifcant weakness, the aft section uses a tiny little tab with a hole in it to connect with the rest of hull. This would break off easily so I decided to cut that off and use two brass pins instead.

The rest of the model has gone together simply.


Next step, I need to sand the cargo container joints and add the 'conning tower' (I always thought this looked like an angular space submarine).
So that's it, I think I will have time to have a sooner update than my last update.
Happy model building!!
No comments:
Post a Comment