There are some ethical thoughts about making molds off of existing parts, as there many people including a garage industry who do this and there are some fantastic aftermarket parts for a lot of the Star Trek kits. For me, I have a large inventory, or at least I think, of unbuilt kits, some in various states of build-up. I've lost some parts over time and inevitably, I have to replace them. The best replacement in my opinion is to buy a new model kit and use those parts but that's not always feasible. So this entry is to introduce the next few builds and show my mould making process. Let's get started.
First off, I am a novice at this. I have successfully made parts for my USS Defiant NCC-1764 Tholian Web edition model and a few parts for my 1/350 USS Enterprise which is in moth balls at this point in time. I currently use a product called 'Mold Builder' which is available from art stores.

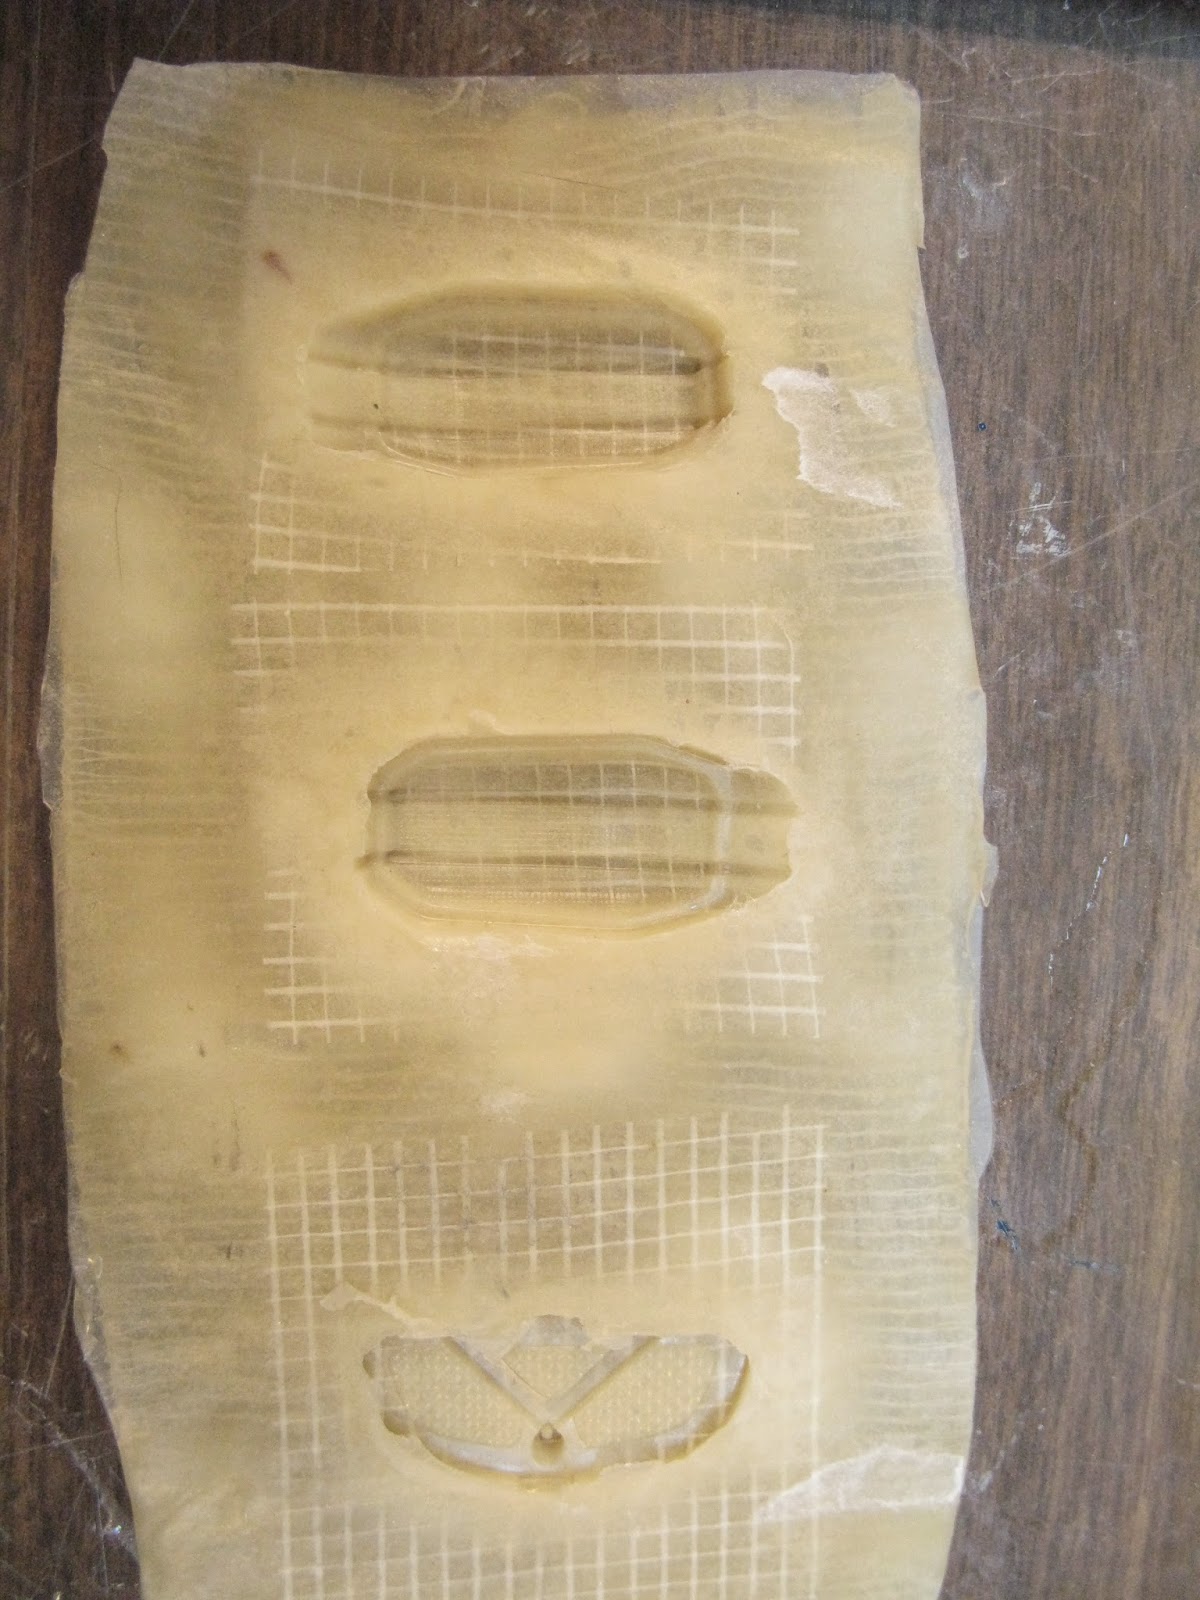
It's easy to use, lay down wax paper to a flat surface and glue (hot glue) your part to it.

A key to making a good mold is not to have any 'undercuts', in other words, where the part will either overhang itself relative to the mold plane or the as one can see where I built up extra plastic above to prevent that.
The next step is to paint the latex mold product onto the part layer by layer, starting with a thin coat.

As you apply each coat, the product builds up on the part. At around the 5th coat, I will use a cotton bandage soaked in this product and use it to bandage the mold around the part to give it strength. I start with something light weight and then apply more coats and eventually using drywall fiber tape to give it strength.

Kinda gross looking but it works very effectively.
USS Defiant NX-74205 (Star Trek Deep Space Nine)
This kit is a re-release of the original AMT kit available in the late 90's and nothing has changed except for a new base. Would have been nice if clear parts were included but, no. There are aftermarket translucent parts available, but come tinted. I've decided to cast my own.
NX-CLASS
As pictured above, I needed to cast several parts for both the 1/350 which were opaque and missing parts for my NX-Refit model 1/1000 scale. For this reason alone, casting was the right decision.
Klingon Vor'cha
This model comes with clear...RED parts. I hate tinted parts. It makes the model look like a toy in my opinion. A skilled modeller can tint their own parts and for me, I like my models to look dark when powered down (exception is the USS Defiant Tholian build as the part was translucent, I painted the Bussard Collectors clear red with a silver spike pattern underneath). I can live with this model being this way but there are 2 parts which glow yellowish in the show which were cast in red. I lost one so, as opposed to making a mold of the part, I made a model of the section.

Star Trek Space Ship Set
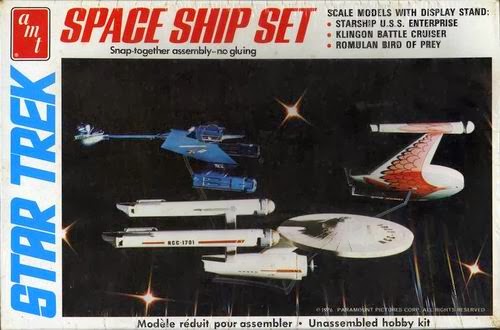
Not only is this kit out of print (although Round 2 has a 1/2500 version of it), but I had 3 of them at one point. I gifted one unbuilt to a friend and started one back in 2000 or so. I slapped one together, in the process, missing a few parts. The successful model which survived was the Enterprise model I named USS Farragut

The biggest problem with this model was with the Klingon model, the undercut was poorly done as the 'boom' or 'copra head' section was moulded as halves, length wise. Very soft details. In 2000, I cut the 'top hat' or bridge section off and tried to fix it but lost the part.

The 3rd and final model was still on it's trees.

I decided it was time to build this model kit as my latest one which meant I could cast new parts for the Klingon D7 cruiser. Here's the rough 'top hat' (bridge section)


After some refining with putty and paint, this is what I got.


Already for casting...
That will do it for me. The next 2 builds will be the Space Ship Set which I will get into further details and the 2 NX-Class 1/1000 starships.
Take care and Happy Model Building!!
No comments:
Post a Comment