This update should really be called 'Columbia...DONE!' I've been working on Columbia vs. Challenger in great detail to finish the model. With the 'wallpaper decals' it has taken longer than expected but the results are amazing! I ended up scanning the upper nacelle decals and modified them to incorporate some additional markings (which are in the 1/350 version). The wrinkled decals are wet decals with MircoScale Sol on it to conform the decals to the shape. An extra step I do to ensure the decal sticks to the model, I use white glue mixed in with a bowl of warm water. The glue dress clear and diluted.


This is a photocopy of the decal instructions from the 1/350s scale (the original 1/1000 scale instructions were HORRIBLE!). I've added a few reprinted decals, scaled down from the larger model to help accurize this one.


Whatever decals I didn't use in the 1/1000 scale build I set aside for 'Challenger'.

The engine parts on these little models are very small. I doubted I'd be able to paint it so I took the orthographic renderings of the Studio CG model an sized it down and printed it on decal paper.


FINAL ASSEMBLY OF NX-02
The Warp Nacelles of the Columbia have these 'reactor loops' (sort of the same thing on TOS Enterprise) which I was ready to glue onto each nacelle but with further study, I realized the they should be darker than the hull colour. The hull colour is darker with the 'wallpaper' decals so I dusted the metallic loops with a metallic dark grey.


Again on further examination, I realized the deflector dish shape is wrong for Columbia while looking a screen caps. There should be an inside bevel which I carved out of the dish I was working on vs. it being squared off. I will have to do that with Challenger's dish as well.

Once the model was finally glued together, the last step was to 'paint' the windows. I opted to use fine tip Sharpie Permanent marker. Worked perfectly!

So here it is, Columbia NX-02 finally done! (when the Challenger NX-03 is complete, I will do a 'final reveal' update.)


CHALLENGER NX-03
Unlike Columbia, Challenger, with it's secondary hull, has more sub-assemblies: Primary hull with struts, Secondary Hull with neck, interconnecting struts, warp core and the Warp Nacelles. The Primary Hull needs to be assembled, seamed, filled and sanded. The struts are one piece on their own. The secondary hull is done except for detail painting. The Warp Nacelles need some tweaking and final painting.
What you see below is a picture of the deflector dish assembly getting 'flat sanded' to correct thickness. For those who don't know, flat sanding is when you attach sandpaper to a flat surface to evenly sand joints down. I have a piece of 60 grit sandpaper taped to my work bench now for about 3 years and despite a few chemical spills (and beer spills), it still does the job. I digress... I had to cast new parts as I lost a lot of parts from the Columbia build over the years. Even with Challenger, I found I lost a few tiny parts, not to mention there were some parts missing from the kit, like the rod which holds the deflector dish for the Secondary Hull. Not sure what I will do to repair that. Good thing I have an extra 1/1000 TOS Enterprise Kit (which I'm going to kitbash into a Prime Universe Kelvin type model...that's down the road).

I used CA to glue the deflector housing at the front of the saucer. I also removed most of the alignment posts on this model as it prevented me from achieving a seamless close. The silver paint is actually 'mirror' paint (I bought it for a build to have a mirror finish - didn't work as planned, but I used it on my Klingon D7 for the chrome parts - anyways it is a backer for the sensor dome which will get painted pearl white on the outside.

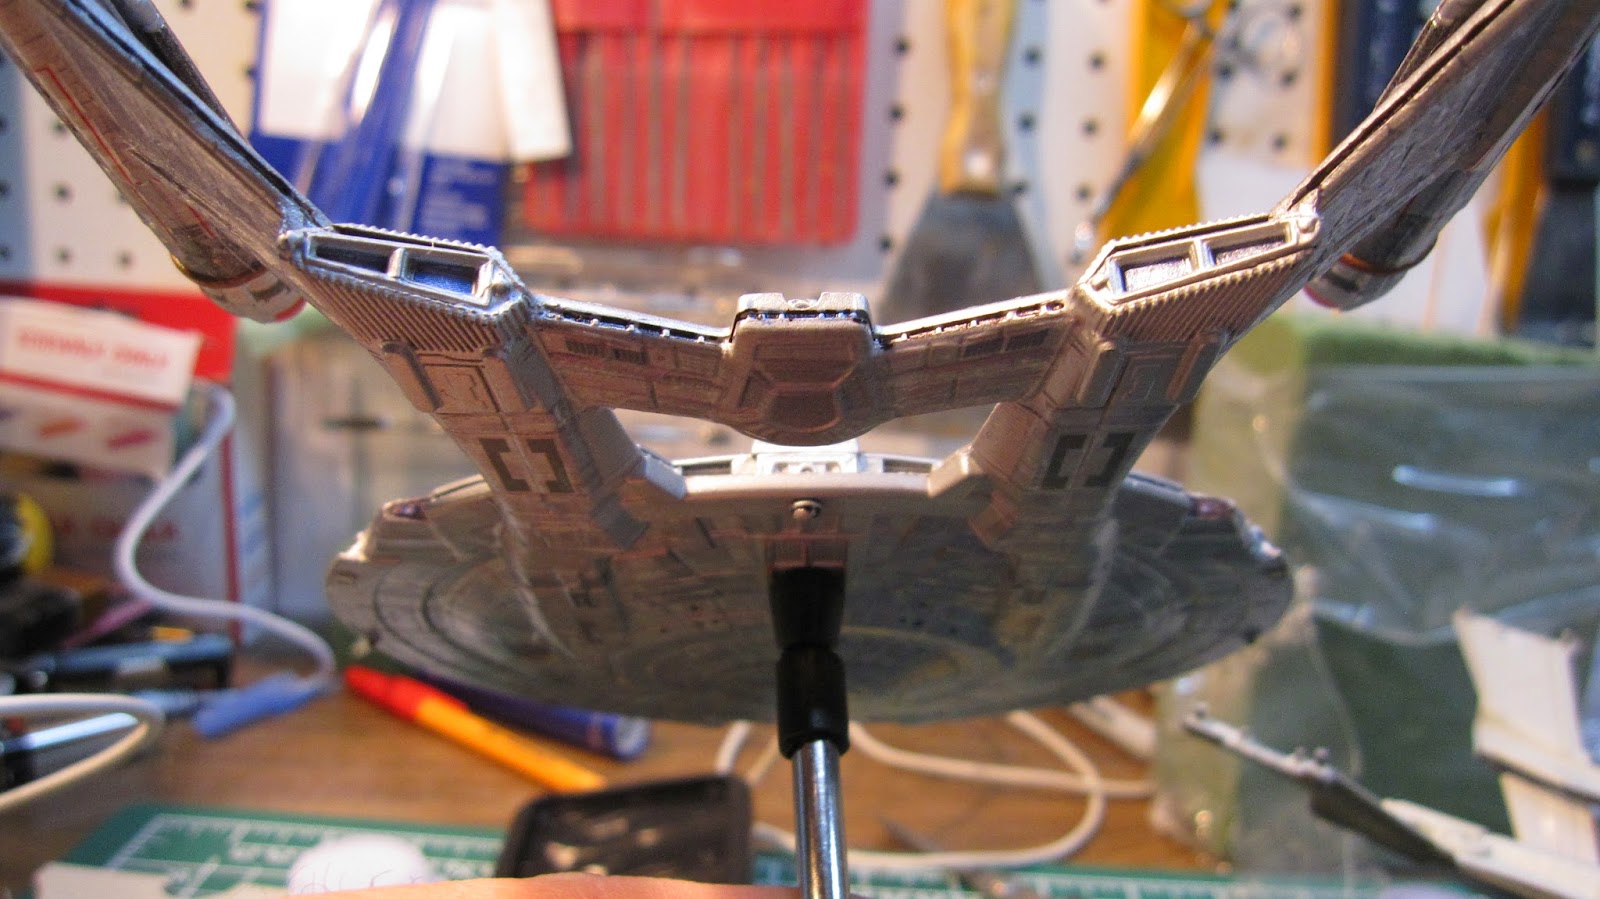
Here is the underside mocked up with the secondary hull and struts.

Time to glue up the two hull segments...finally! On Columbia, it took me almost a week to glue up the two halves as I kept finding places that weren't cemented properly. This time, I take no chances.

That does it for this update. Happy Model Building!!
Cheers!
No comments:
Post a Comment