This is the second part of the construction of the Secondary Hull/Engineering Section of the this Constitution Class Refit Starship.
When I last left off, I just prepped all four sections of hull for lighting and had attached the inner working details to the lower hull.

Moving forward, I realize two important things: 1) my lead wires were too short; 2) there were too many lead wires off of each part to be lit.
Also I hadn't added the lights on the tail section, partly because I had to order some specialty LEDs and pick up additional ones at a local vendor.
 |
| from Star Trek The Motion Picture |
 |
| from Star Trek III: The Search For Spock |

For the red windows, I used two 3mm LEDs.

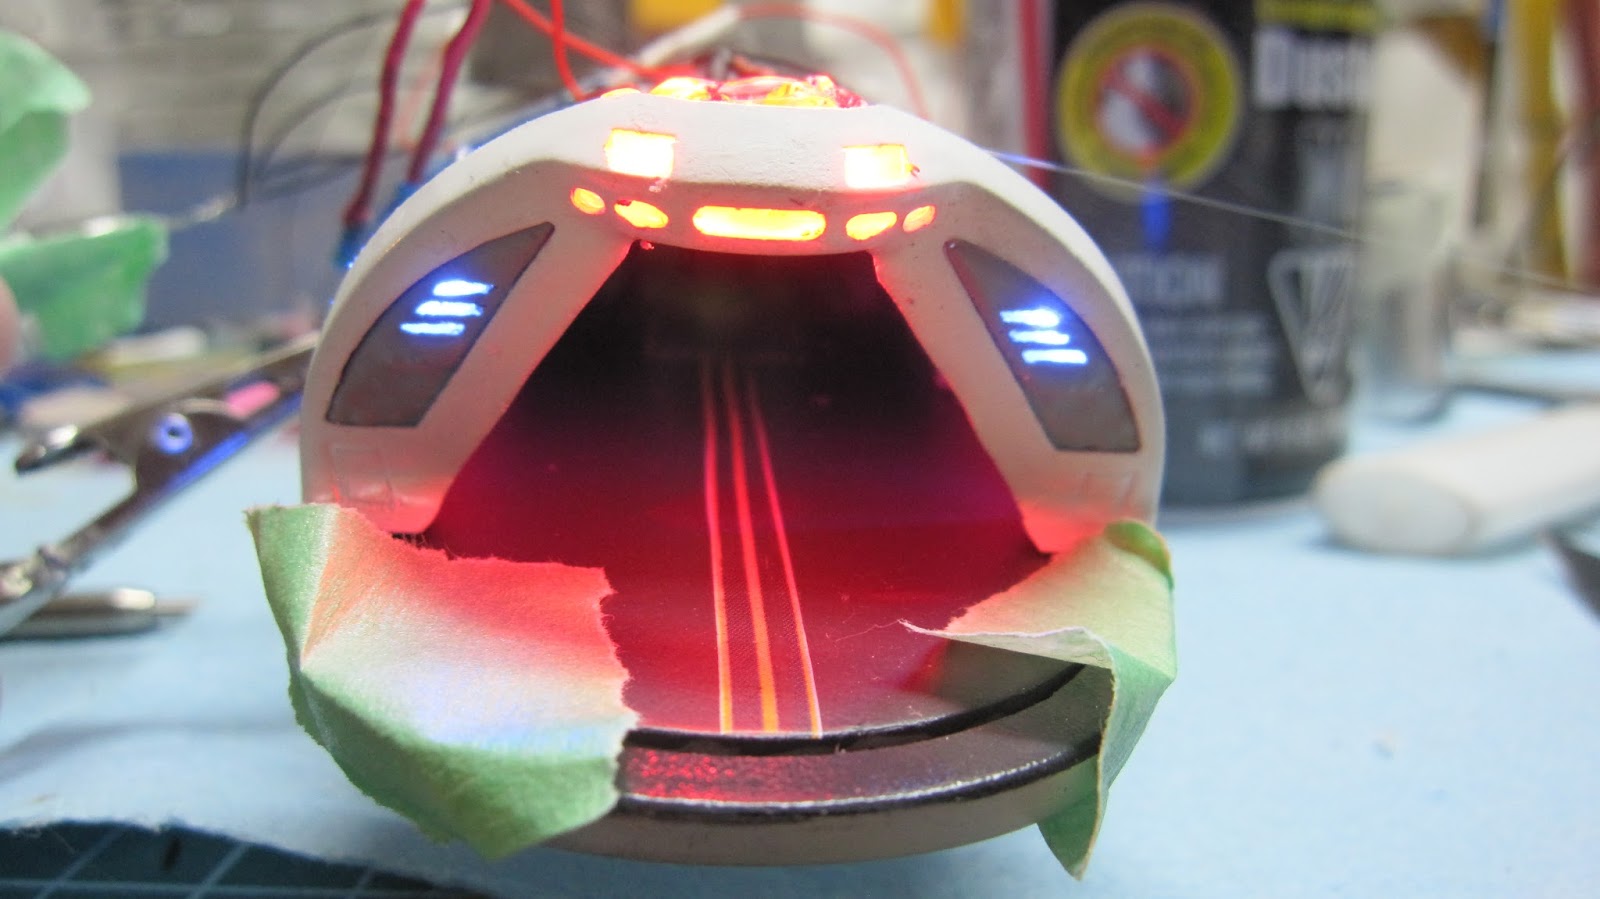
My digital camera (for model work) always over-exposes and is often difficult to auto focus. These lights appear brighter than they do to the human eye. I'm sure my DSLR will do it better justice when the model is complete.

Once the lighting was in place I decided to make the shuttle bay lighting on a separate circuit, as well as the 'tail lights' and turbo lifts. I did this to control more of the lighting. I think on future builds of this refit model (I want to do a studio accurate USS Enterprise as it appeared in Star Trek The Motion Picture with the 5 tone pearlescent paints down the road - I'm not quite there yet!), I will add more control lighting and situation lighting. Already, this model has the most complicated wiring I've done to date! I digress...
Original my plan was to have only one connection point on this, and have it behind the deflector dish, so I left all my leads long until adding only the few sections turned into 'spaghetti'. Since then I realized I have to consolidate my wiring per panel.
 |
| I used 'Green Plus' by Lee Filters on top of one of the light panels to simulate a 'fluorescent' look. |
I also added more lighting to the arboretum. I mounted two sections of LED strips to the back of a piece of styrene.

This got mounted under the overhang from the cargo bay. The rest of the main wiring got combined and 'snaked' through the openings I made previously under the arboretum.
 |
| the little strip of blue blue gel, I accidentally melted that section of the ceiling with a lighter. |

At the pylon connection, I added additional flanges for gluing the upper hull to the sides of the hull.

When I installed the side panels, I used an upper hull section from another kit as jig to help hold the walls in place with rubber bands.

I left this to dry for over 24 hours so the glue would cure. At this point, I unpacked the pylons as seen in update #4 and snaked the wiring through to the forward opening.

I then clipped in the pylons to the hull walls. The whole idea of this model is the pylons clip into the tabs in the side walls and top panel of the Secondary Hull.
 |
| internal arrangement |


...And the the upper pylon halves clipped into the upper section of hull.

In this case, the completed pylons clipped into the glued up Secondary Hull and I used good, old fashioned model tube cement to attach the pylons to the wall the segments. The reason why I used that type of glue is because it wouldn't run out the seams and wreck my paint job. Also being viscous, it becomes a gap filler.
The upper hull was left for 24 hours to cure. Again, rubber bands helped clamp the two halves of hull together. Clamps helped pinch together the pylons to the connection point.

The rear section of the ship tied together nicely.

Once the four sides were cured, I then glued the front retaining ring and let it cure for another 2 days.
 |
| note the 'spaghetti' of wires |
And cemented in the fantail/shuttle bay frame.

In the lighting conditions in the workshop, the model is nice and bright.


Under low-light conditions, the seams are quite visible and are the light leaks. This needs to be fixed.


The worst offenders are the pylon connections with the Secondary Hull sections. They don't fit right at all! I am using Evercoat Metal Glaze to fill in these large seams.

For the other seams I'm prepping them to use 3M Bondo Glazing Putty (aka Red Putty) to fill in these light leaks.

This wraps up another build update on this model. The next entry will go over the construction of the neck and how it connects with the Secondary Hull.
Happy model building!!
All still images taken of the USS Enterprise from Star Trek are being used for educational use only. This blog does not claim rights of ownership over any images sourced from the internet.
No comments:
Post a Comment