STARDRIVE SECTION (Engineering)
Again, the methodology for building this model has been in sections but also to built around an internal structure made of plate aluminum and a bent threaded rod. Taking a cue from the 6' studio model, I cut some whole parts in sections so I could better attach it to the armature. Also, a thing to remember is the Enterprise D is actually 2 ships, joined together - the saucer section and the the battle section or 'stardrive' which is what I'm focusing on.
Starting the assembly of the wiring. I glued styrene to both sides of the aluminum plate so I can mount a wiring harness to it without shorting the circuit.
And this is the first time I used this technique, something which is common to all of my builds when I need to have a parallel circuit, a 'bus bar' made of AWG 14 copper. Least resistance for electrons to flow, especially at 12V DC (which this model is).
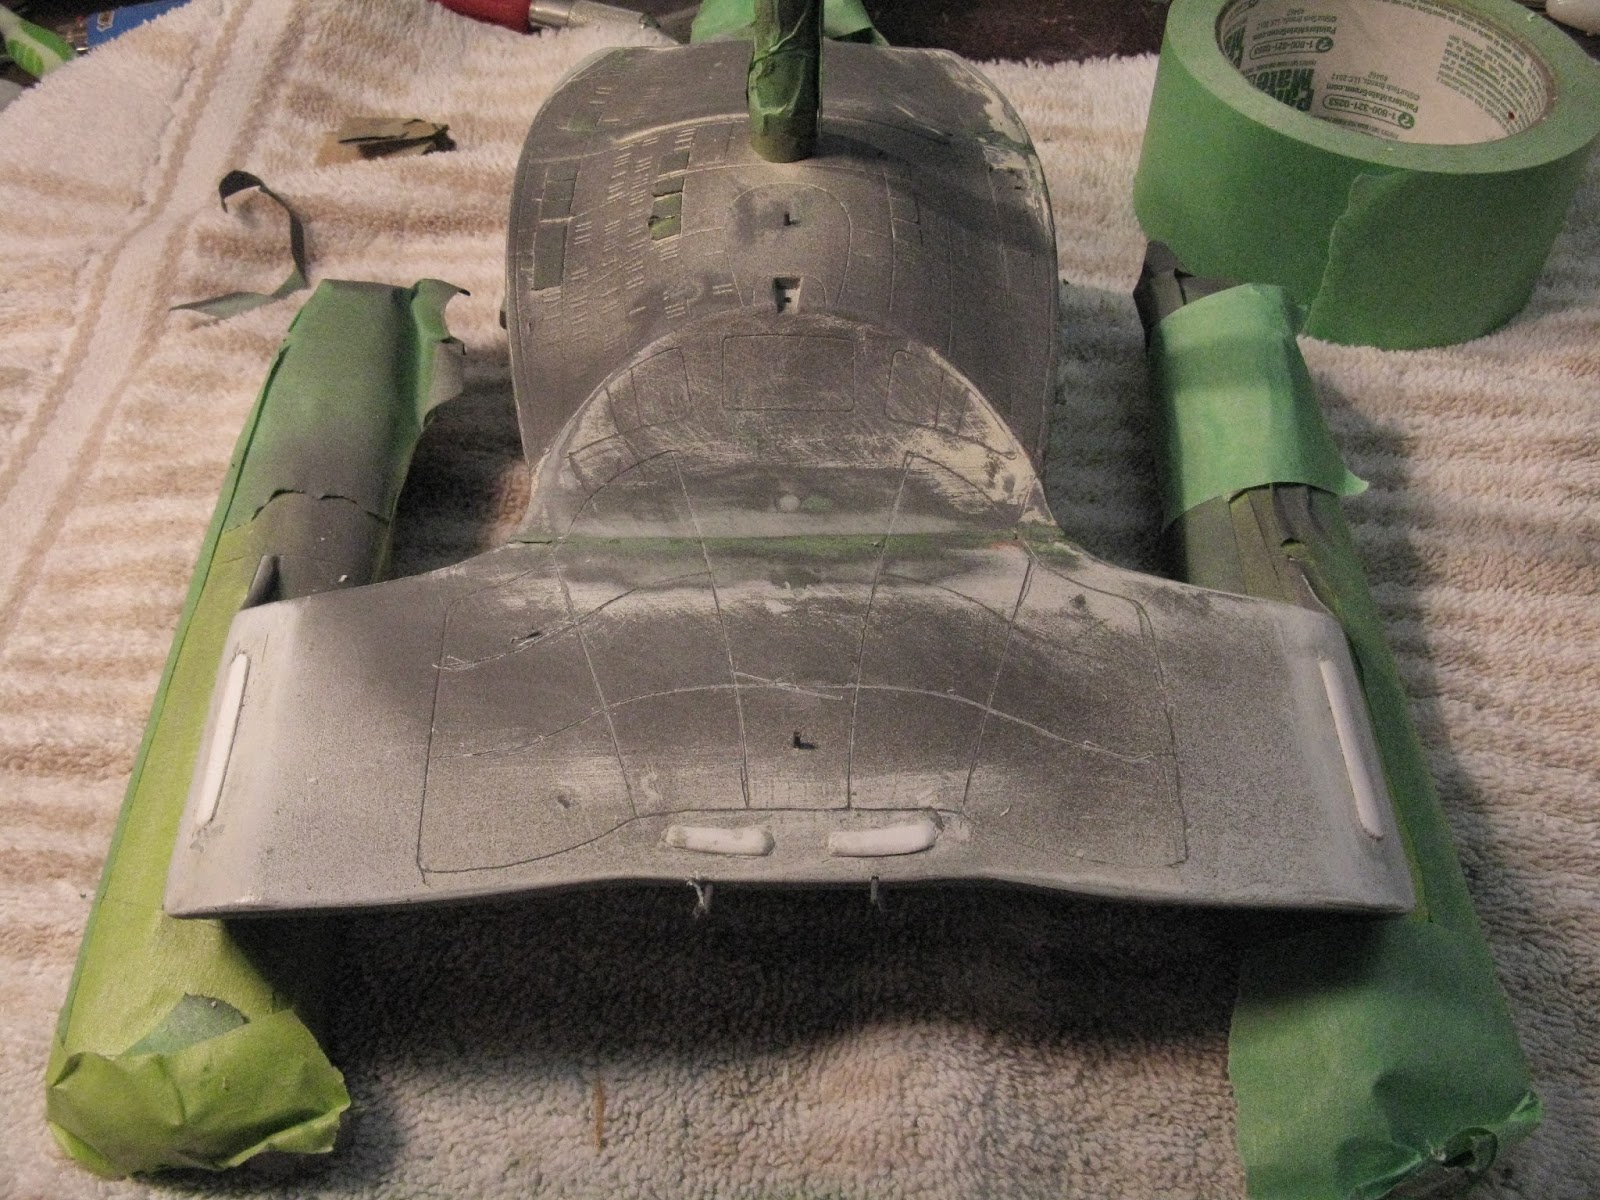
For the bottom of the engineering hull, I cut the part into 3 pieces: a forward section around the deflector, a middle section which is the engineering section, and the aft end which is solely the nacelle pylons/struts, Here is the middle section. The advantage of doing it this way is to have a section which is separate of the main components so I can do final wiring with most of the model sealed.
Assembly of the Warp Drive section to the Engineering Hull...
My original plan was to mate this component to the engineering hull with screws and use the whole upper engineering hull as a guide. Reality dictated something else. I planned this out very carefully using the lower (mid section) of the engineering hull as a guide.
I didn't shoot the engine assembly, but it go painted a 'duck egg' blue. I then mounted it to the armature using hot glue, lots of hot glue. And after letting it cure for a few days, good luck getting it apart!
Here's the whole model lit up, starting to look like something familiar...
The final hook up for the warp nacelles are all the fiber optics I put in there. I learned some very hard lessons, one of them is Testor's model cement (both tube and liquid form) eat fiber optics and using a heat gun with shrink tube is a very, very bad idea. Since then I've watched what other pro-model builders do and they sometimes use brass tubes, which is what I've started to do since this build, so I can correctly aim the lens of the LED to the shaft of the fiber optic. The tricky part of this was drilling almost flush to the edge of the model to have dual red/green nav lights at the stern of the ship. I built up the thickness of the struts which made this process easier.
Once I completed this part of the model, and was satisfied everything was wired up, I glued and sealed the remaining engineering hull segments. Lots and lots of Green Squadron Putty. (Today I used 3M Glazing Bondo #3 - half the price, twice the size, aka 'red putty').
The spikes are the fiber optics which will be cut flush to the hull.
Now that I have a smooth surface, I can put back the details I removed, like the Phaser Banks.
The Phaser Banks on the curve of the struts were always in the wrong place. Using the plans online of the studio model and pictures from the Christie's Auction, I could accurately place them on this model.
The row of styrene is to cover the seam, and this is a detail on only the 6' model which is used to...cover a seam.
Once everything was smooth, I painted the remaining details (this is how I used to build models, paint the details, mask them, then put the base colour down - it sometimes leaves paint build-up so I generally do the reverse with a few exceptions) then masked them.
Then I returned to finish the remaining Aztek markings on the engineering hull.
For the lower section, I used set of decals available on Starship Modeler by Arthur Pendragon but in this case turned them into masks. Pretty low tech, I used Avery removable full sheet labels. They did the job without leaving a residue (for the most part) behind. I tried to not leave them on the model too long.
Here is the second colour, white. In doing a few tests, I found I could layer colours for effect depending on the base primer, this is what I'm doing here.
Finally the hull colour which is a duck-egg blue. The silver effect is there but barely visible.
Happy model building and check out my latest build, USS Defiant as seen in 'The Tholian Web'.


No comments:
Post a Comment