Greetings model builders!
We last left off working on the main body assembly, refinements and the tail. Now for the engines...
Nacelles
The nacelles on this model, like the rest of the model is really simple construction.

Upon looking at the aft end ports, you see straight back and can see the alignment pins, which are not aligned with the rest of the model.
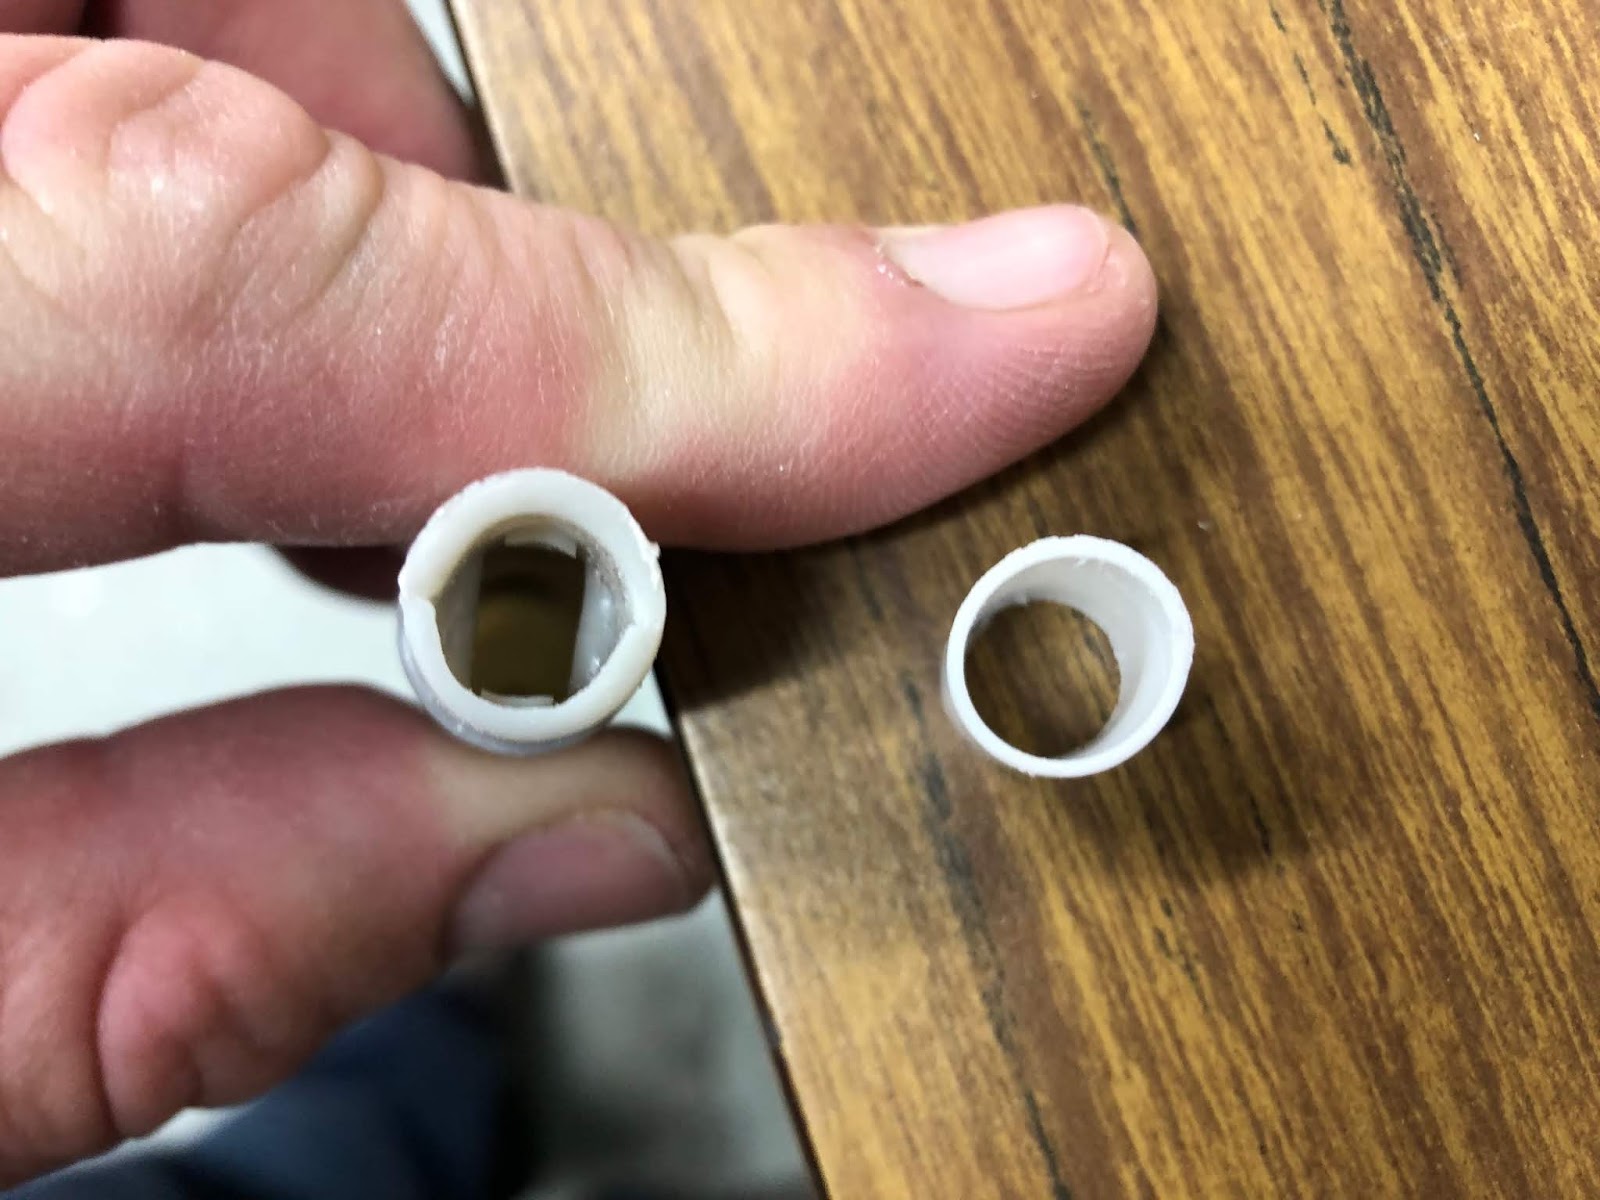
To remedy this, I'm building my own using two pieces of styrene tubing and sawed off the old end from the nacelles. The nacelle aft ends friction fit in the back.

Moving forward on the nacelles, they were puttied, sanded, primed and repeated.

I painted the inside black so that when you look down the aft end, you don't see the interior of the model. This does deviate from my 'vintage' look but I feel leaving this as is would look sloppy.

Once I glued the nacelle to the wings/pylons, I laid up some more of the Evercoat to fill the gaps.

Further refinements...I will follow up with this in the next build entry.

The front end caps, or Bussard Collectors as they are known on Federation starships are 2-piece parts, with no locating pins.

Here are both parts for the nacelles glued up and ready for that process: fill, sand, prime and evaluate.

For the front 3/4 domes I drilled out a hole and inserted a screw to hold it for painting purposes.

After priming and sanding, I painted them with a craft gold colour. The studio model I believe were blue/green which often appeared clear on screen due to the blue screen process. I think it's a bit of a compromise with gold, but it give it that retro feel.

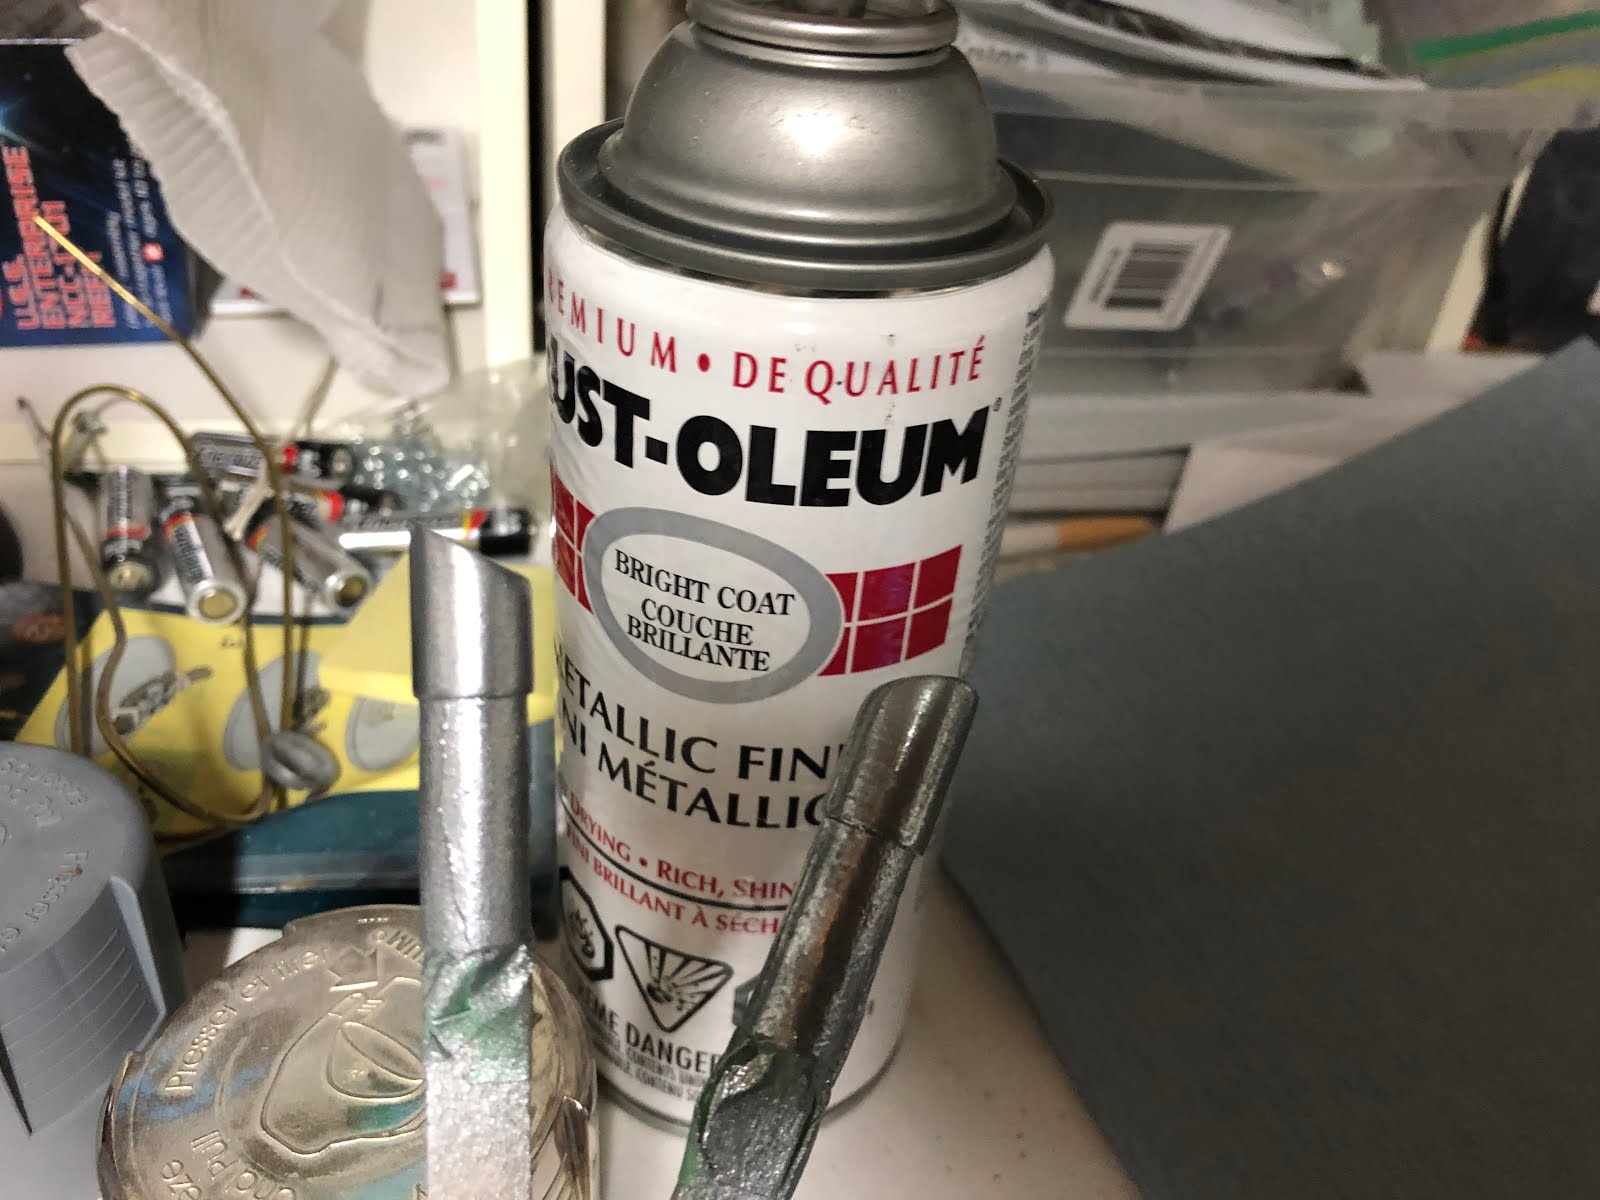
For the aft end tail pipes (lack of a better term) I went through a number of different silver/aluminum paint applications.


I ended up using a bright metallic paint by Rust-oleum. Works for me in sticking with that retro look.
Original Kit Stand
The model stand which would have been originally supplied with the model is quite elegant, but has that distinct retro look, which I'm going here. Unfortunately, there are markings on it, including the part numbers that need to be sanded off.

Easy assembly, just needs a bit of primer and black paint and it's done

That about wraps up this entry. Below is a link to the previous entry, part 2.
Happy Model Building!
Star Trek and all related marks, logos and characters are solely owned by CBS Studios Inc. This fan blog (production) is not endorsed by, sponsored by, nor affiliated with CBS, Paramount Pictures, or any other Star Trek franchise, and is a non-commercial fan-made blog intended for recreational use. No commercial exhibition or distribution is permitted. No alleged independent rights will be asserted against CBS or Paramount Pictures.
Star Trek and all related marks, logos and characters are solely owned by CBS Studios Inc. This fan blog (production) is not endorsed by, sponsored by, nor affiliated with CBS, Paramount Pictures, or any other Star Trek franchise, and is a non-commercial fan-made blog intended for recreational use. No commercial exhibition or distribution is permitted. No alleged independent rights will be asserted against CBS or Paramount Pictures.
No comments:
Post a Comment